
Delivering Applications on Azure Virtual Desktop (AVD) using Omnissa App Volumes
In this post, we will walk through the process of delivering applications on Azure Virtual Desktop (AVD) using Omnissa App Volumes. This method enables dynamic application delivery, allowing users to access applications seamlessly without them being directly installed on the virtual desktops.
Prerequisites
Before proceeding, ensure the following prerequisites are met:
- Azure Subscription: You need access to an Azure subscription to deploy AVD.
- AVD Environment: AVD Host Pool, Session Hosts, and necessary configurations are already set up.
- App Volumes Manager: Installed and configured in your environment.
- App Volumes Agent: Installed on your AVD session hosts.
- Networking: Ensure the AVD session hosts can communicate with the App Volumes Manager (appropriate ports open).
- Domain-Joined Environment: Both AVD session hosts and App Volumes infrastructure must be part of the same Active Directory domain.
Step 1: Deploy and Configure VMware App Volumes Manager
1.1. Install App Volumes Manager
- Log into a Windows Server machine (preferably a member server in your domain).
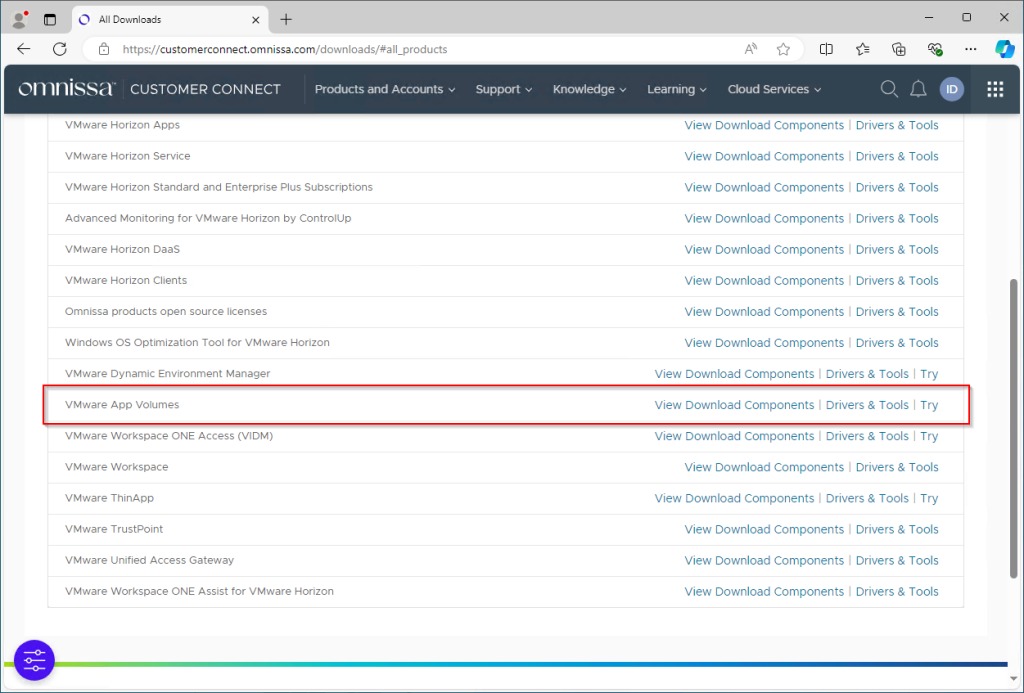
- Download the App Volumes Manager installer from Omnissa.

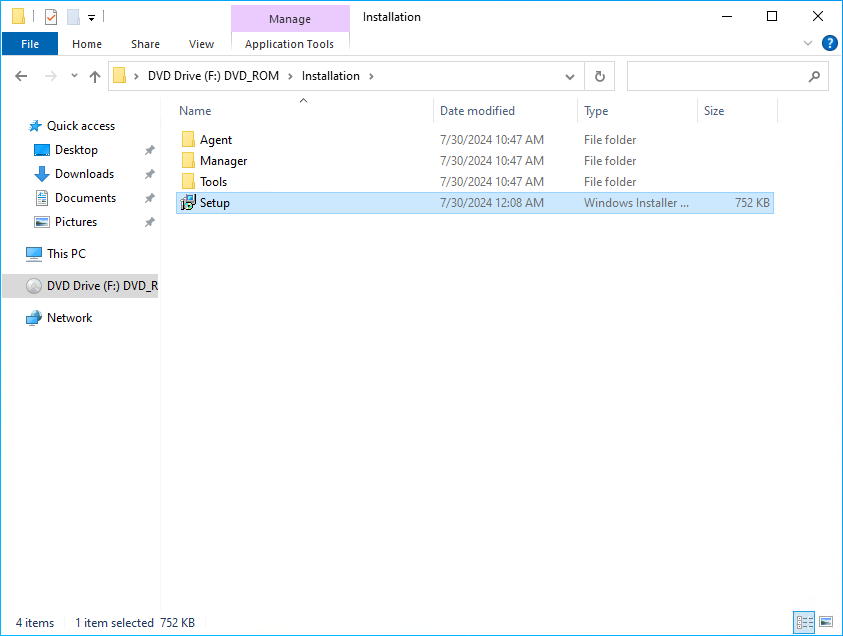
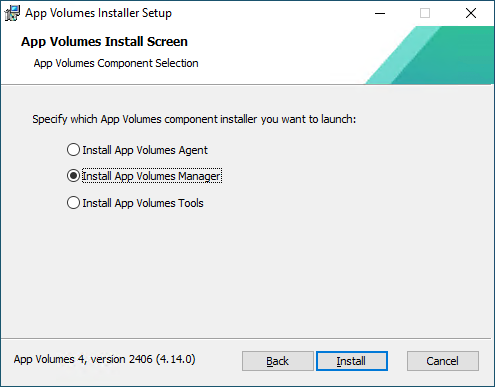
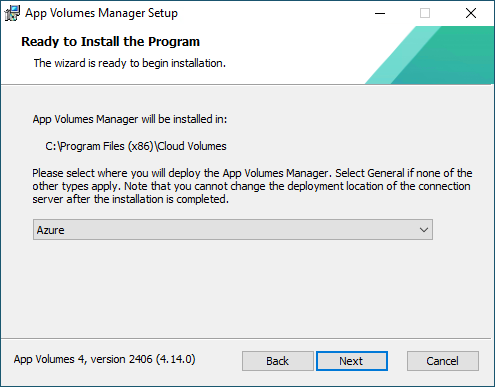
- Run the installer and follow the prompts to install App Volumes Manager.
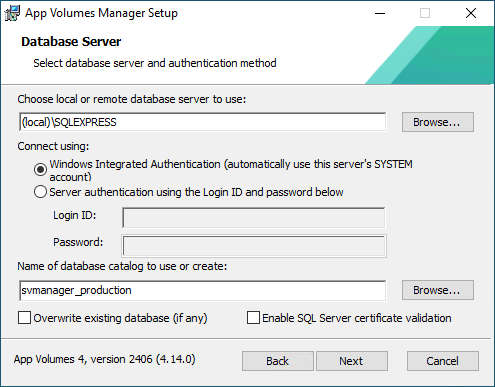
- Provide database details (SQL server is required) to store configuration information.
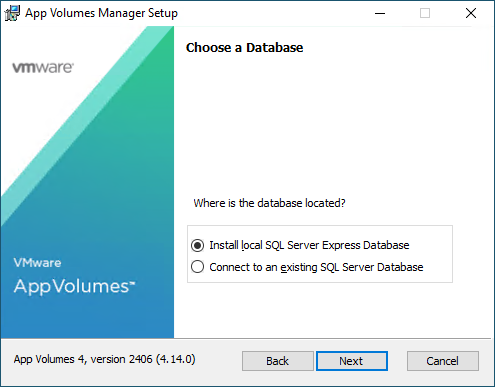
- For demo purposes the SQL Server Express Database is used.
- Select the correct deployment location for your situation.
1.2. Configure the Manager
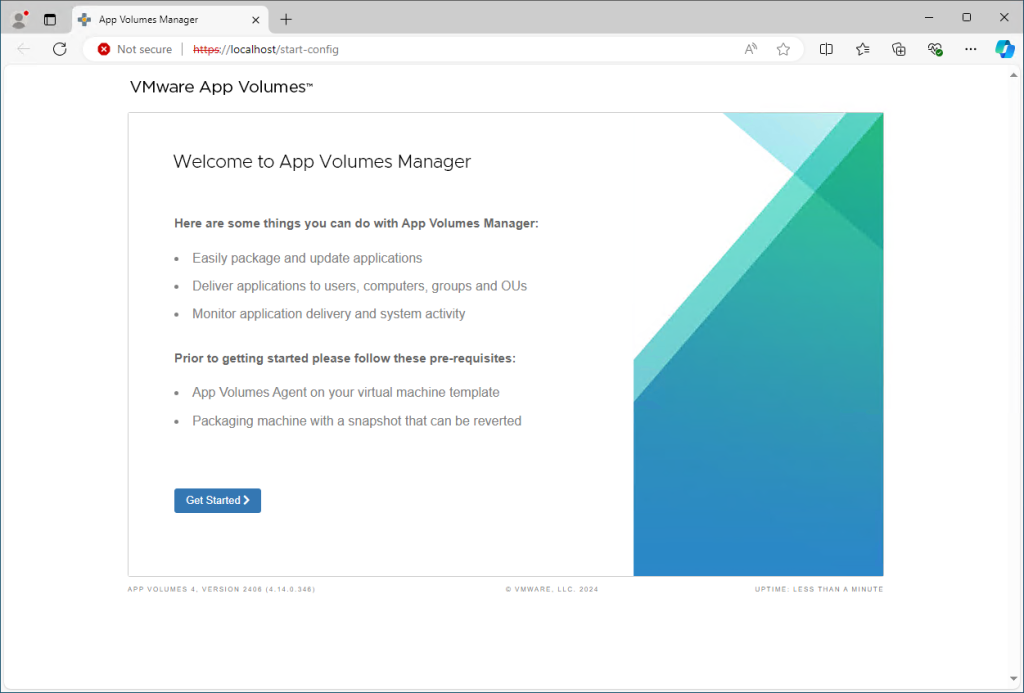
- After installation, open the App Volumes Manager web console.
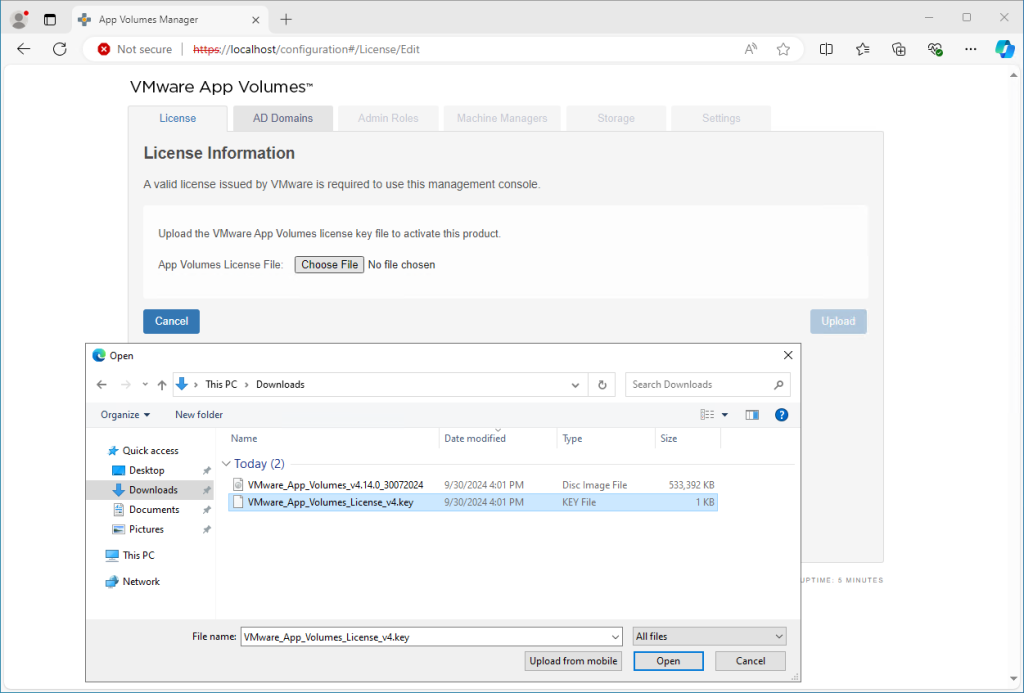
- Enter your license key.
- Configure Active Directory by adding the domain controller details. Ensure the manager can query the directory.
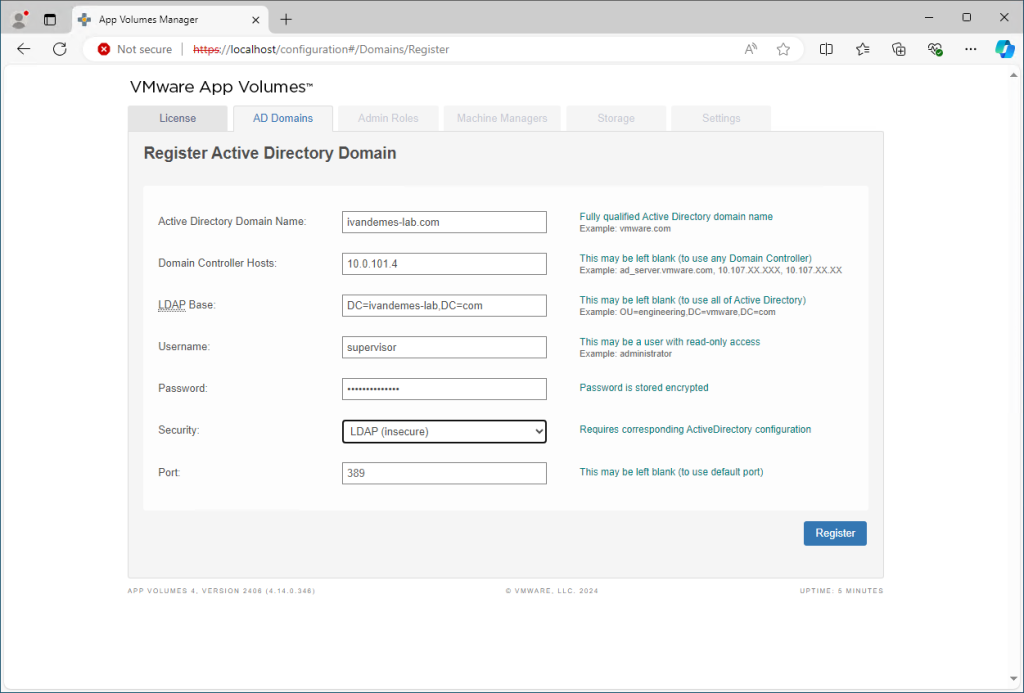
- Using a more specific LDAP base and using Secure LDAP is recommended.
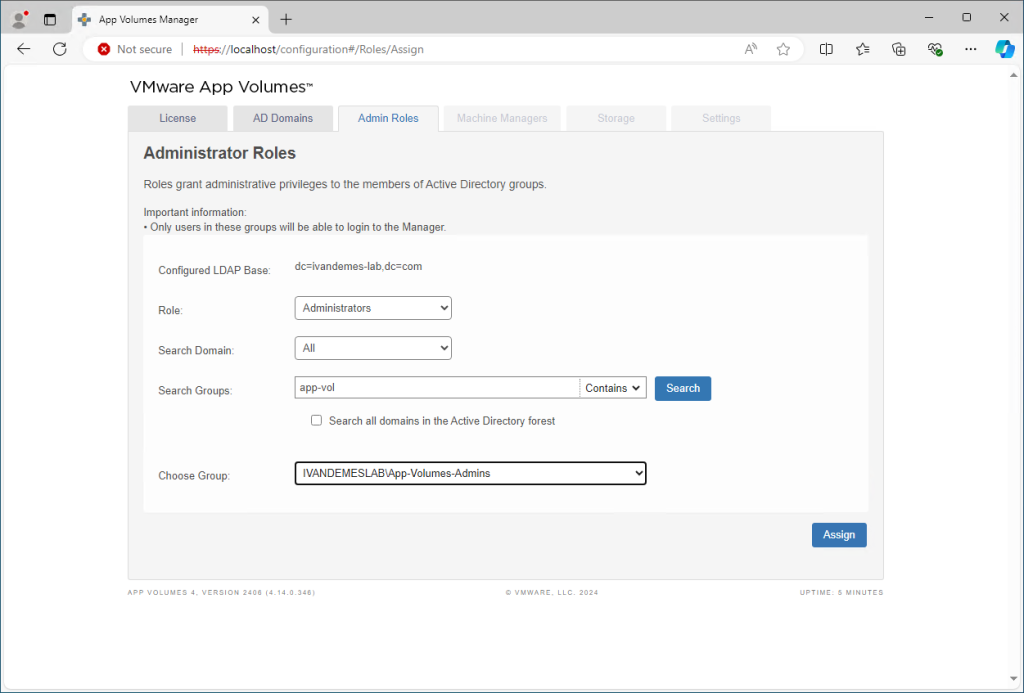
- Configure Admin Roles.
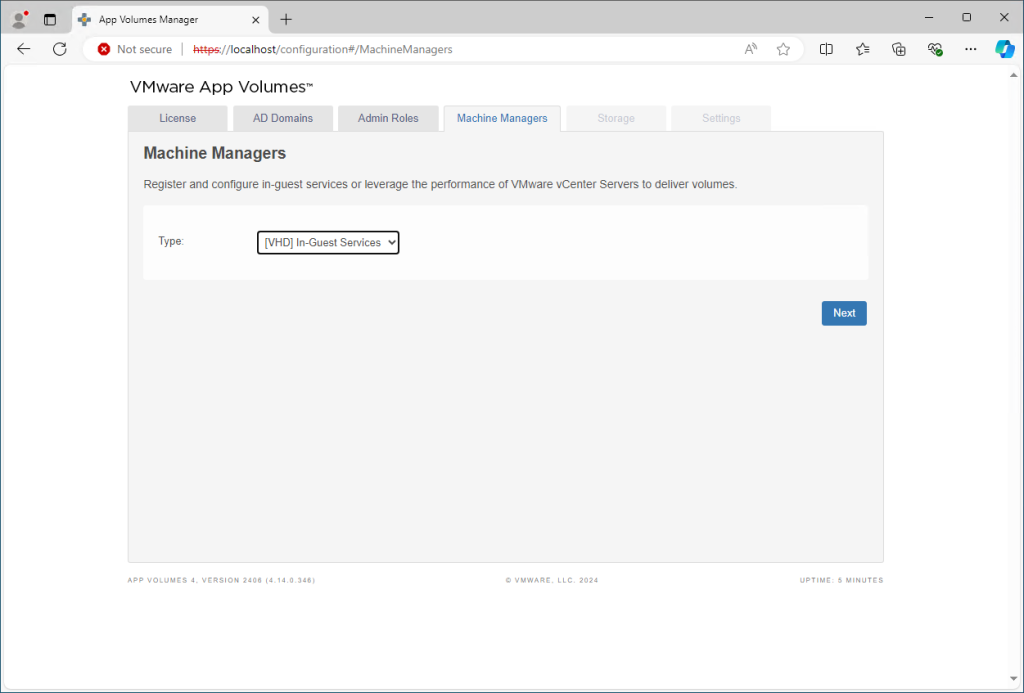
- Configure the Machine Managers to use [VHD] In-Guest Services.
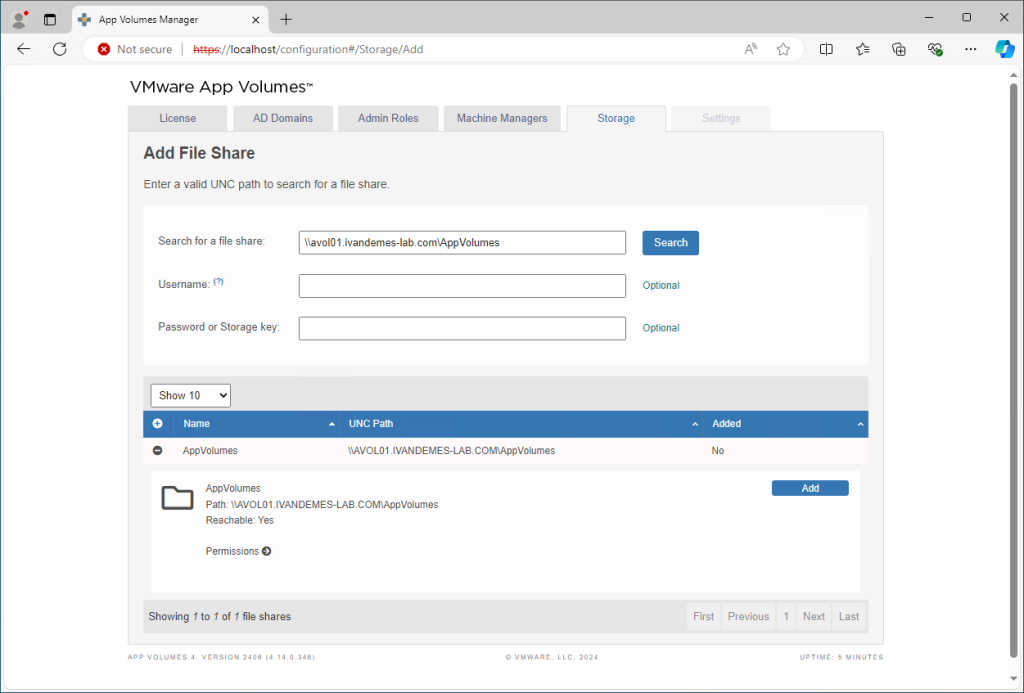
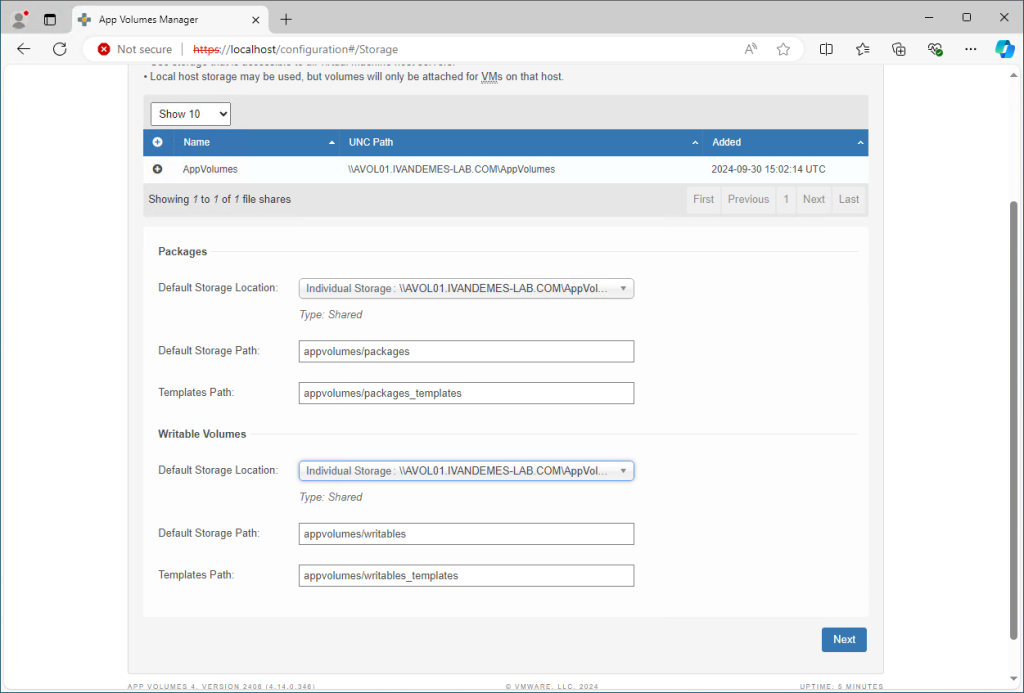
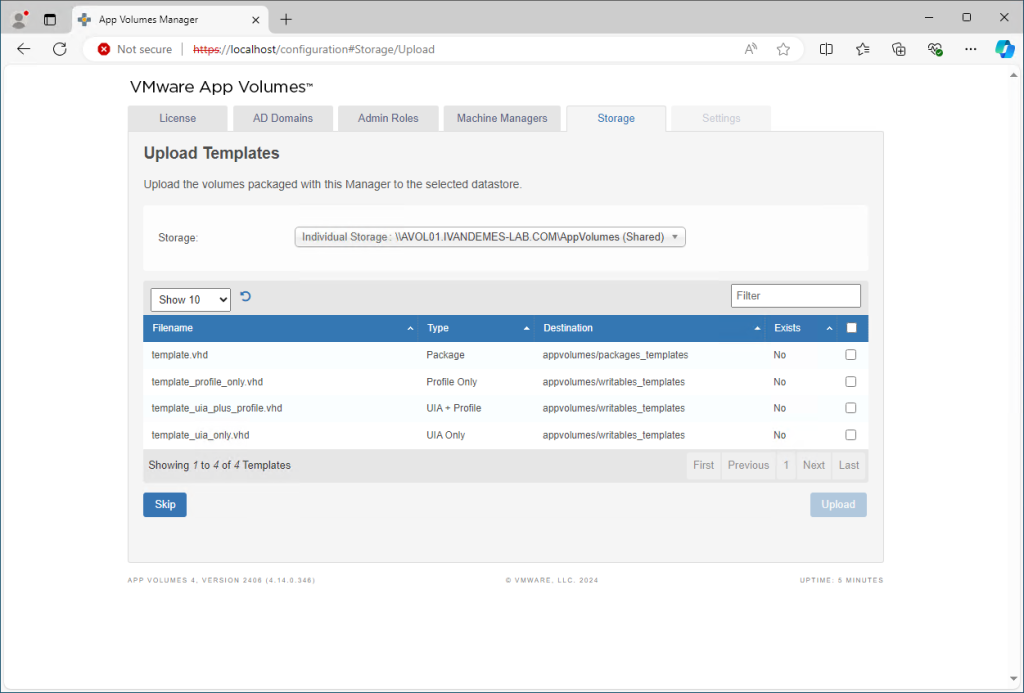
- Set up Storage Locations where the AppStacks (application packages) will be stored. This could be an SMB share or a network file server.
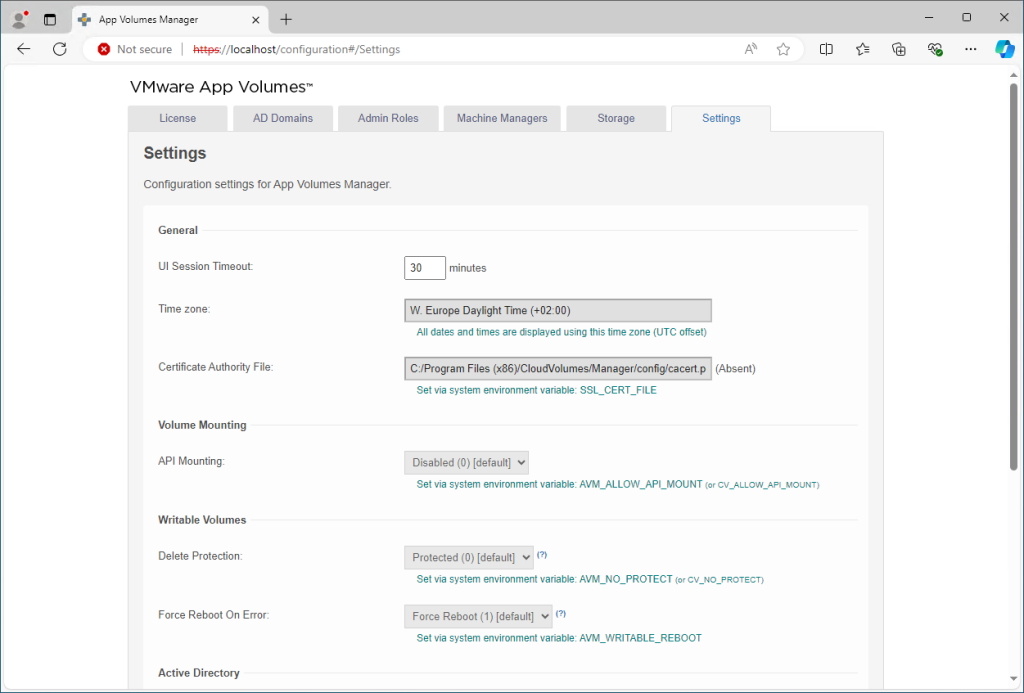
- Make sure your Settings are configured according your requirements.
Step 2: Install App Volumes Agent on AVD Session Hosts
2.1. Download App Volumes Agent
- From the Omnissa portal, download the App Volumes Agent installer.
- Copy the installer to your AVD session hosts.
2.2. Install the Agent
- Log into each AVD session host.
- Run the App Volumes Agent installer as an administrator.
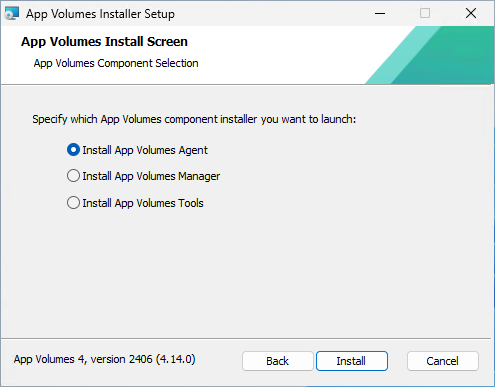
- During the installation process, you’ll be prompted to enter the App Volumes Manager FQDN (fully qualified domain name).
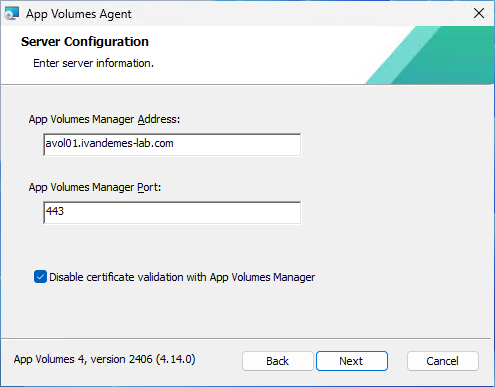
- For demo purposes the Disable certificate validation with App Volumes Manager is selected.
- The agent will automatically register the session host with the App Volumes Manager.
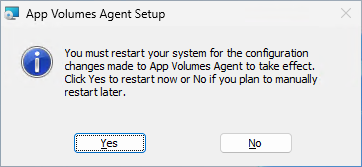
- Complete the installation, then reboot the session host to apply the configuration.
Step 3: Create and Assign Writable Volumes
Writable Volumes store user-specific application data and customizations. These can be useful when applications need to maintain user state across sessions.
3.1. Create Writable Volumes for Users
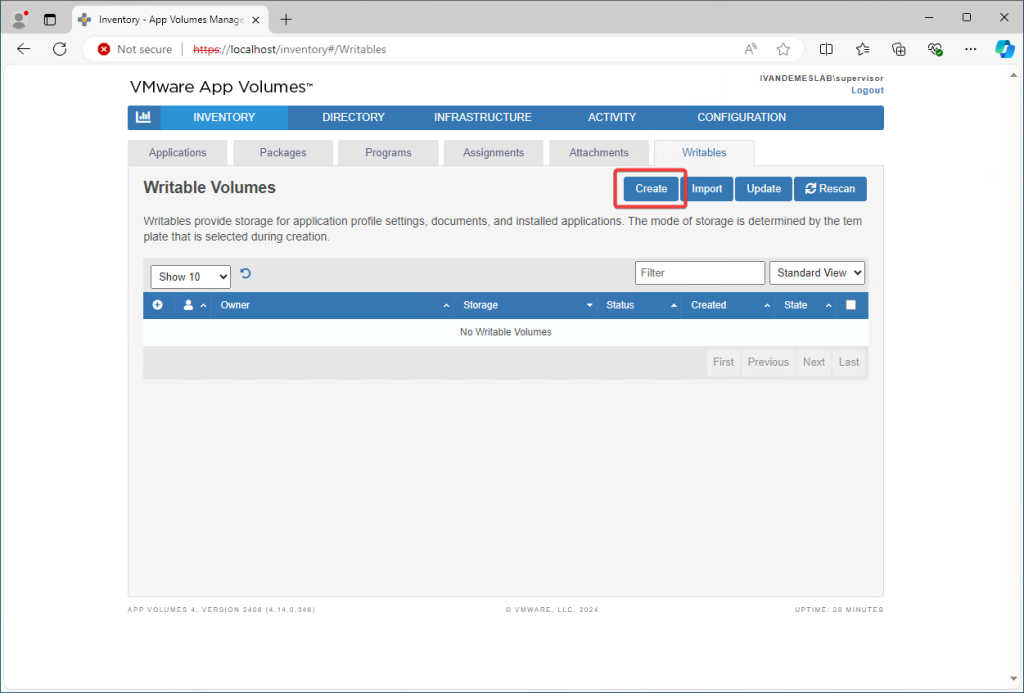
- Log into the App Volumes Manager console.
- Go to Inventory > Writables and click Create.
- Select the type of Writable Volume:
- User Writable Volume: Tracks application-specific data for a single user across sessions.
- Profile-Only Writable Volume: Tracks profile data only, without application data.
- Specify the user for whom the Writable Volume will be created.
- Assign the storage location for the Writable Volume.
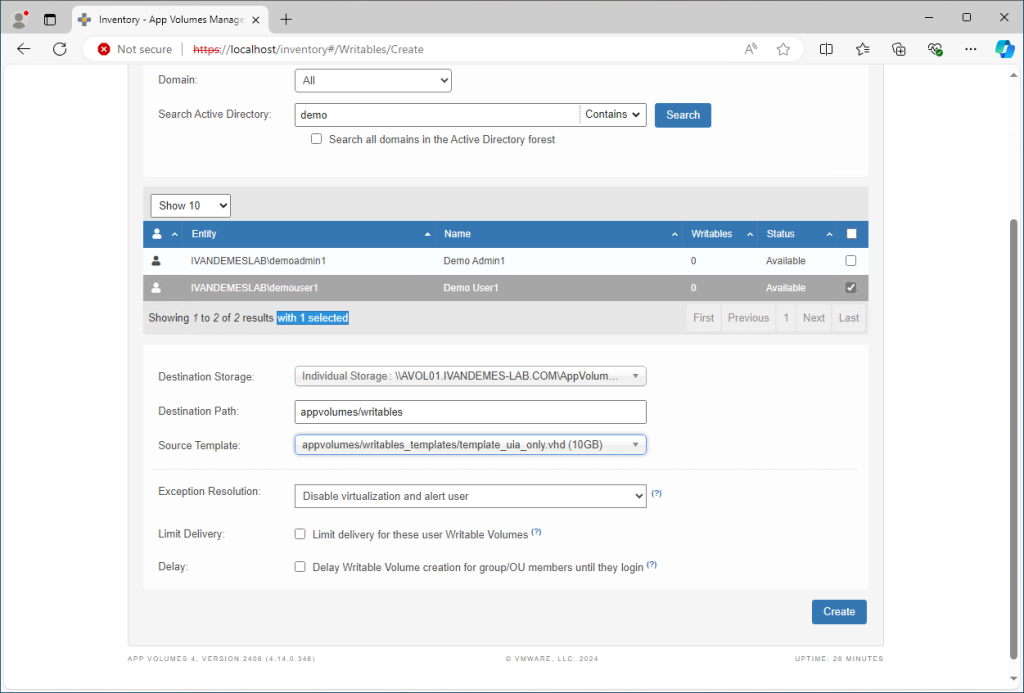
- The Writable Volume will now be created and ready for assignment.

Step 4: Capture Applications into AppStacks
Applications are packaged into AppStacks (VHD files) that can be dynamically delivered to users.
4.1. Prepare a Clean Packaging Machine
- Set up a dedicated virtual machine that will be used to capture applications.
- Ensure it is free from unwanted software or configuration issues.
4.2. Install App Volumes Agent on Packaging Machine
- Install the App Volumes Agent on the packaging machine, as done earlier for AVD session hosts.

4.3. Create a New AppStack
- In the App Volumes Manager, go to Applications and click Create.
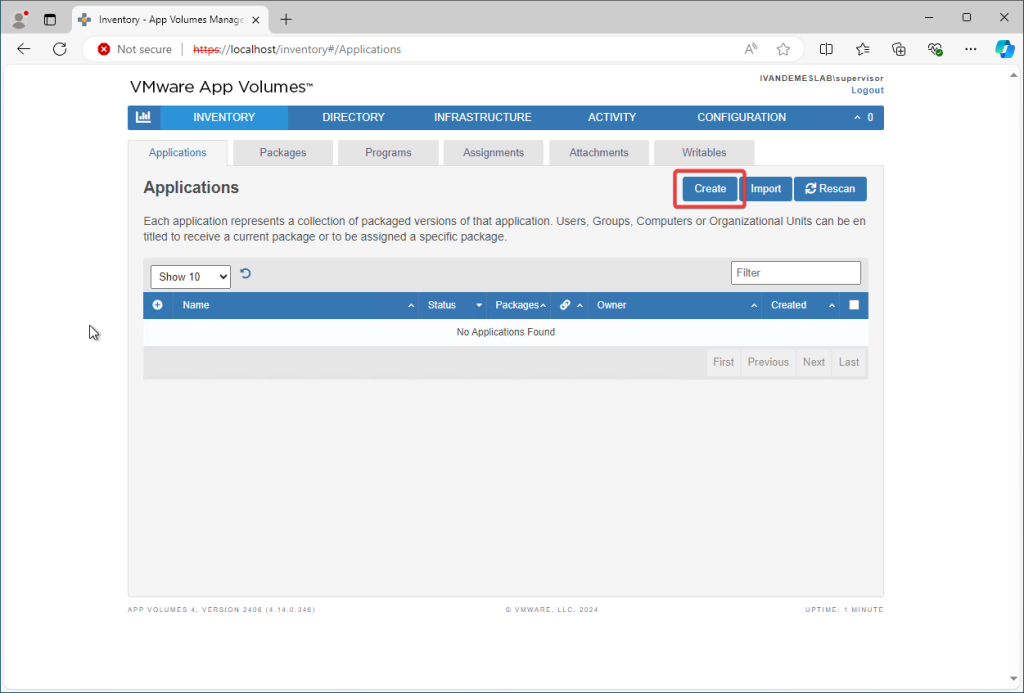
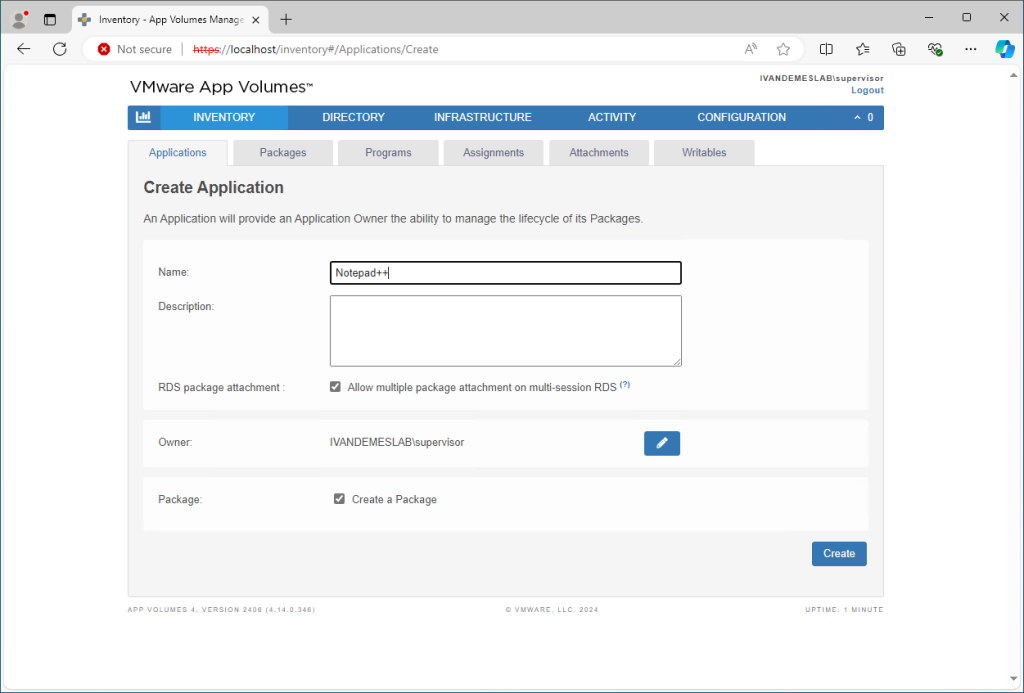
- Provide a name for the application and click Create.
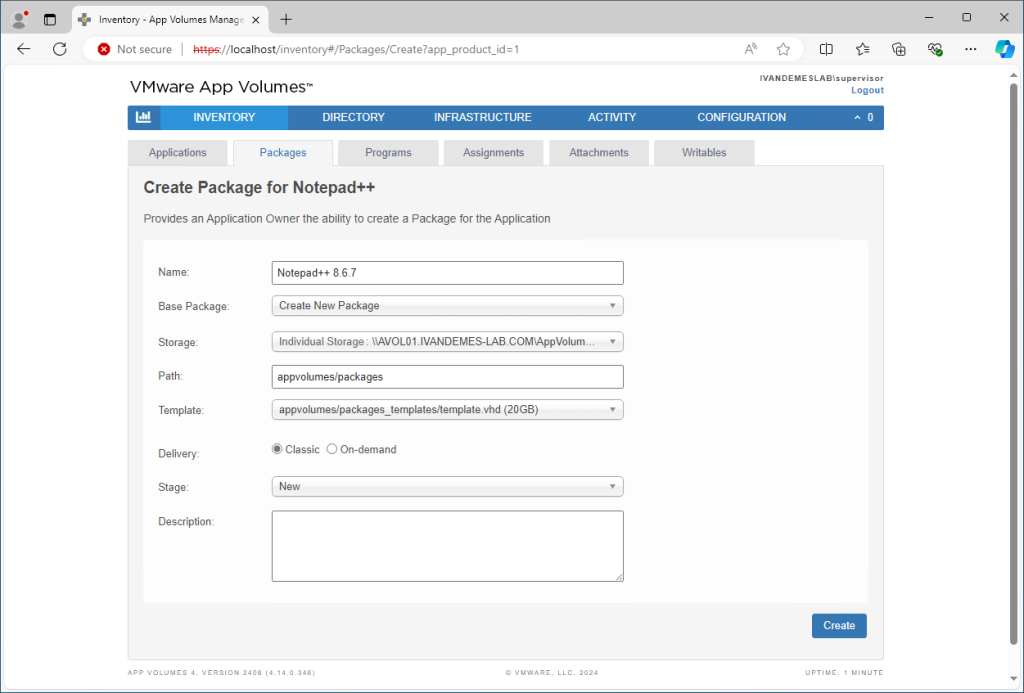
- Provide a name for the package, select the delivery type and click Create.
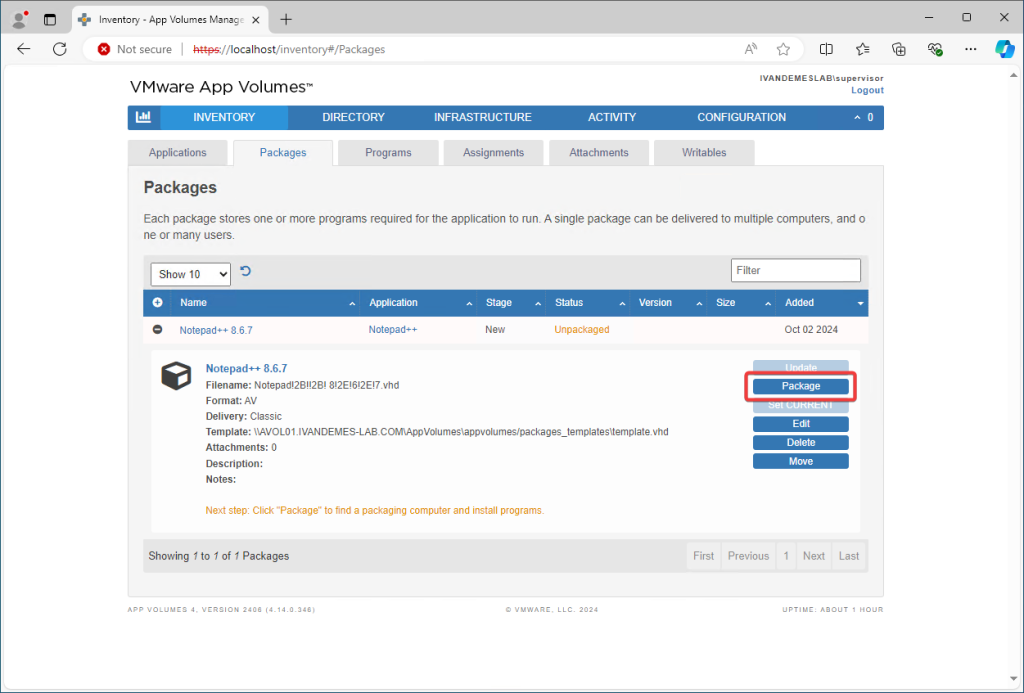
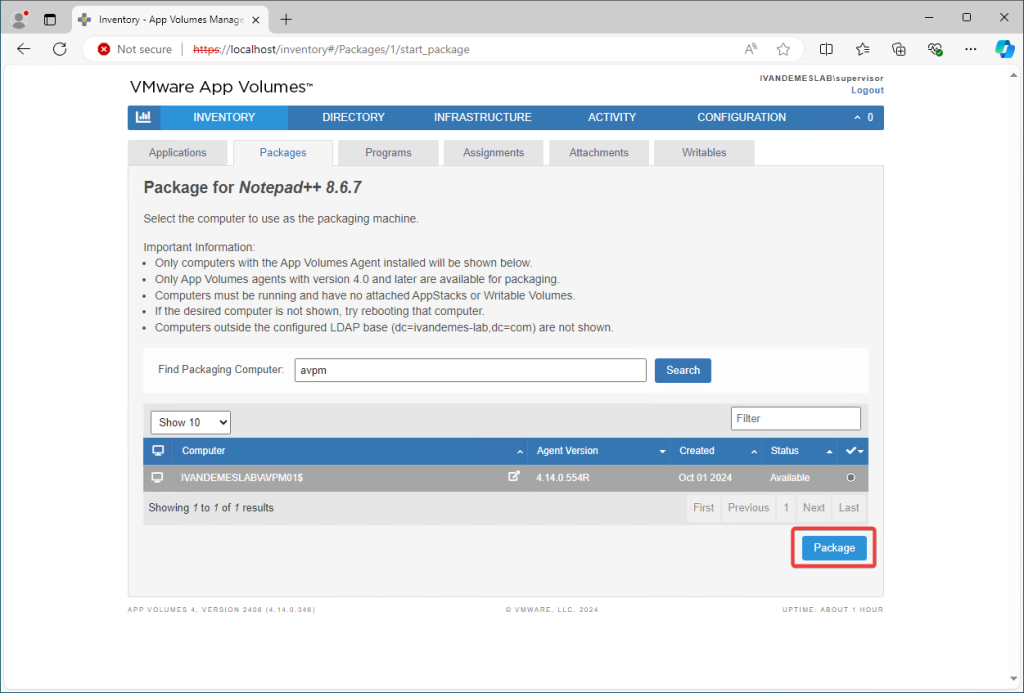
- Click Package, select the packaging VM and click Package.
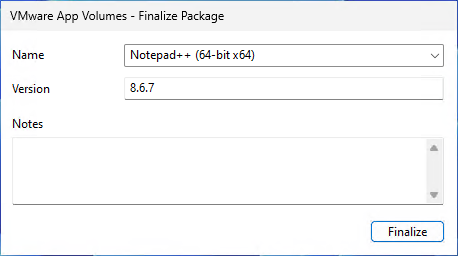
4.4. Install Applications in the AppStack
- After attaching the AppStack, the App Volumes Manager will prompt you to restart the packaging machine and start capturing the installation.
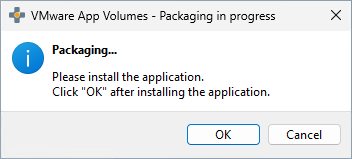
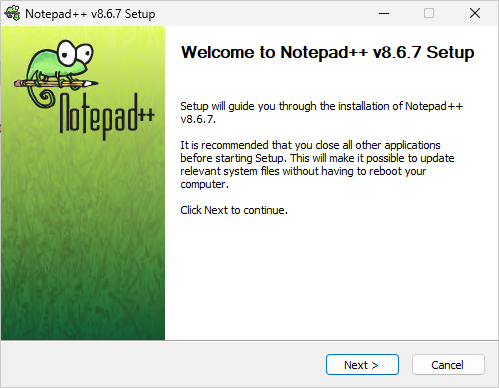
- Install the applications you wish to deliver to AVD users.
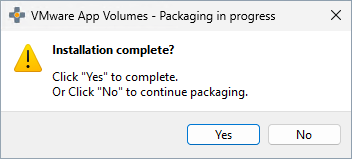
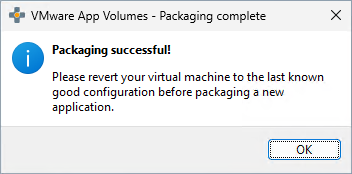
- Once installation is complete, finalize the AppStack capture.

Step 5: Assign A to AVD Session Hosts or Users
5.1. Assign AppStacks to Users or Groups
- In the App Volumes Manager, go to Inventory > Applications.
- Select the desired application and click Assign.

- Choose whether to assign the application to a User, Group, or an entire OU (Organizational Unit).
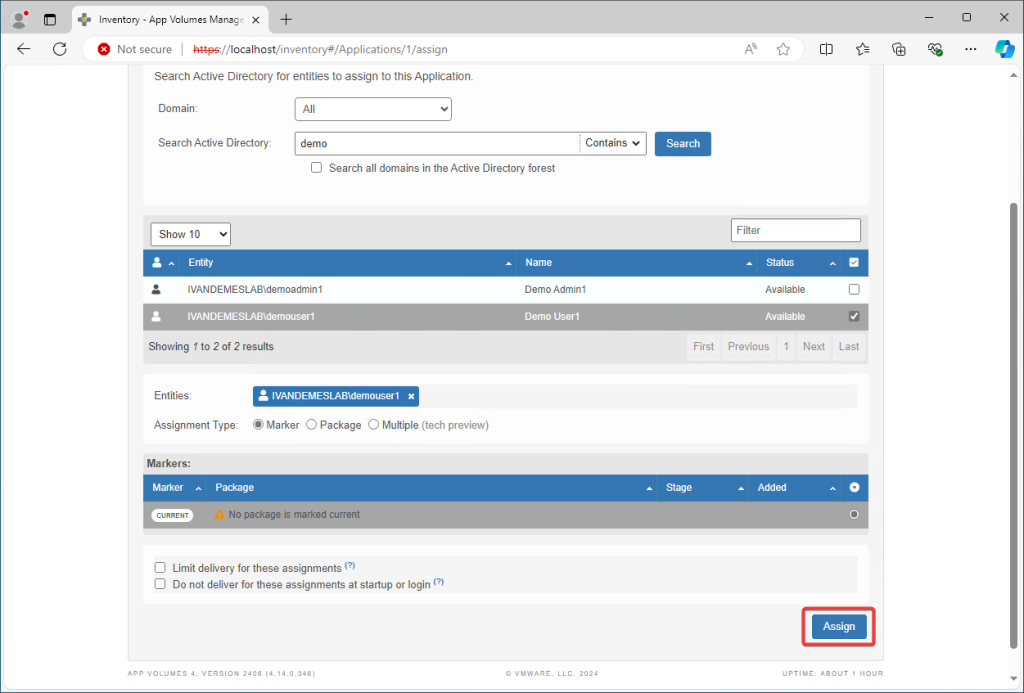
- Once assigned, the application will automatically attach to the user’s session when they log in.
5.2. Assign AppStacks to Session Hosts
- Instead of assigning AppStacks directly to users, you can also assign them to specific AVD session hosts.
- In the App Volumes Manager, assign the application to the AVD host pool or individual session host machines.
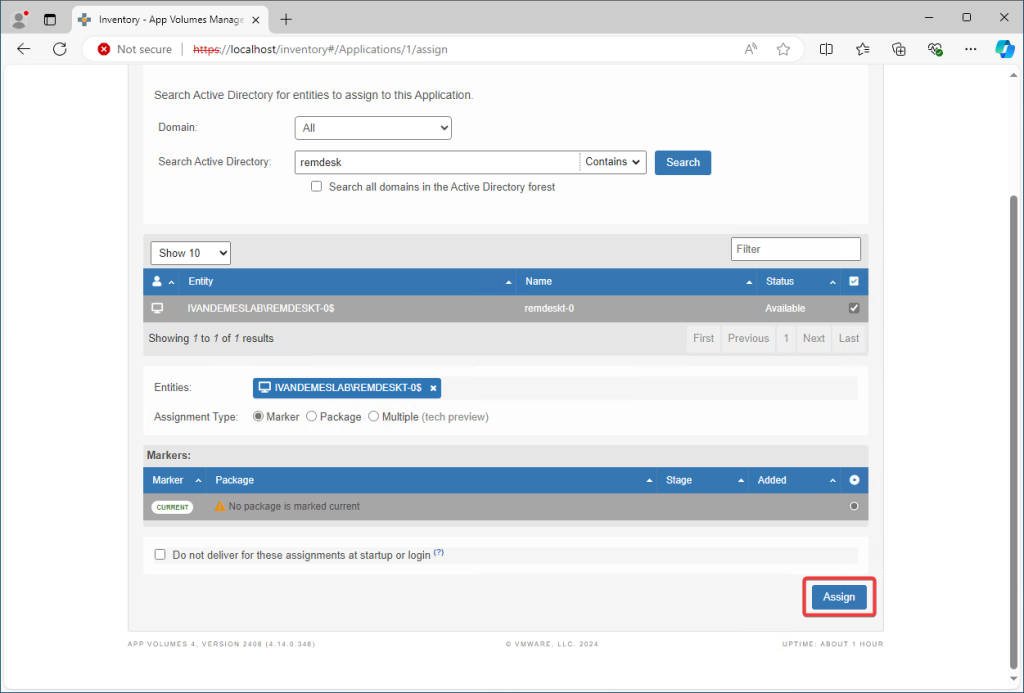
- Applications in the AppStack will be available to all users on the session host(s).
Step 6: Test Application Delivery on AVD
6.1. Log into an AVD Session
- From a user account assigned to an AppStack and/or Writable Volume, log into an AVD session.
- Verify that the applications are available without being installed on the system.
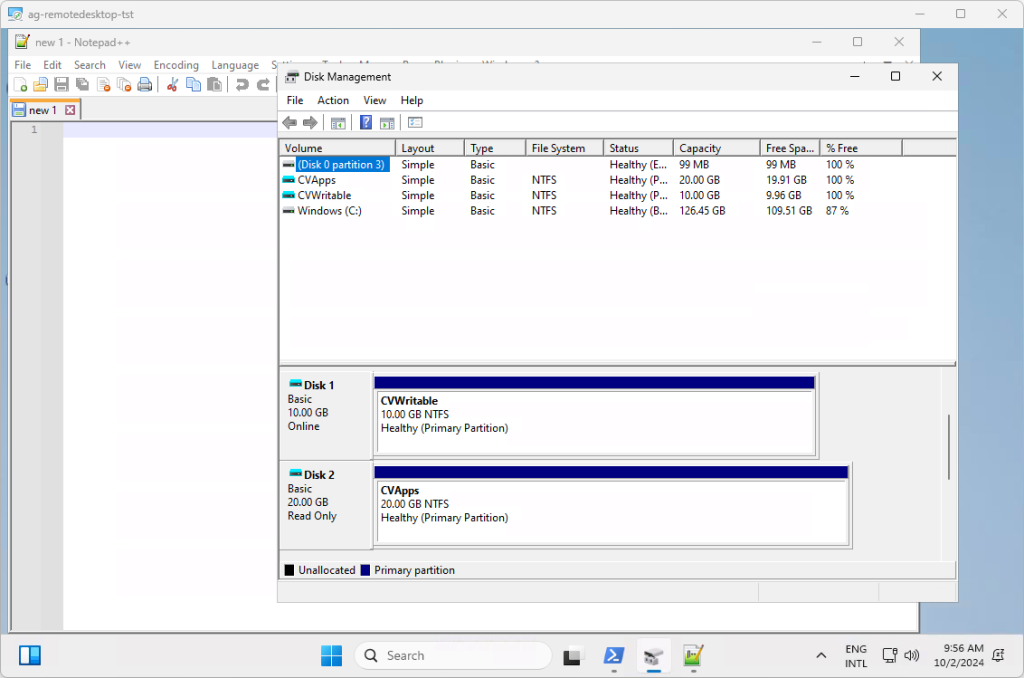
- Ensure that any custom settings or application state changes are saved to the Writable Volume.
6.2. Validate App Functionality
- Test the functionality of each application delivered via the AppStack.
- Ensure performance is optimal and that the applications behave as if they are locally installed.
Step 7: Monitor and Manage Applications
7.1. Monitor App Volumes Activity
- Use the App Volumes Manager Activity dashboards to monitor the attachments of AppStacks and Writable Volumes.
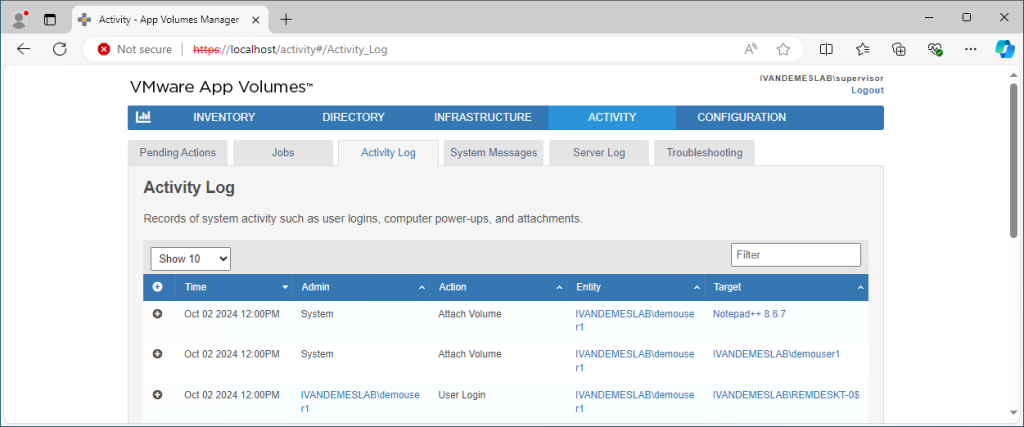
- Verify that users are receiving their applications correctly and troubleshoot any errors.
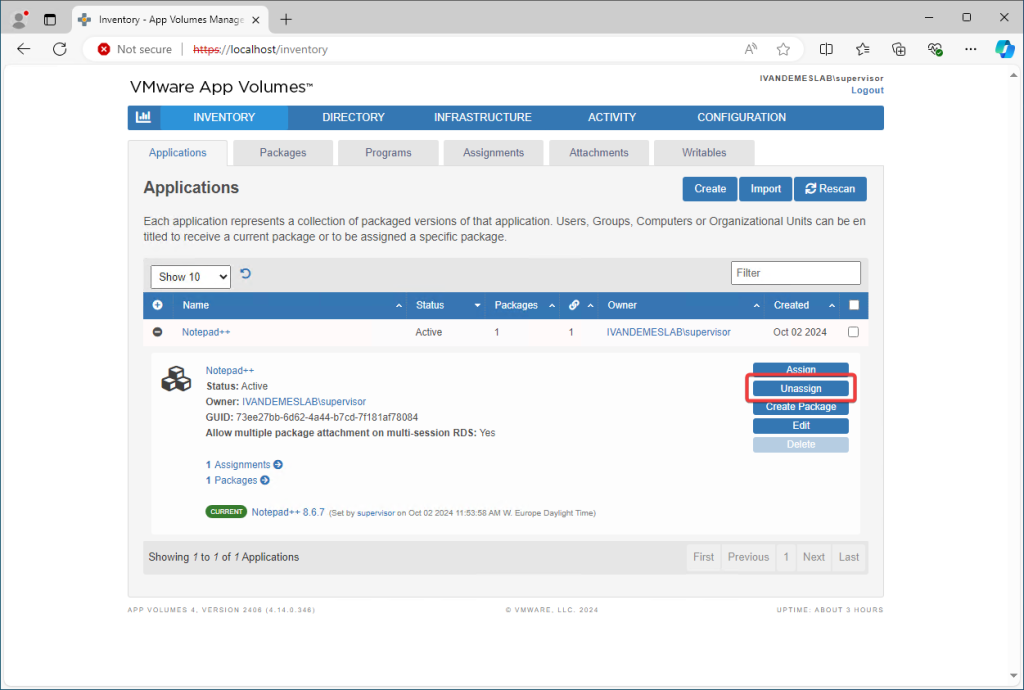
7.3. Revoke or Reassign AppStacks
- In case users no longer need certain applications, AppStacks can be unassigned.
- Navigate to Inventory > Applications, select the application, and revoke it from the user or group.
Conclusion
By following these steps, you can successfully deliver applications to Azure Virtual Desktop (AVD) environments using Omnissa App Volumes. This solution provides a scalable, flexible way to manage applications and user settings, enabling IT teams to reduce management overhead while enhancing the end-user experience.
Ensure to regularly monitor the App Volumes infrastructure for any performance issues and make updates as needed to keep applications current and secure.
| Text in this blog post has been optimized by ChatGPT. |