Let’s JMP – Part 2: ESXi & vCenter
In this part I will guide you through the steps for installing and configuring a basic ESXi and vCenter appliance environment. As you may have already noticed in the introduction, I already have my ESXi and vCenter environment up and running. However, for those of you that want to have the steps provided for installing and configuring ESXi and vCenter, you came to the right place.
I will use VMware Workstation for the installation of a nested ESXi and vCenter environment. That’s easier to create all the screen shots . The steps for installing ESXi may involve injecting suitable drivers for your own LAB server, but the installation is pretty much the same. I used this article for preparing my LAB server for ESXi installation. I didn’t manage to successfully install ESXi 6.5 directly on my LAB server. It failed at boot after the installation. So instead, I installed ESXi 6.0 and did an upgrade to 6.5 afterwards.
If you plan to use a nested installation, in which you plan to host the vCenter appliance on the nested ESXi host, make sure you assign the VM for ESXi enough memory for the vCenter appliance. 12GB minimum.
Overview
The components with a red square are installed and configured in this part.
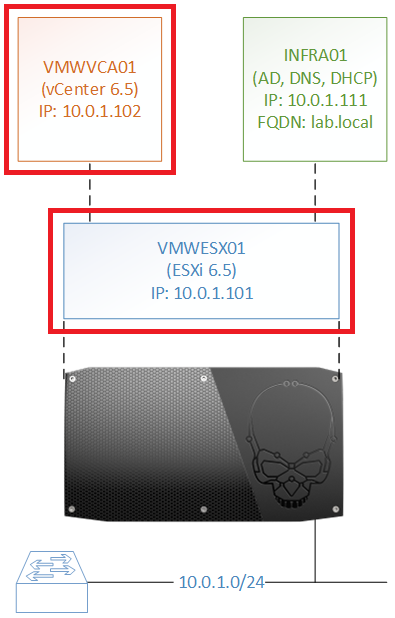
Installing and Configuring ESXi
| Select ESXi-6.5.0-20170104001-standard Installer and press [Enter] | 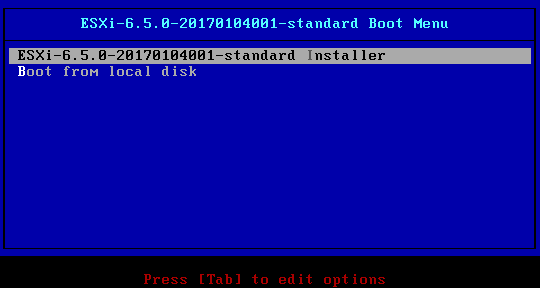 |
| Press [Enter] to continue | 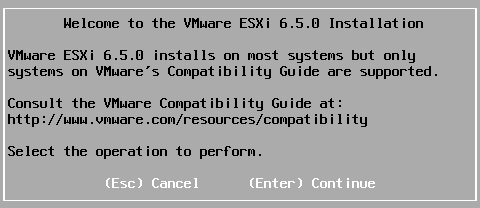 |
| Press [F11] to accept and continue | 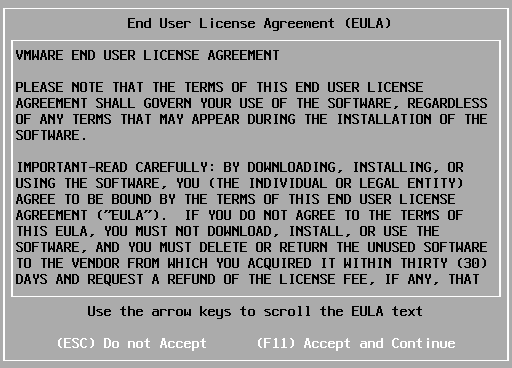 |
| Select the disk on which you want to install ESXi and press [Enter] | 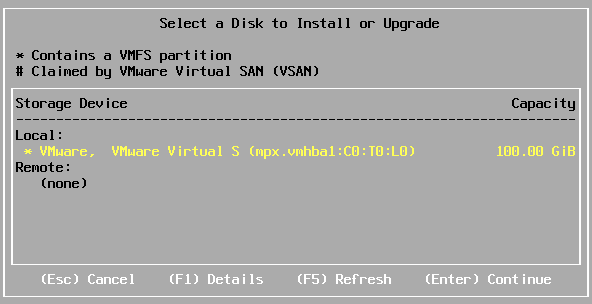 |
| If you already have a VMFS disk, select your preferred option and press [Enter] | 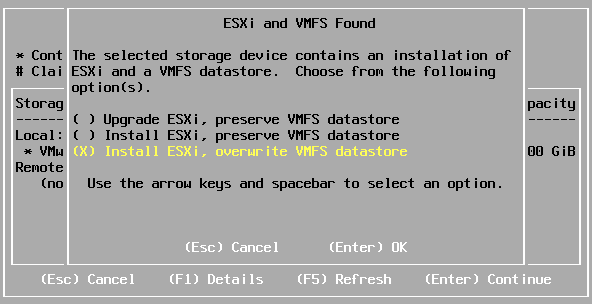 |
| Select your preferred keyboard layout and press [Enter] | 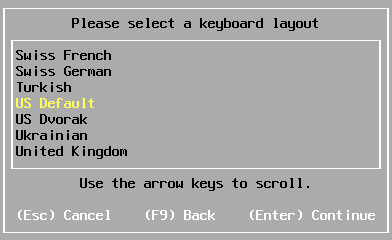 |
| Enter your preferred root password twice and press [Enter] | 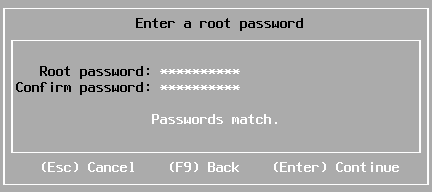 |
| Press [F11] to begin the installation | 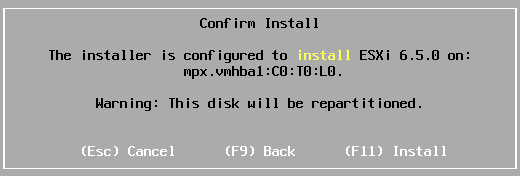 |
| Remove the installation media and press [Enter] | 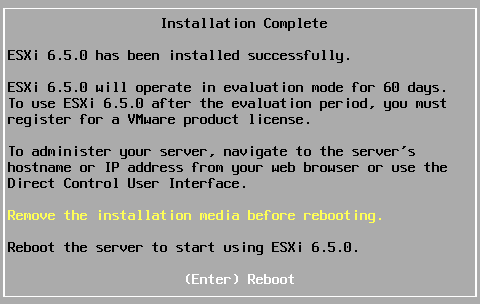 |
| Press [F2] | 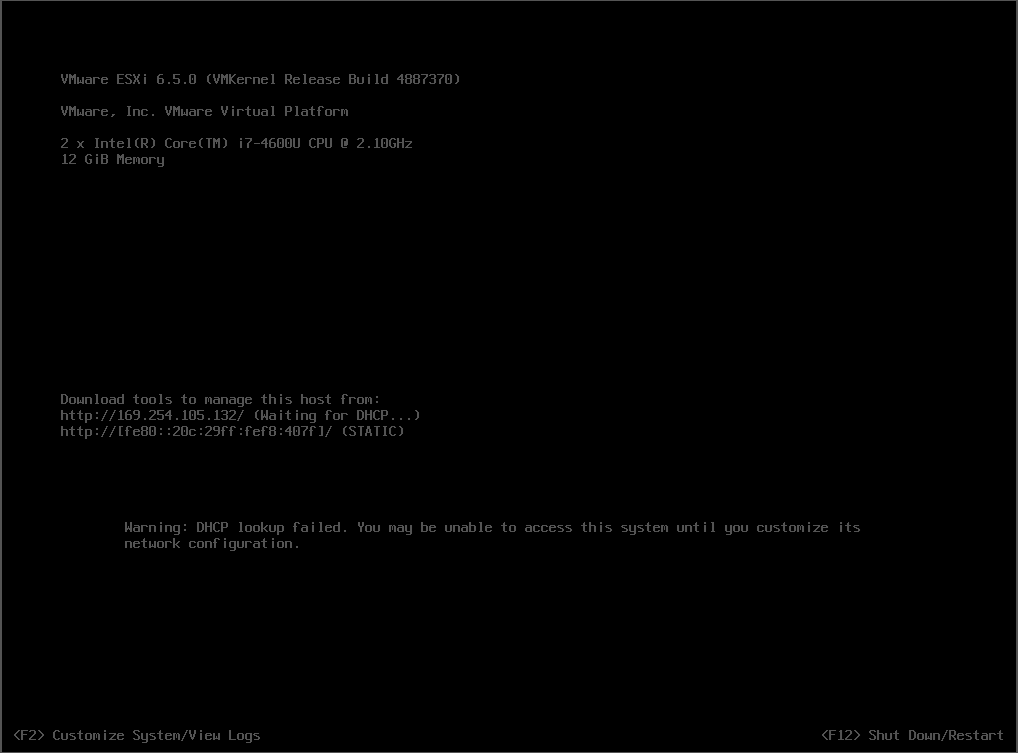 |
| Enter your Login Name and Password and press [Enter] | 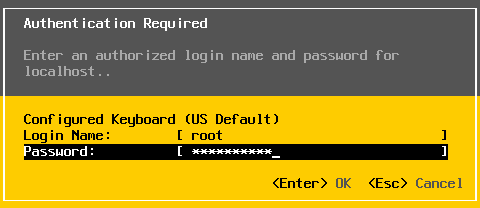 |
| Select Configure Management Network and press [Enter] | 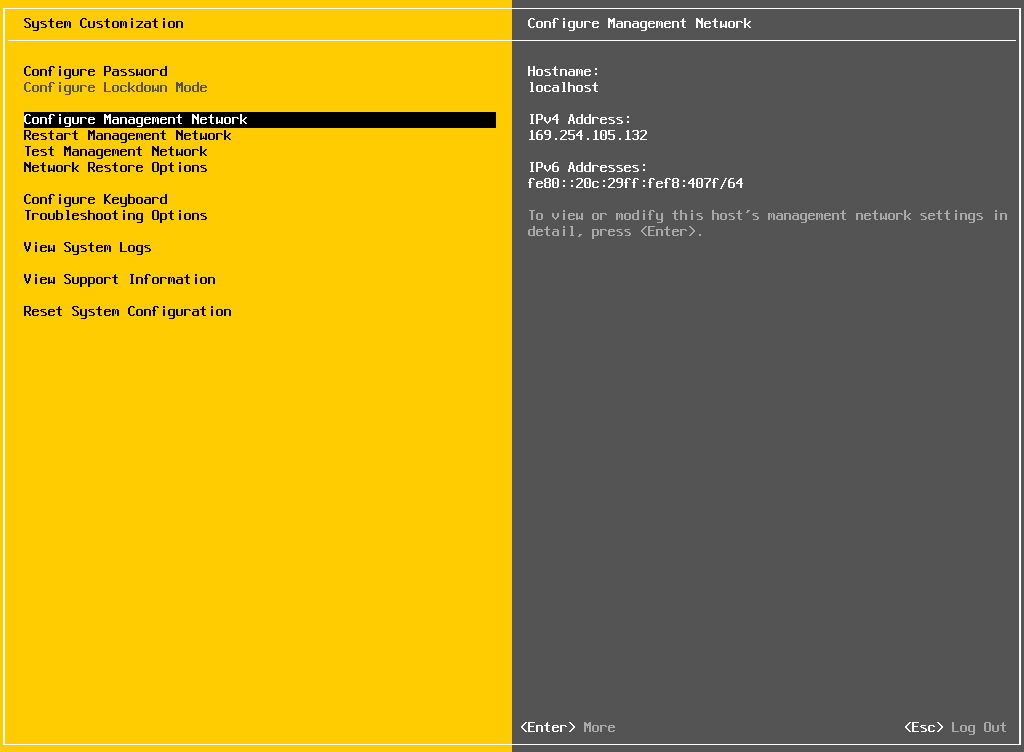 |
| Select IPv4 Configuration and press [Enter] | 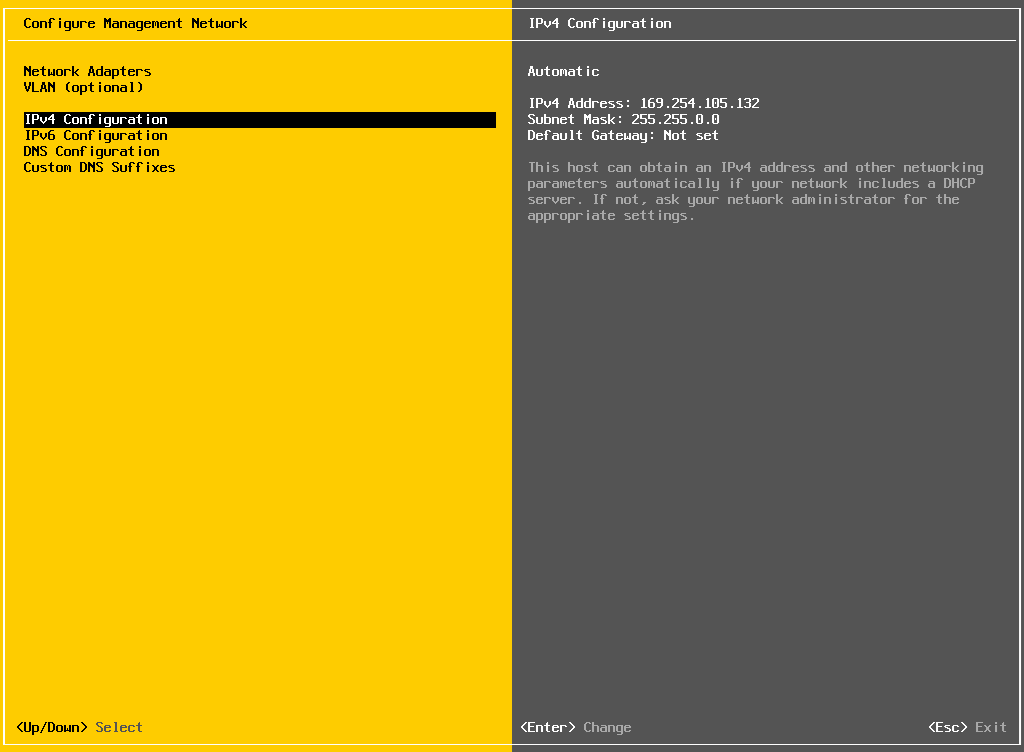 |
| Select Set static IPv4 address and network configuration and enter the IPv4 Address, Subnet Mask and Default Gateway and press [Enter] | 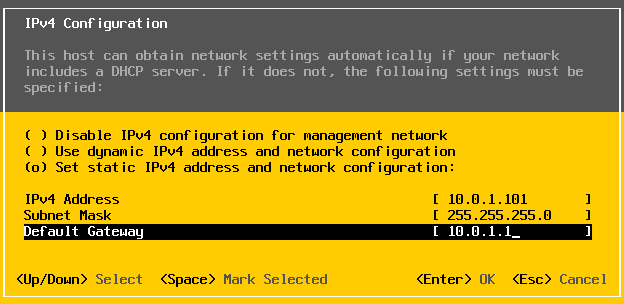 |
| Press [Esc] | 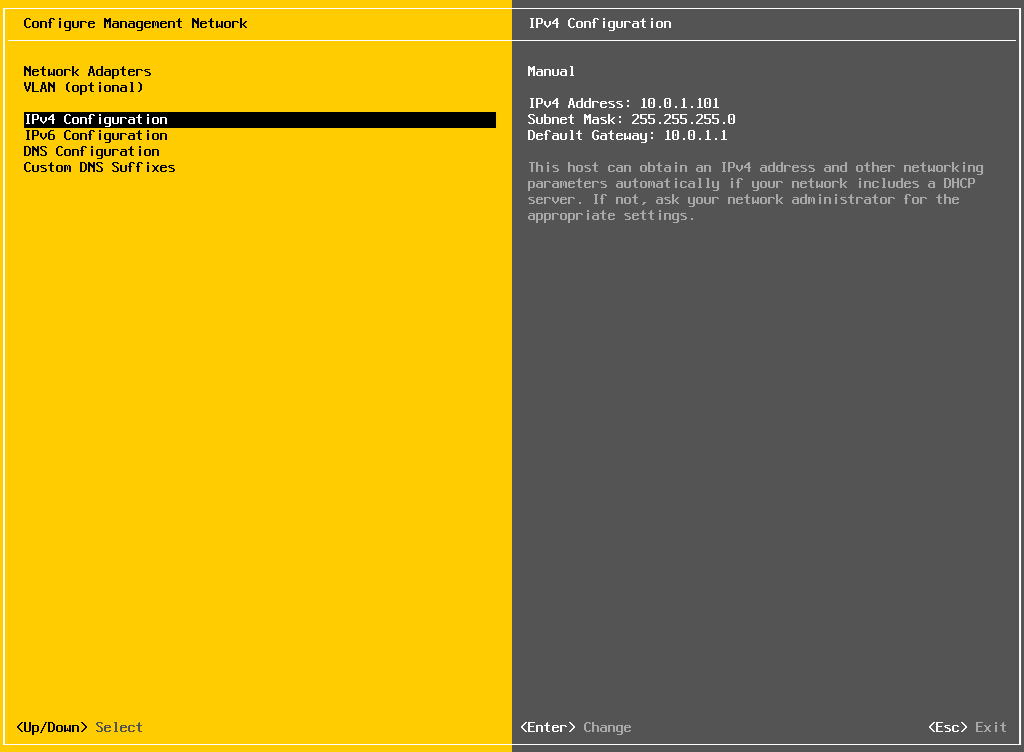 |
| Press [Y] | 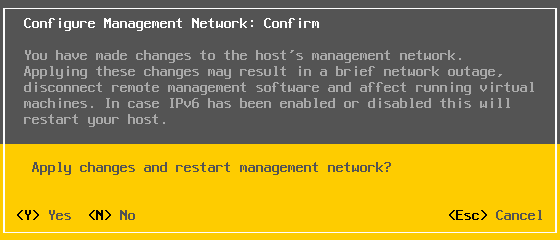 |
| Press [Esc] to Log Out | 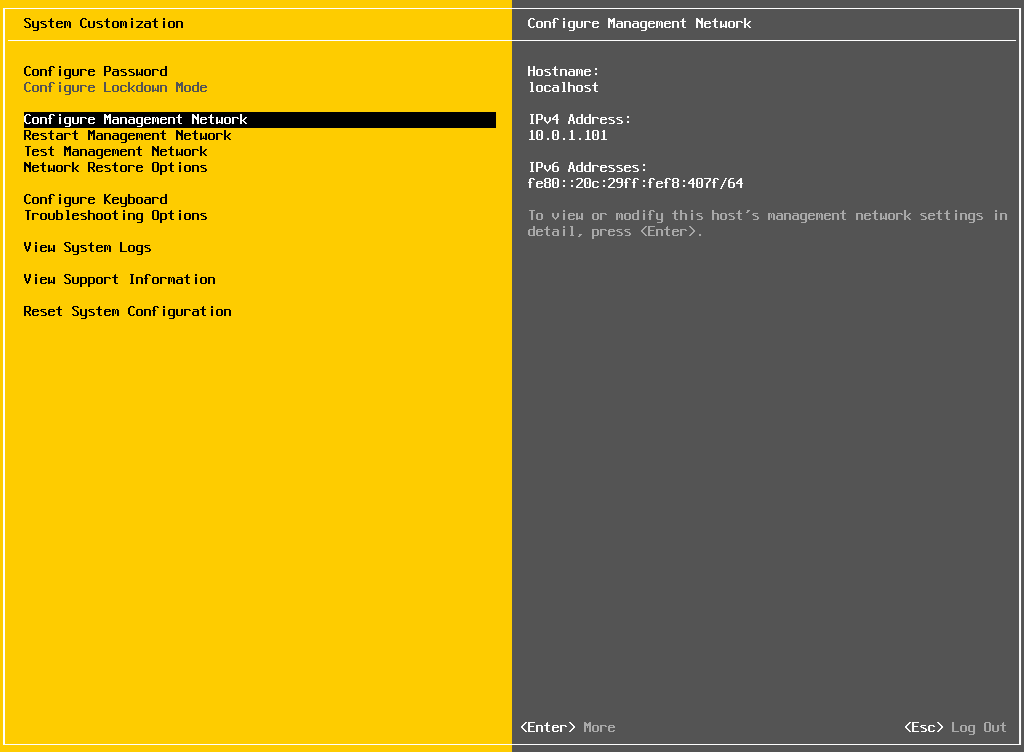 |
Installing and Configuring vCenter Appliance
| I choose to install the vCenter appliance from my Windows desktop by mounting the ISO file
Double click the ISO file to have it mounted as a DVD drive |
 |
| Open the folder vcsa-ui-installer | 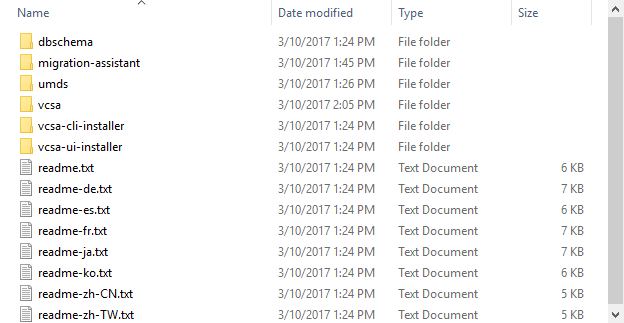 |
| Open the folder win32 | 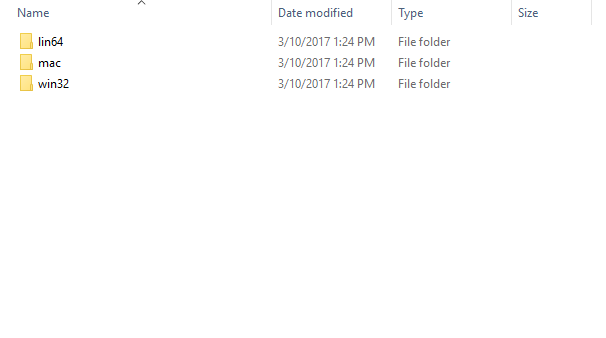 |
| Double click installer.exe | 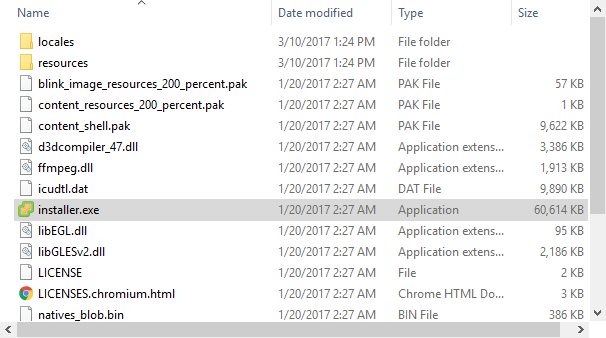 |
| Click Install | 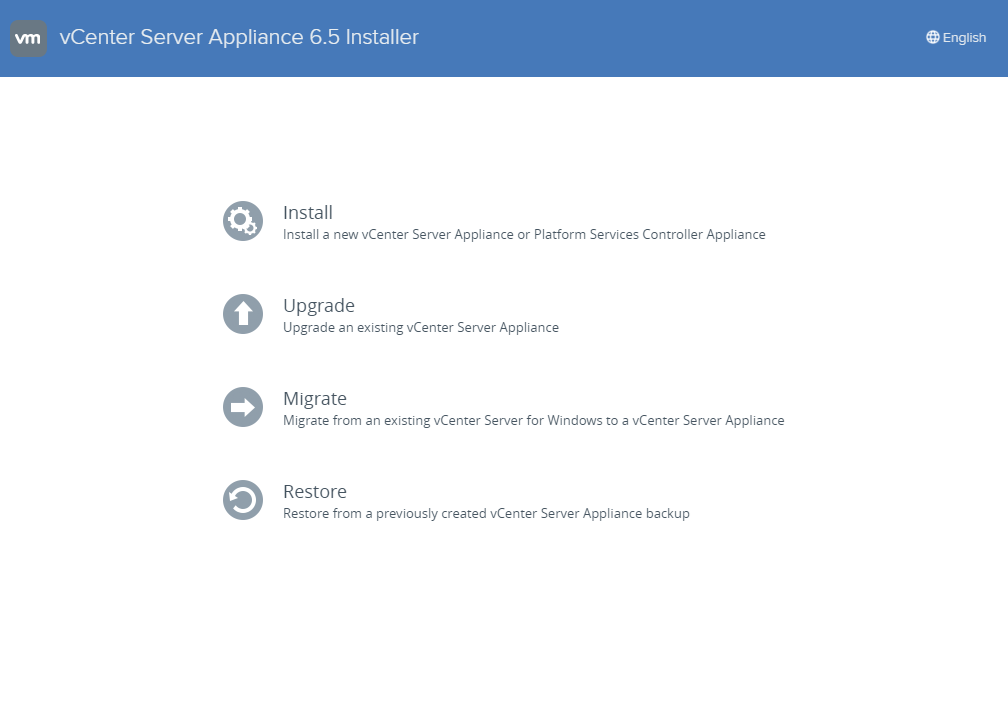 |
| Click Next | 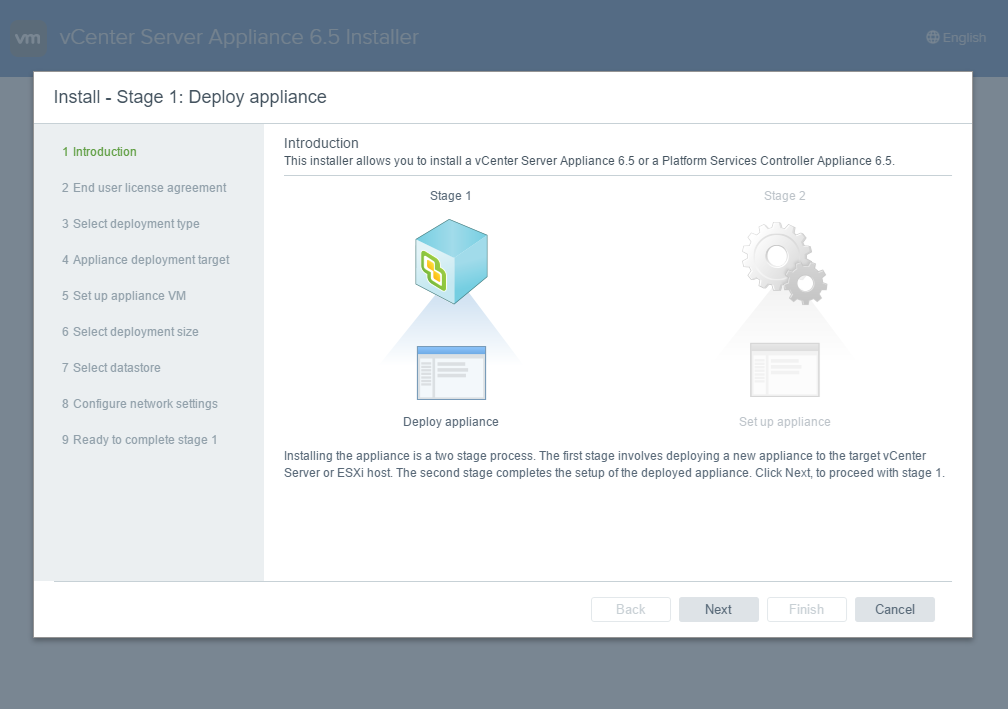 |
| Select I accept the terms of the license agreement and click Next | 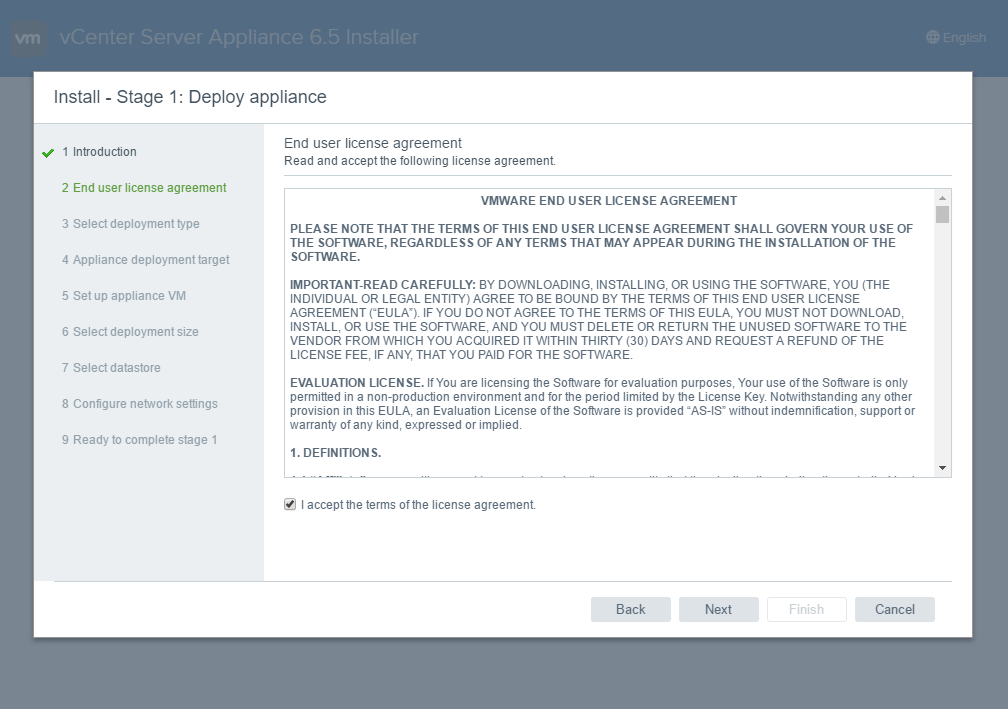 |
| Select vCenter with an Embedded Platform Services Controller and click Next | 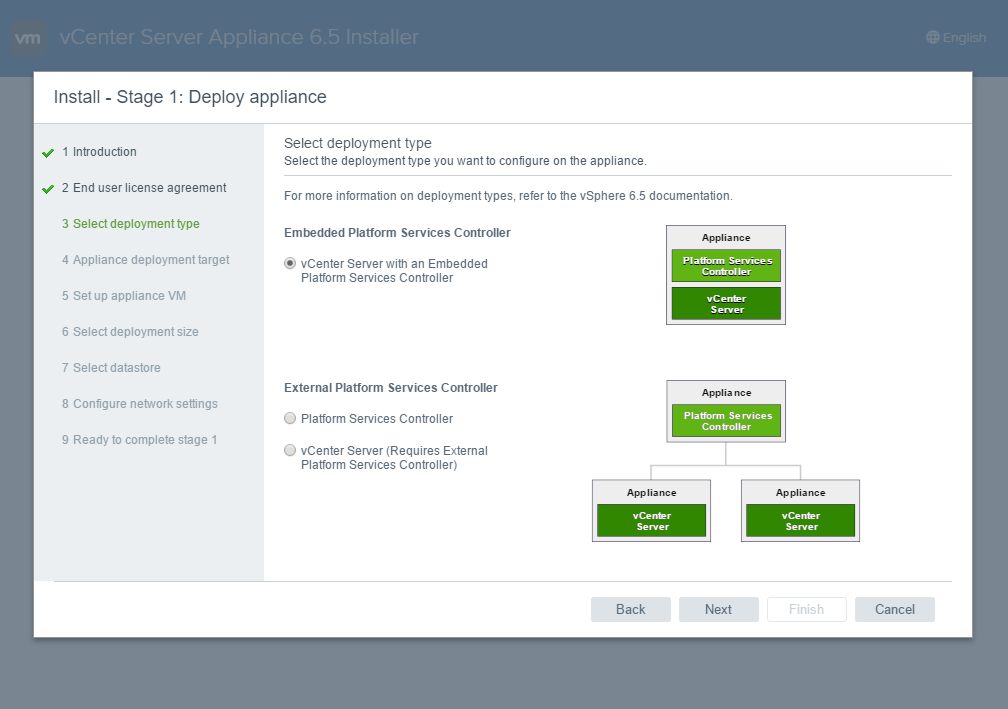 |
| Enter the IP address 10.0.1.101 for the ESXi host or vCenter Server name
Leave the default HTTPS port Enter the User name and Password for the ESXi host and click Next |
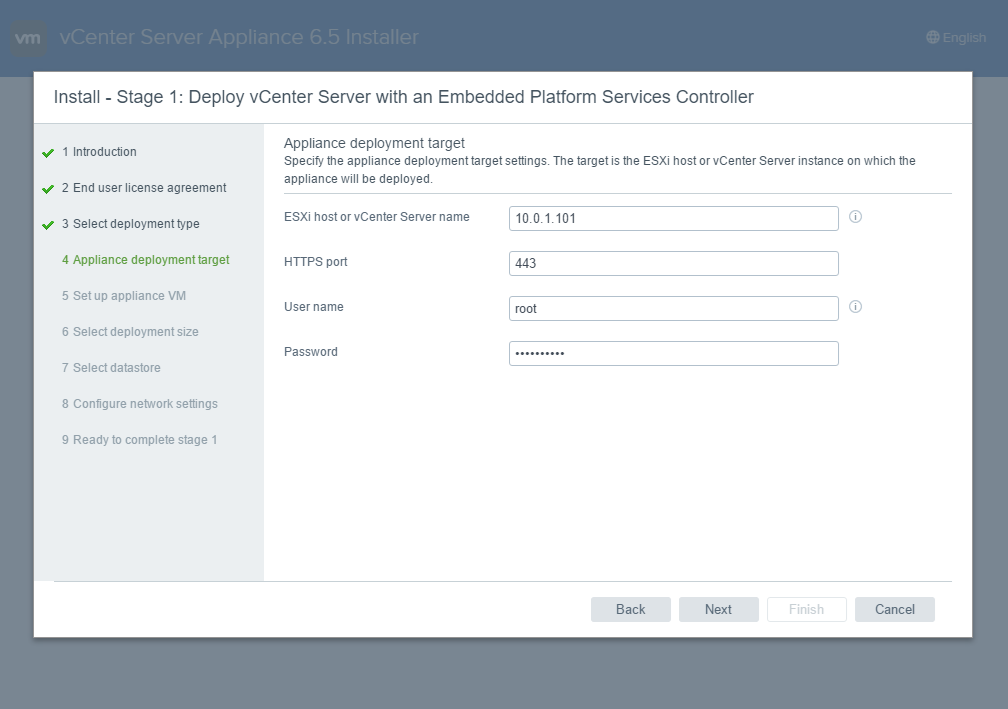 |
| Click Yes | 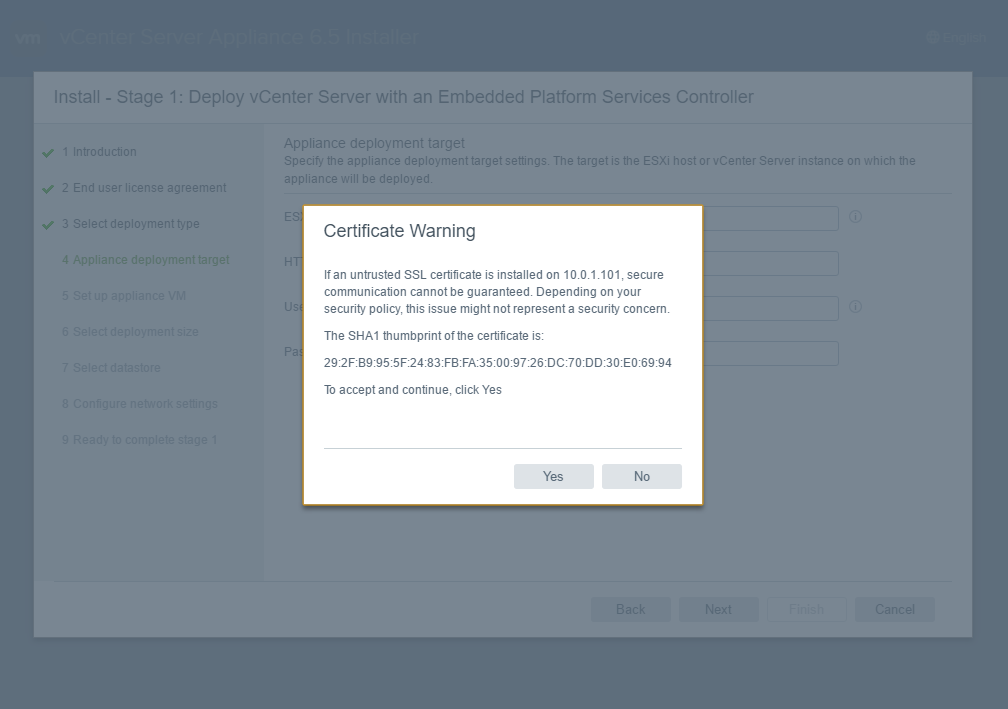 |
| Enter vCenter as the VM name, and enter the Root password and Confirm root password and click Next | 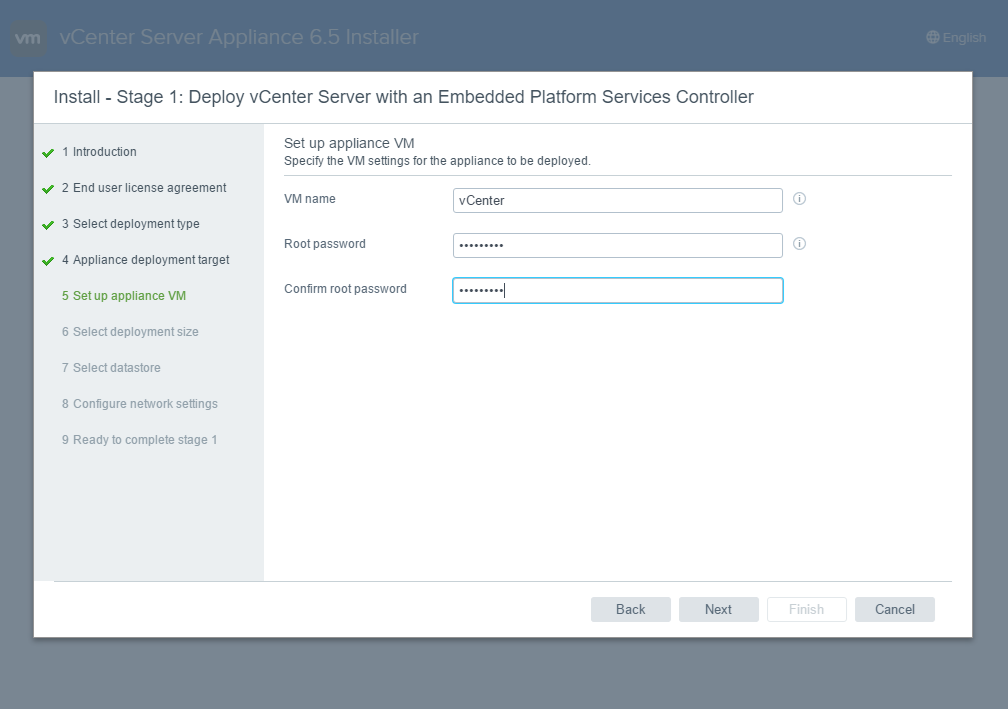 |
| Leave the defaults and click Next | 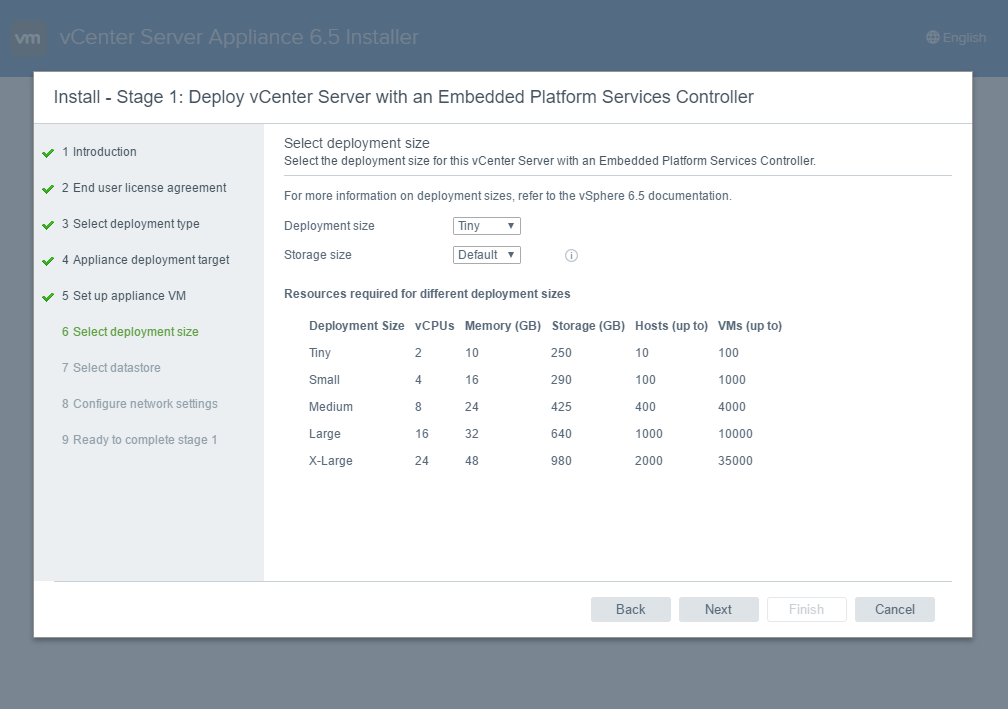 |
| Select the datastore that you want to use for storing the vCenter appliance
Select Enable |
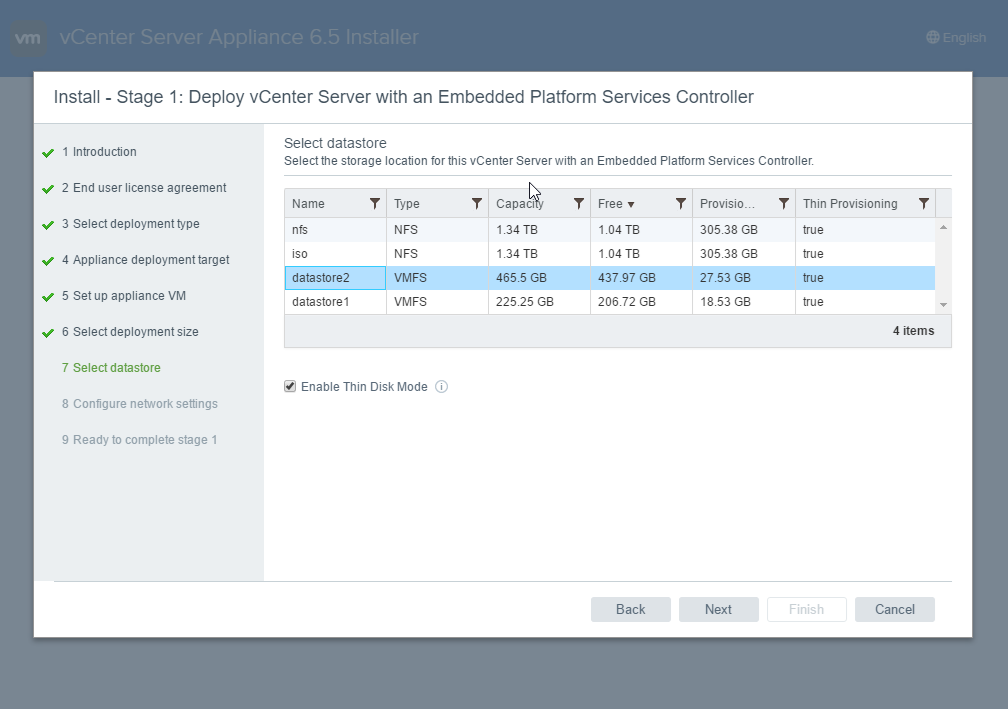 |
| Enter 10.0.1.102 as the IP address for the vCenter appliance
Enter 255.255.255.0 as the Subnet mask or prefix length Enter 10.0.1.1 as the Default gateway Enter 10.0.1.1 as the DNS server and click Next |
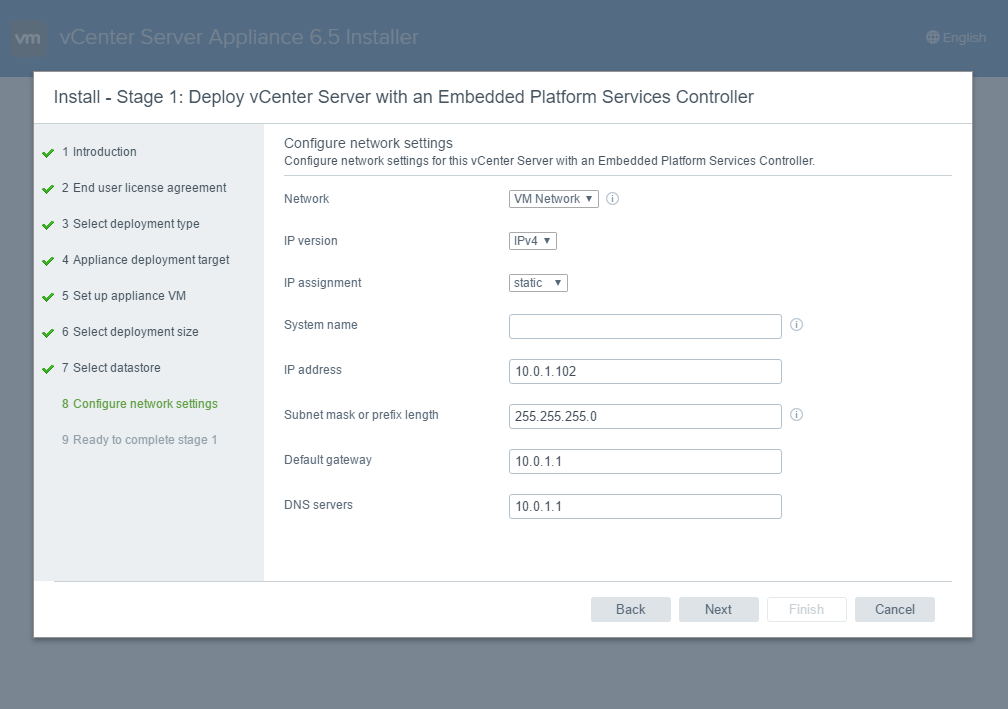 |
| Click Finish | 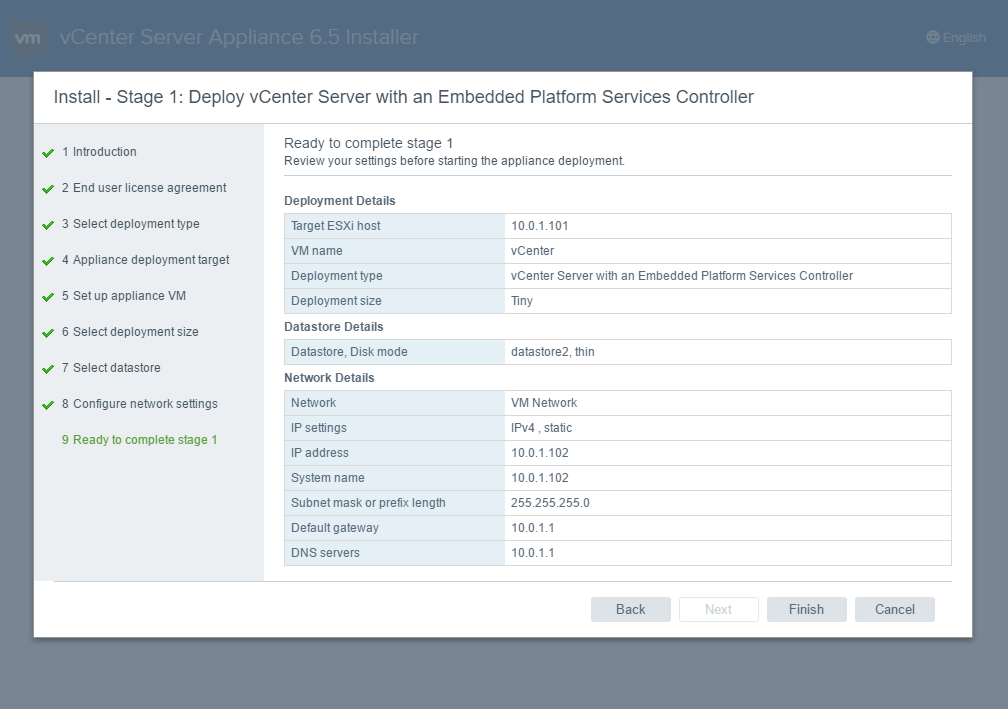 |
| The vCenter appliance is being deployed | 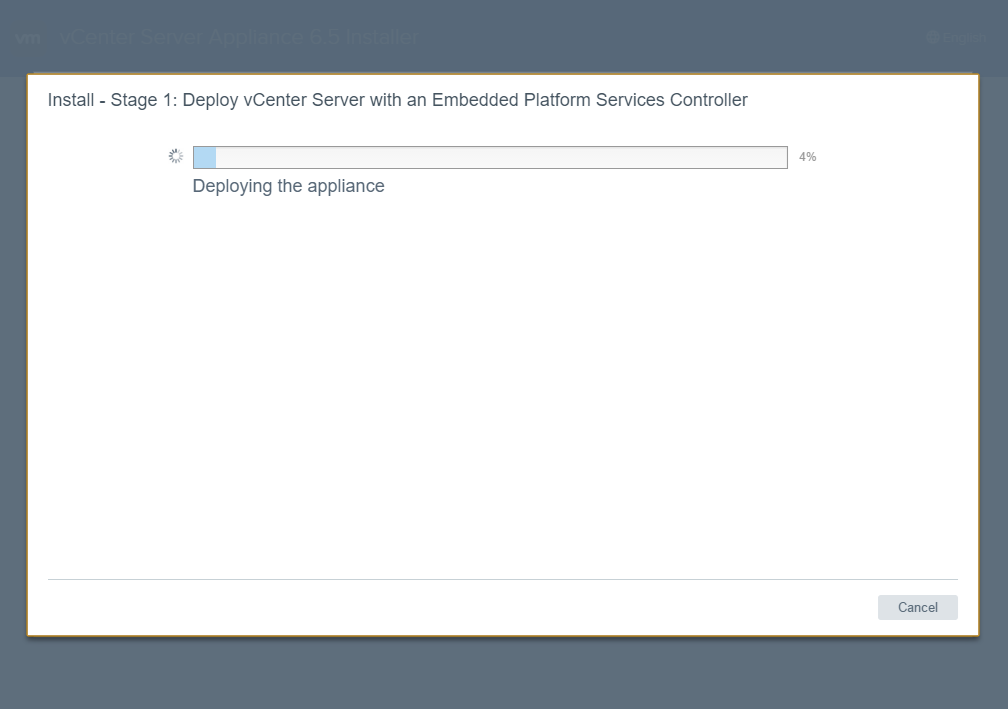 |
| Stage 1 has completed
Click Continue |
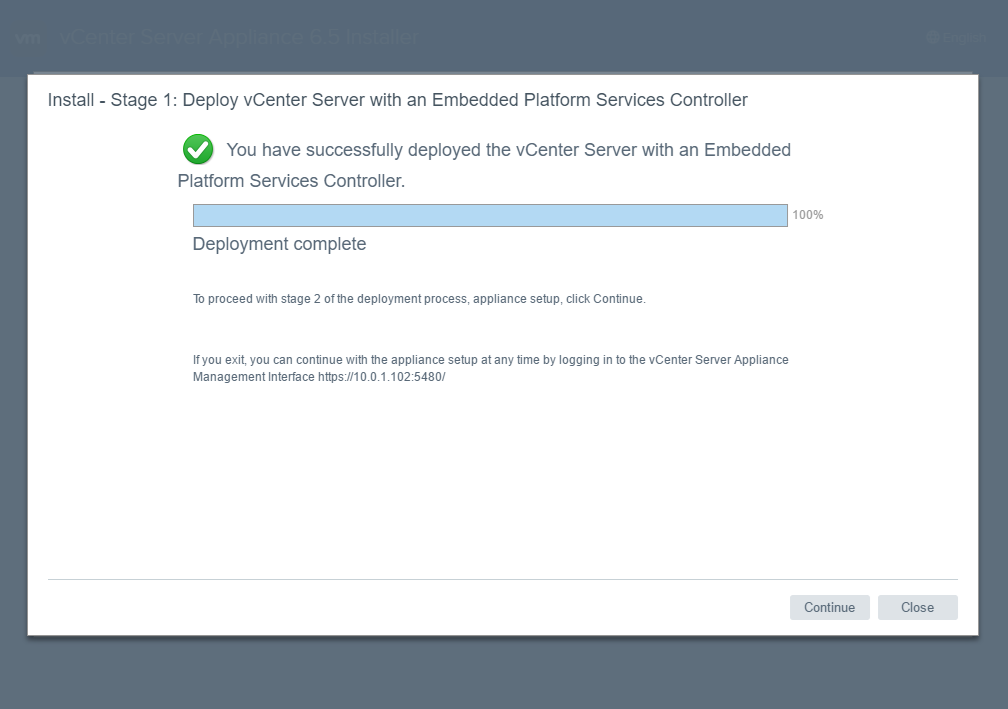 |
| Click Next | 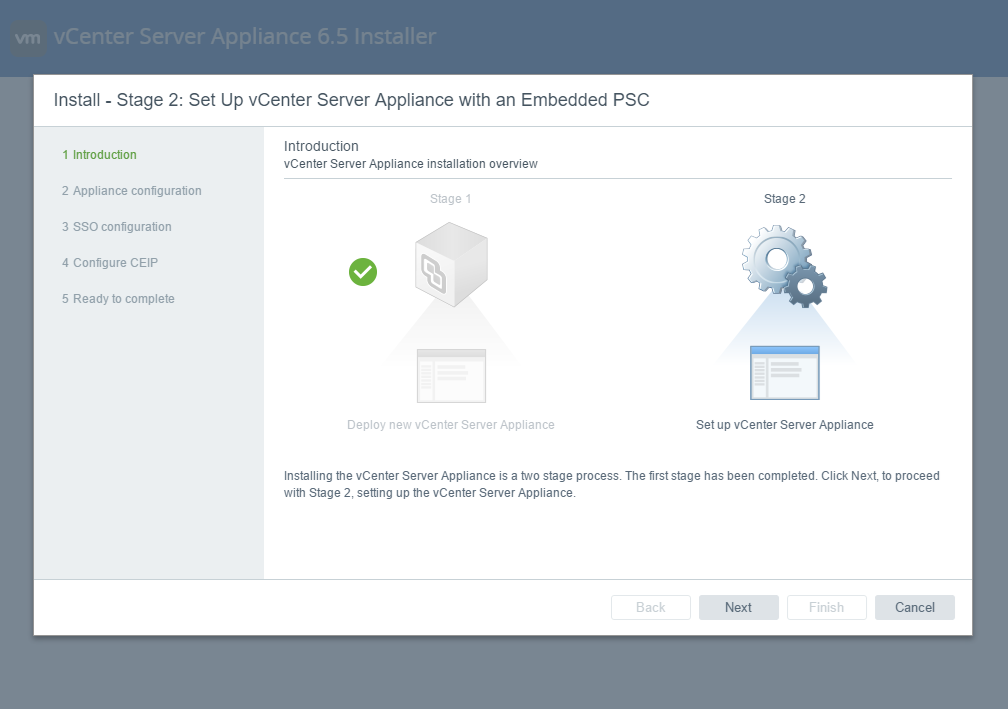 |
| Select Synchronize time with the ESXi host and click Next | 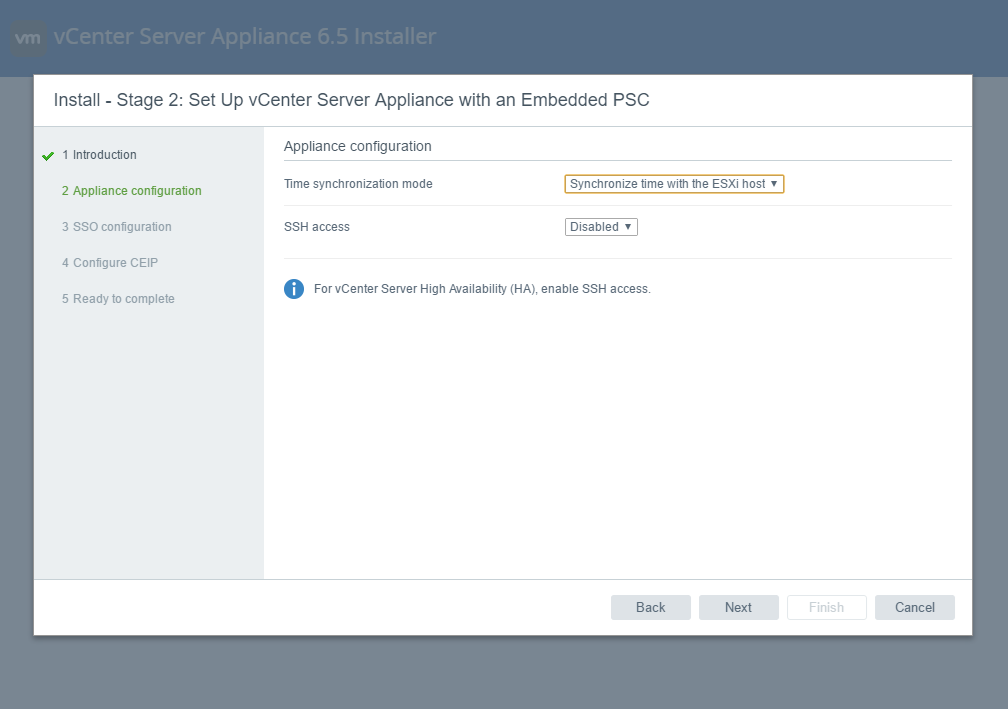 |
| Enter vsphere.local for the SSO domain name
Enter the SSO password and Confirm password Enter default-site for the Site name and click Next |
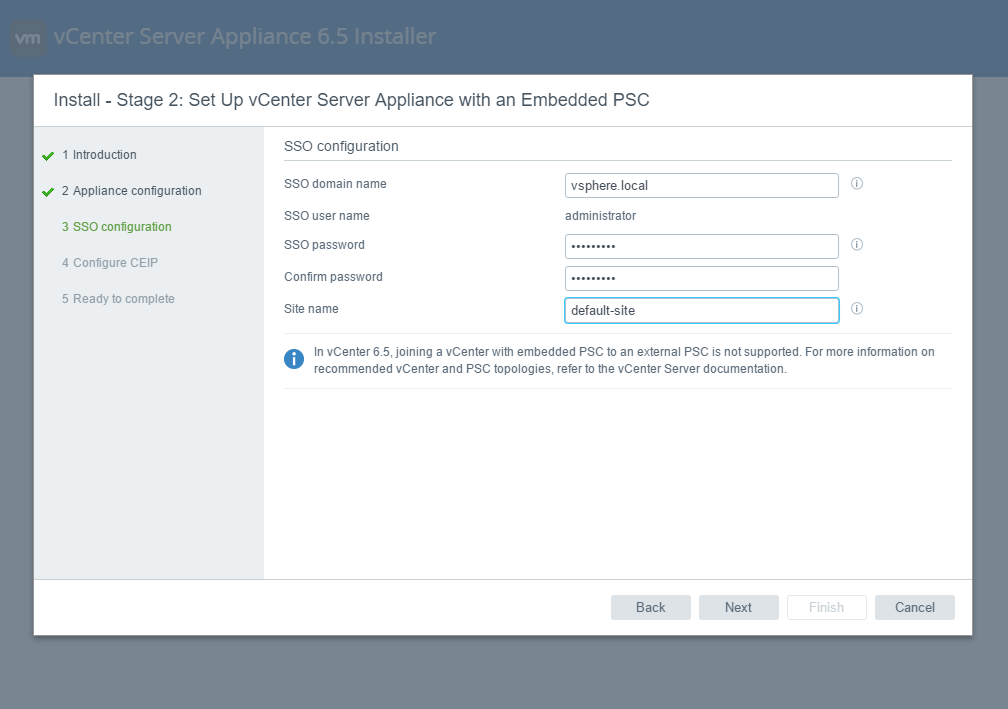 |
| Select if you want to Join the VMware’s Customer Experience Improvement Program (CEIP) and click Next | 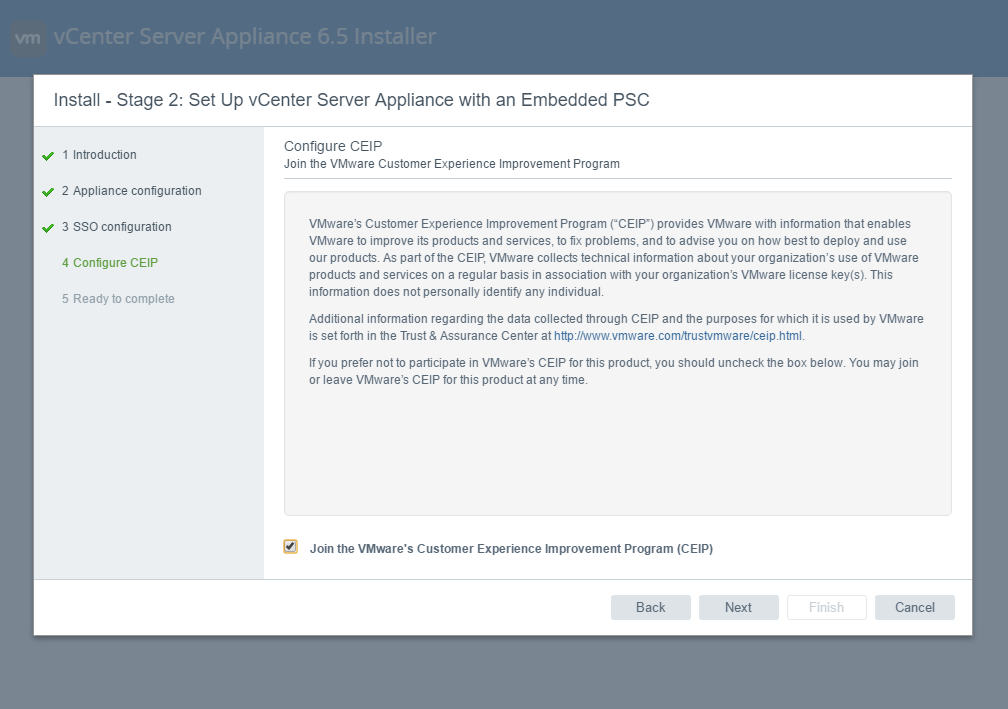 |
| Click Finish | 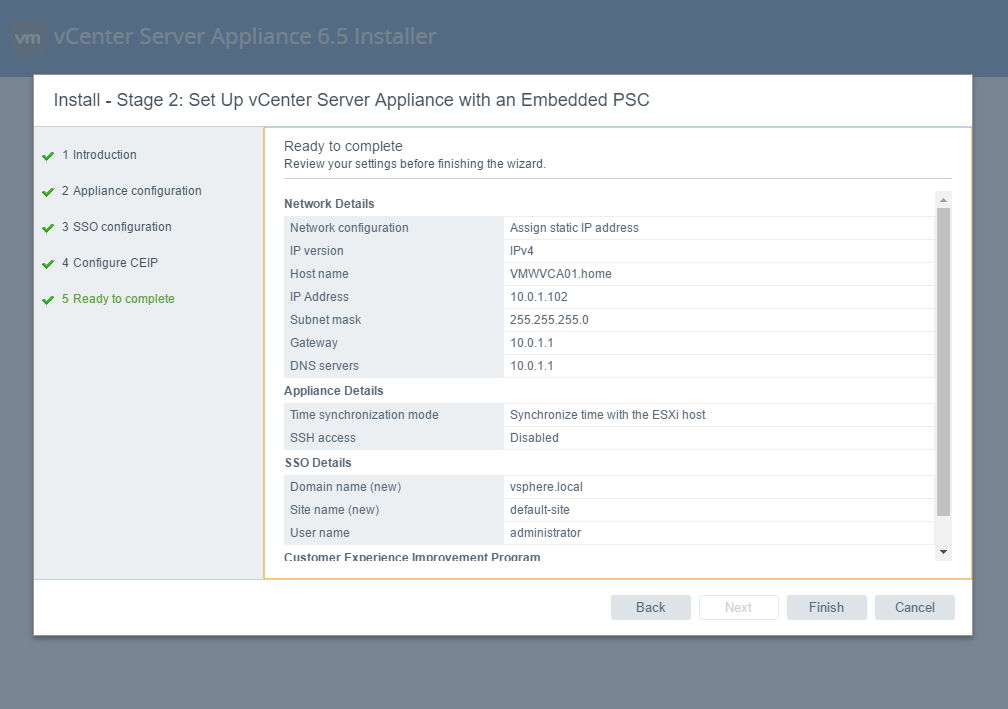 |
| Click OK | 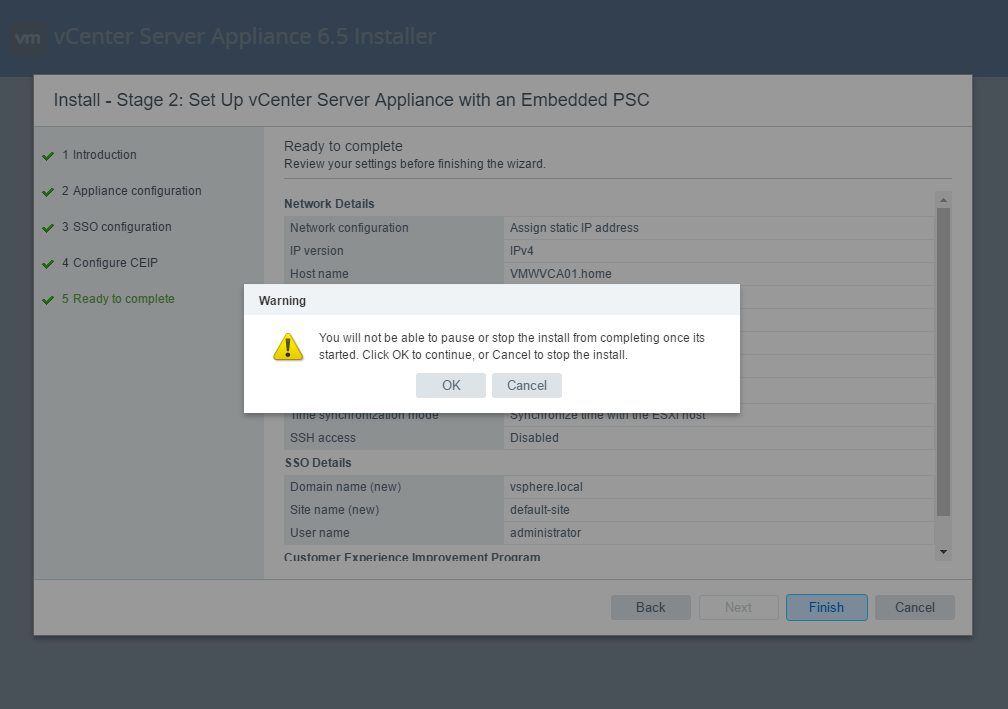 |
| The vCenter appliance is being setup | 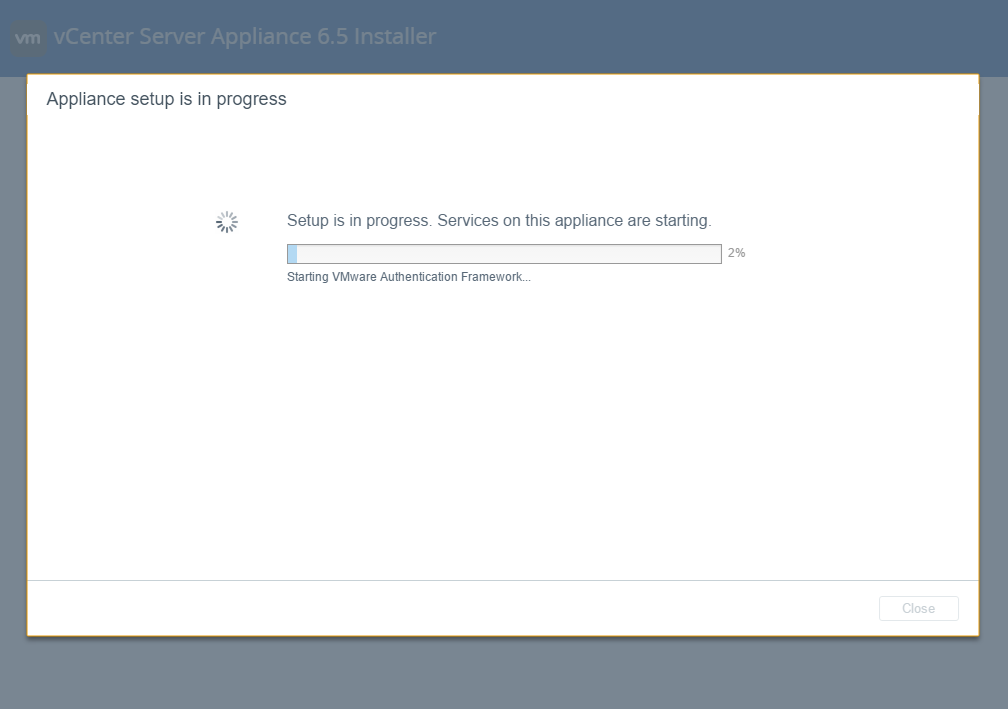 |
| Stage 2 has completed
Click Close |
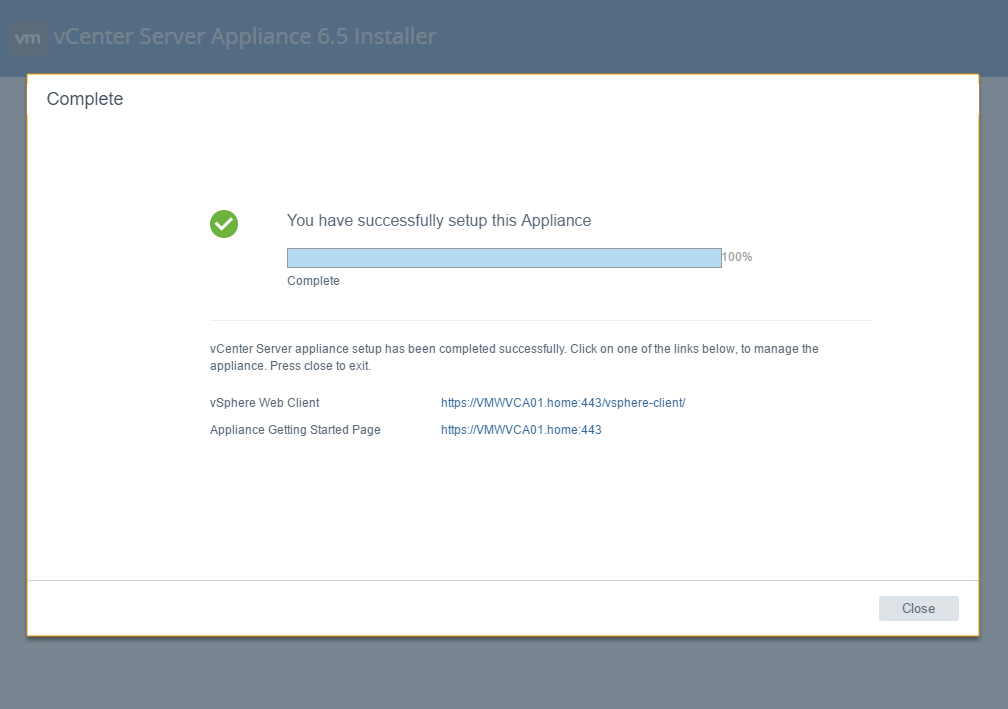 |
Create the Datacenter & Cluster
| Use your favorite browser and open https://vmwvca01.home Click vSphere Client (HTML5) – partial functionality |
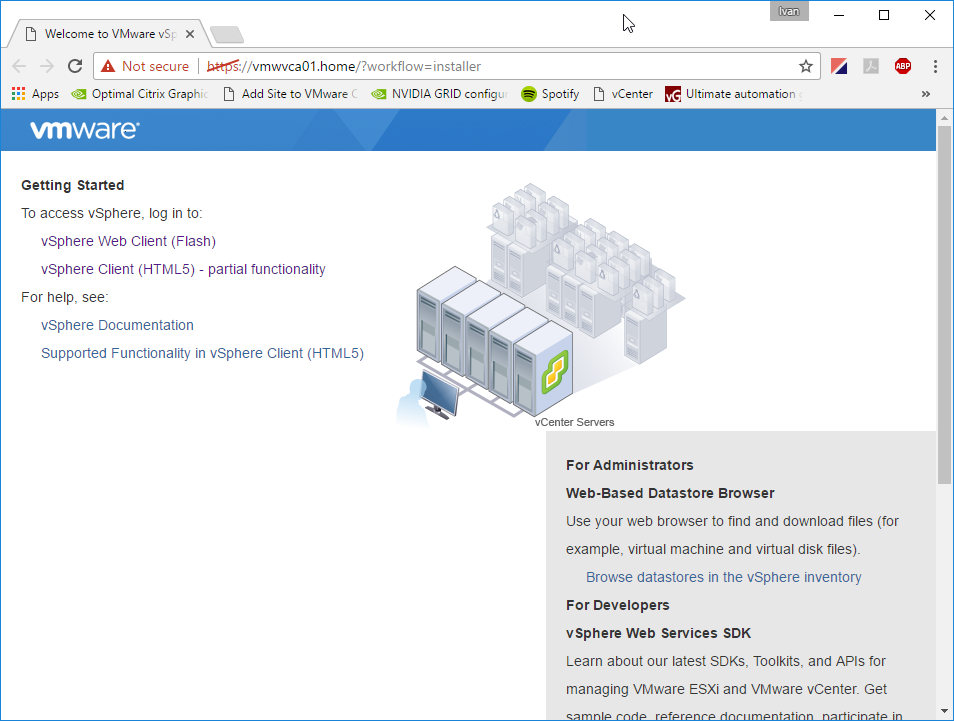 |
| Enter User name and Password and click Login | 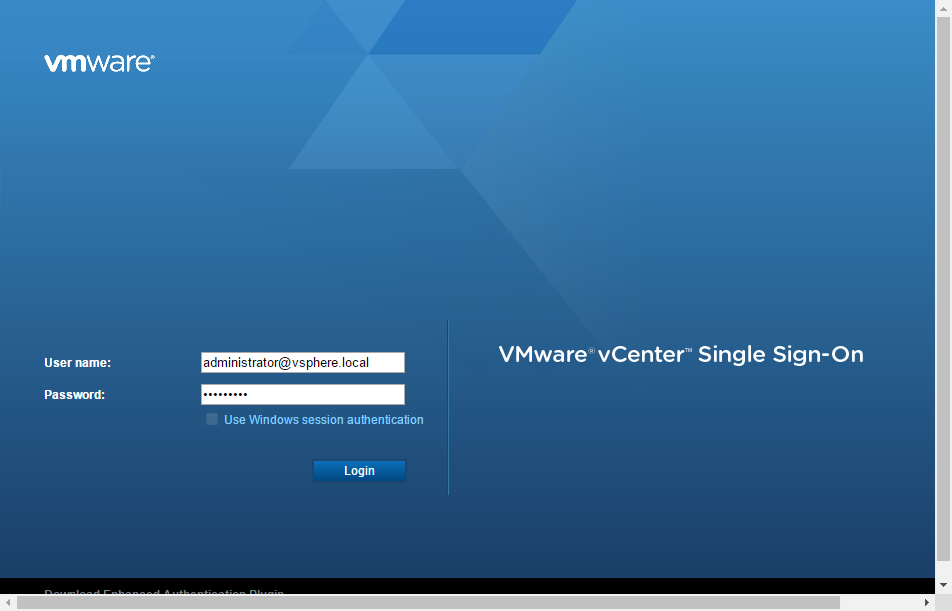 |
| Right click 10.0.1.102 and click New Datacenter | 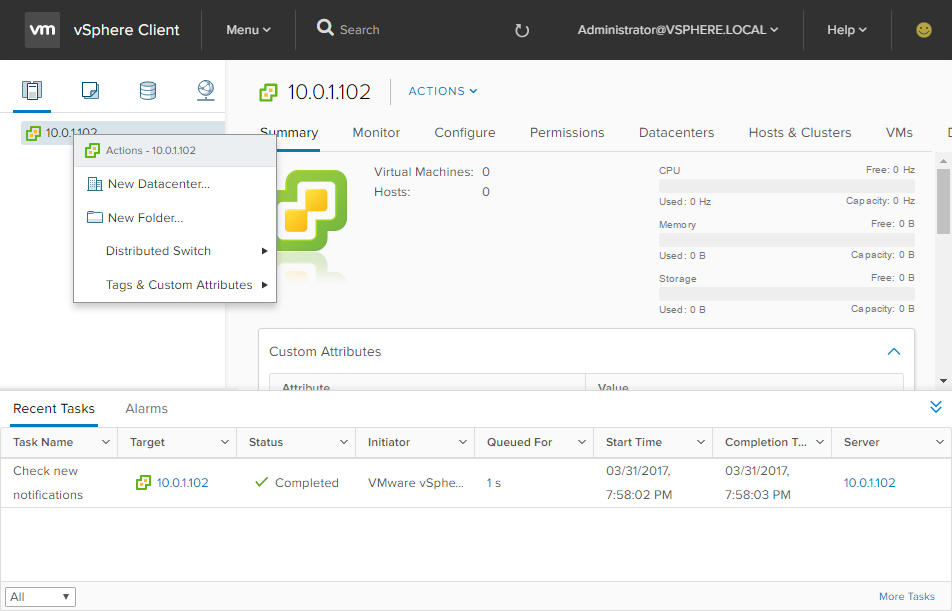 |
| Leave the defaults and click OK | 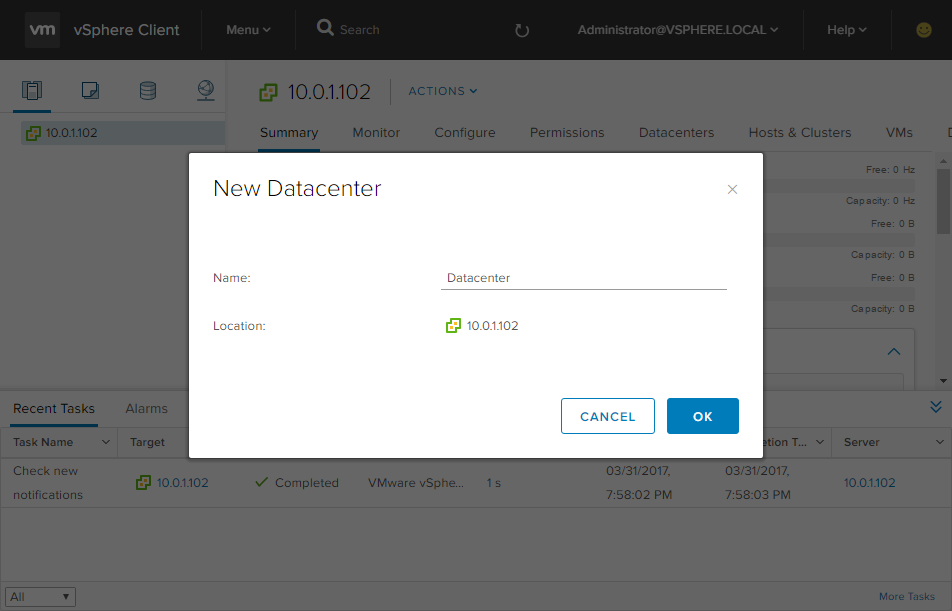 |
| Right click Datacenter and click New Cluster | 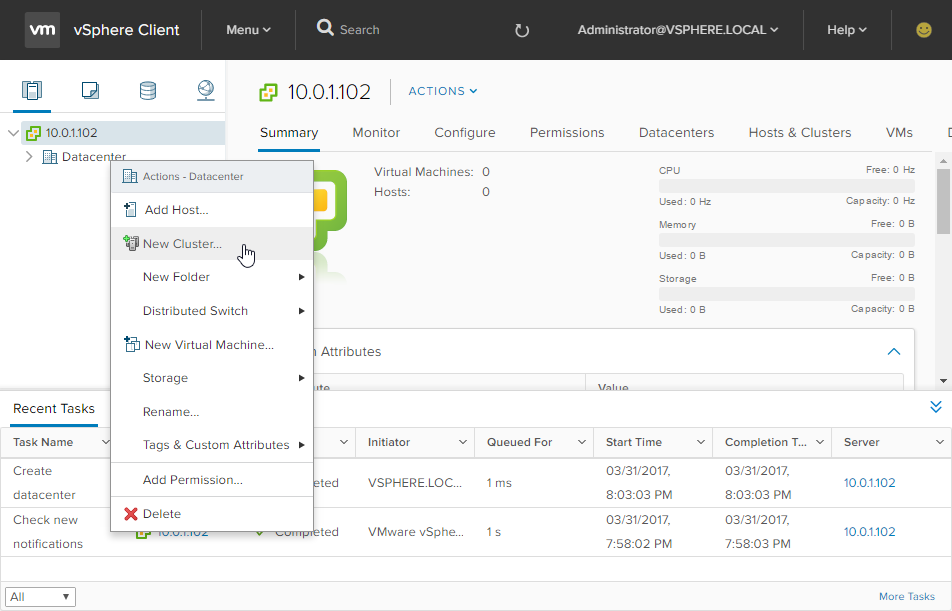 |
| Enter Cluster for the Name and leave the other defaults and click OK | 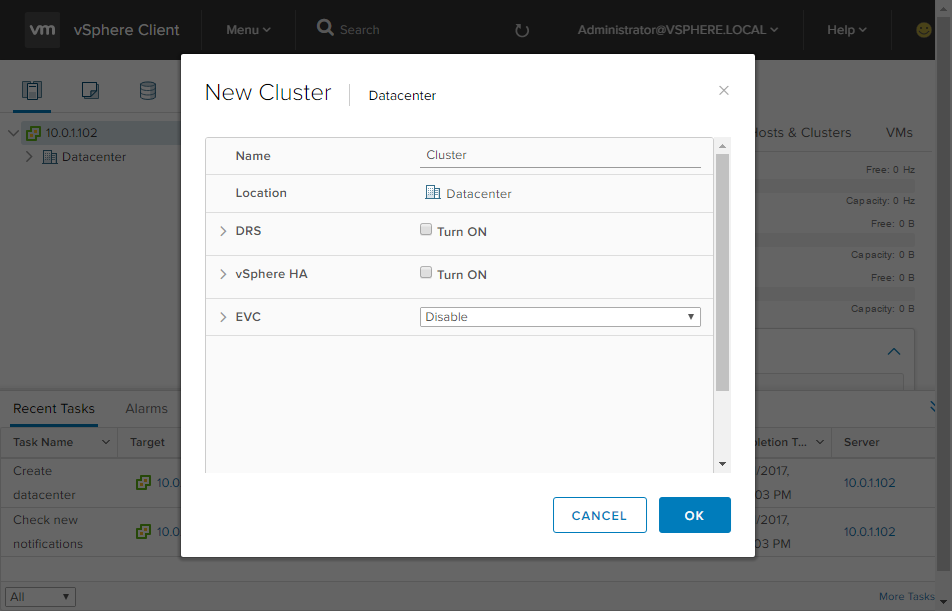 |
| Right click Datacenter à Cluster and click Add Host | 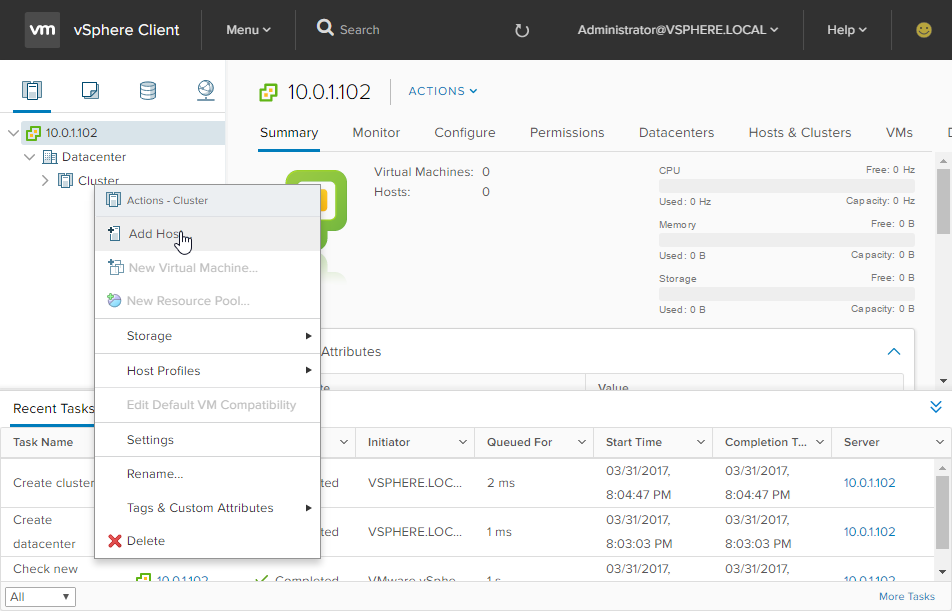 |
| Enter 10.0.1.101 for the Host name or IP address and click Next | 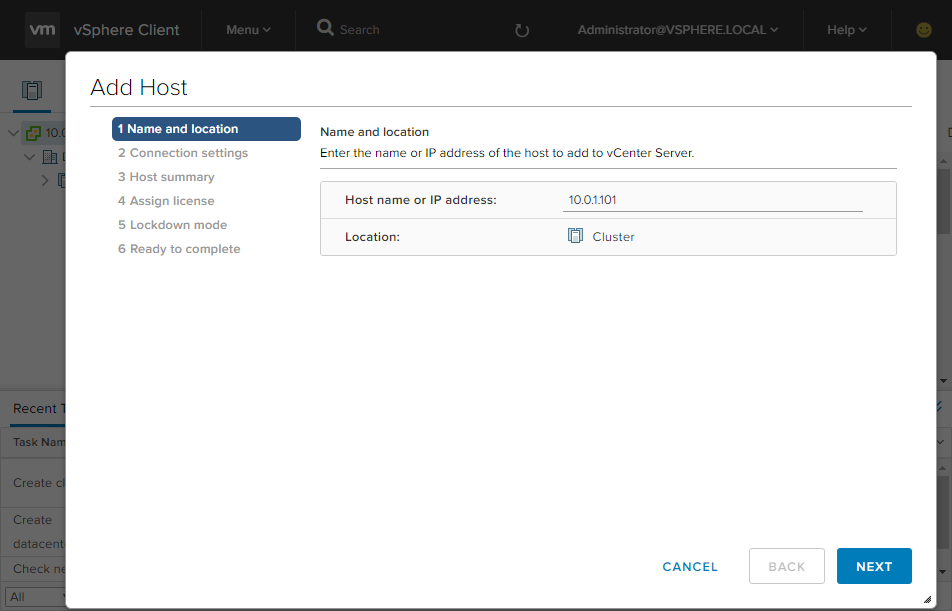 |
| Enter User name and Password and click Next | 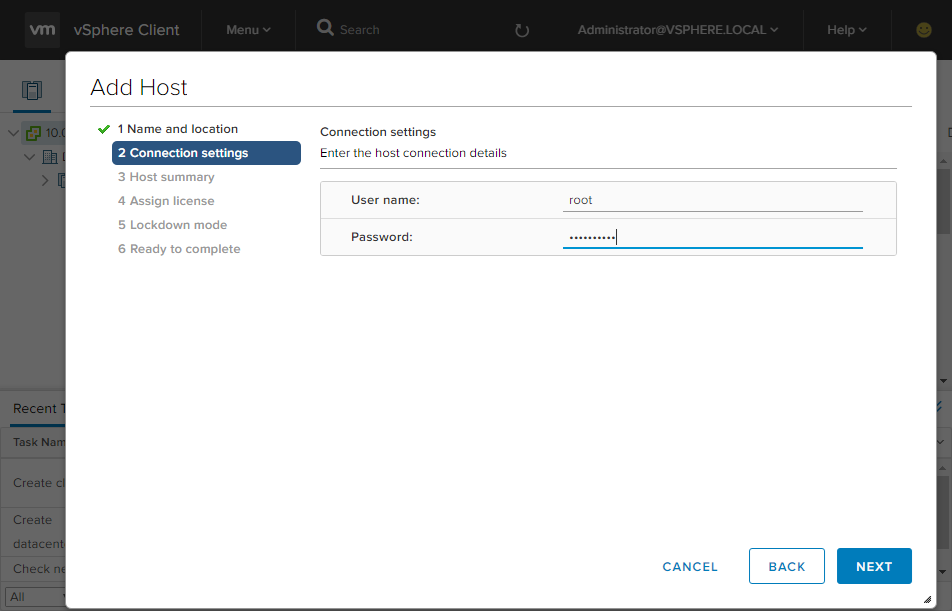 |
| Click Yes | 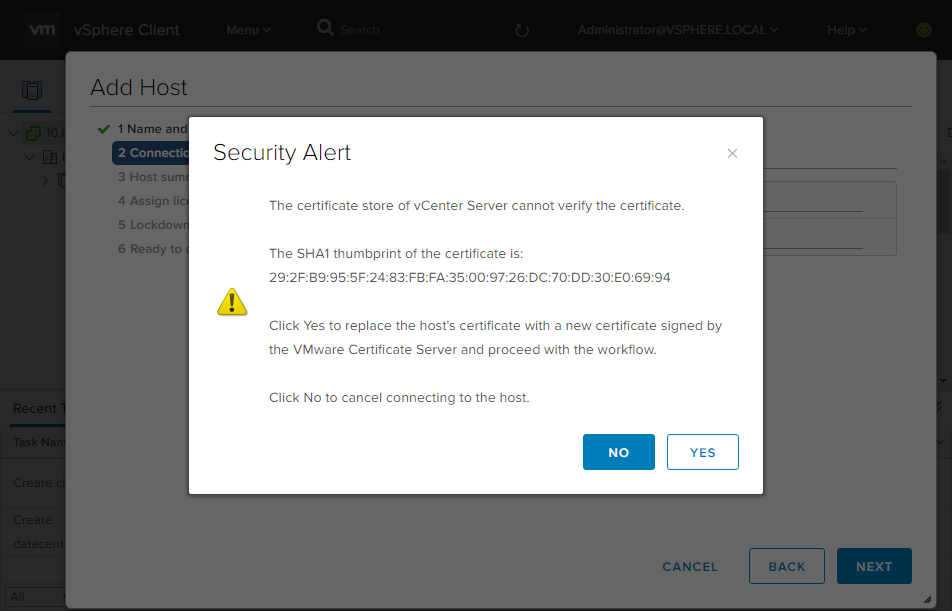 |
| Click Next | 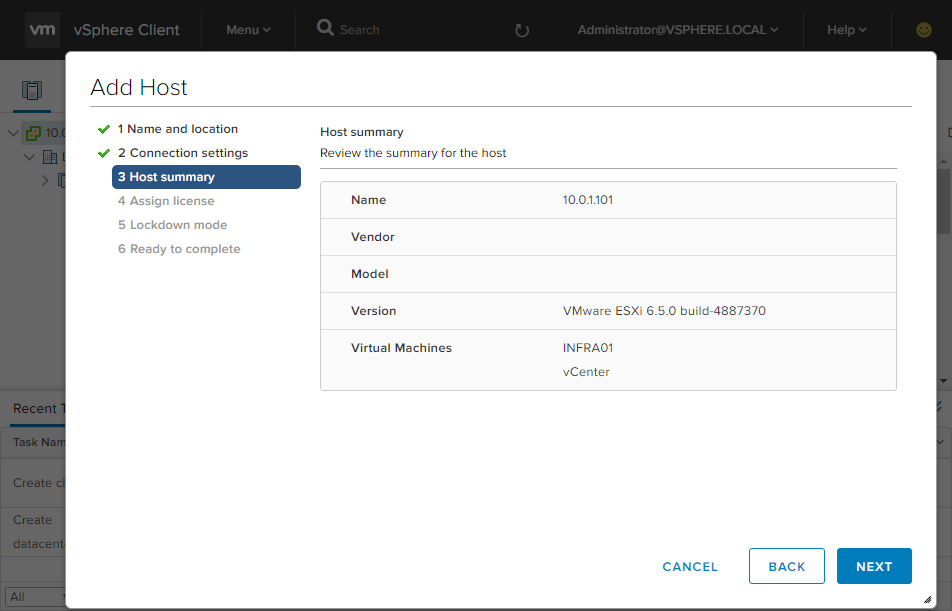 |
| Select the correct (evaluation) license and click Next | 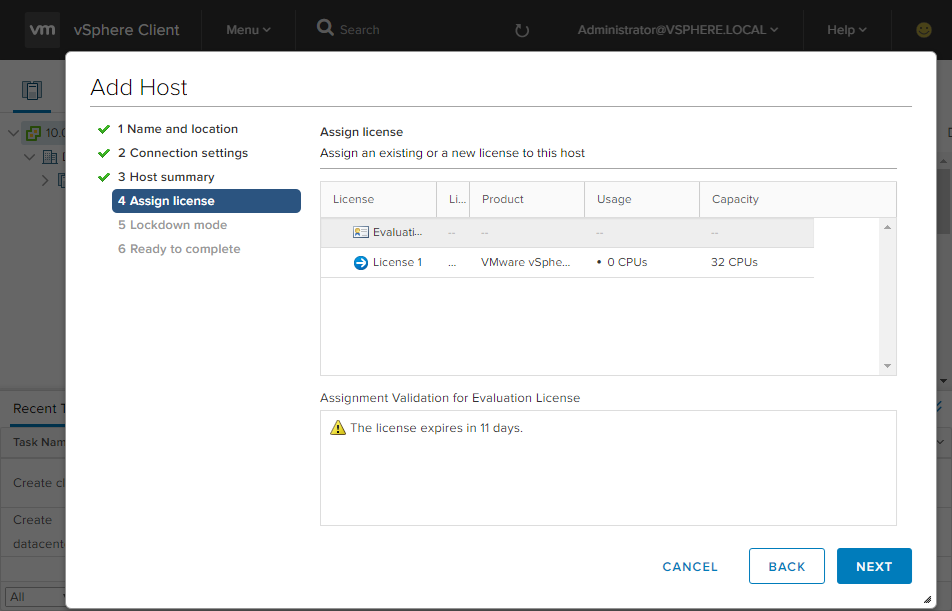 |
| Leave the defaults and click Next | 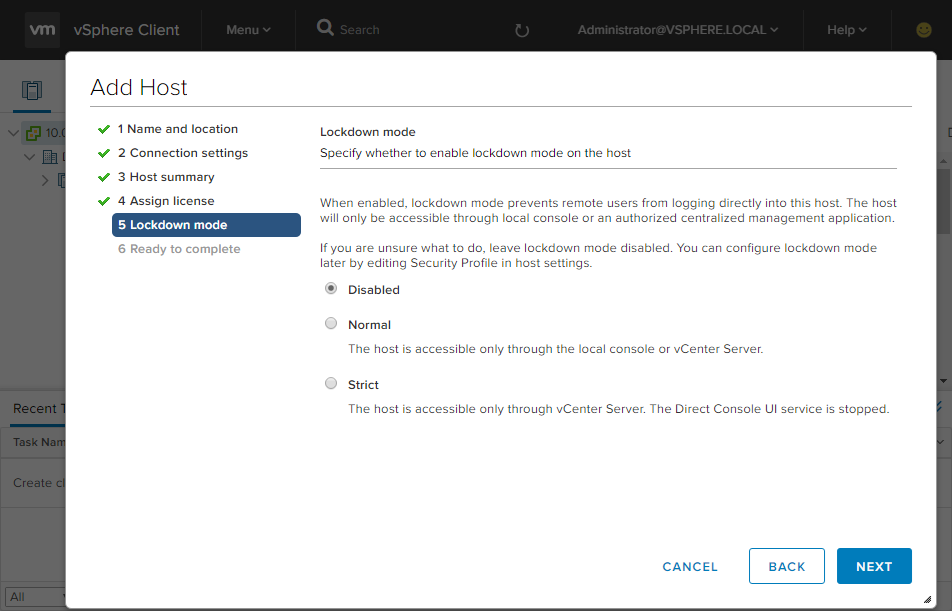 |
| Click Finish | 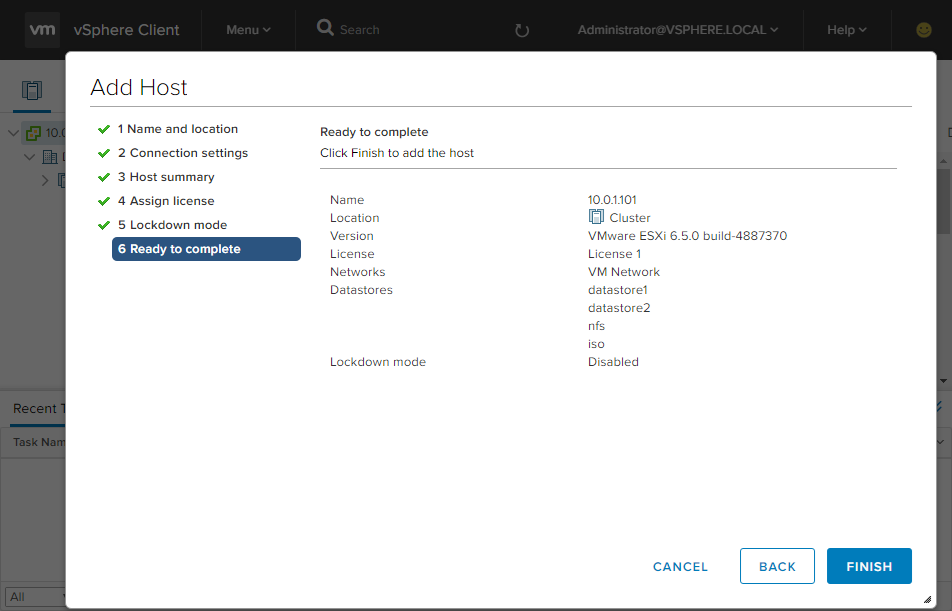 |
| After some time the Add host task should be completed | 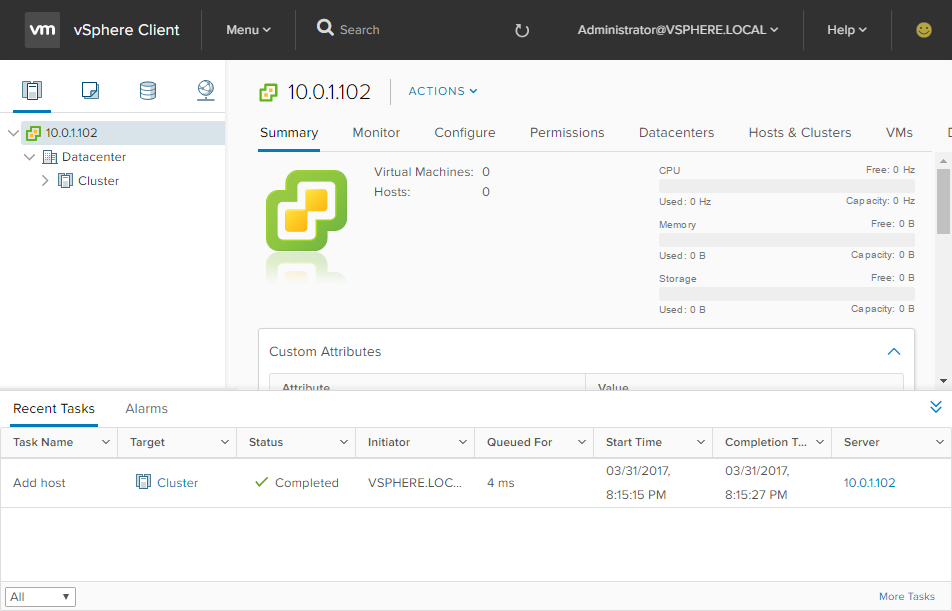 |
NextUp >> Let’s JMP – Part 3: Horizon


