Setting up IGEL OS as a Login PI launcher to VMware Horizon
Every organization that takes itself seriously 😉 has some kind of monitoring. Most organizations monitor their systems based on commonly configured metrics, like CPU, memory, HDD space, etc., which is good. But if you want to monitor your end user environment, either VDI or RDSH, your preferably want to continually monitor end user experience. This is where Login PI comes in. I won’t go into too much detail here, as I already wrote a more detailed blog post on Login PI, but what I can say is that Login PI provides a continuous pro-active end user experiencing monitoring solution that helps you detect application availability, performance and impact of changes in your environment.
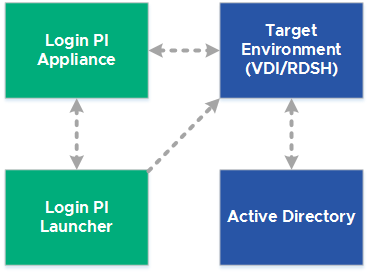
In February 2019, IGEL and Login VSI announced a partnership. The result of the partnership is the possibility of IGEL OS being used as a launcher for Login PI. Launchers can be strategically placed within your environment to monitor the end user experience. To better explain where you should see the Login PI Launcher in the Login PI monitoring solution, here’s an overview of the basic Login PI architecture.
Because of the announcement and my personal and professional interest in IGEL and Login PI, I thought it would be a splendid idea to play around with IGEL in general and test the combination with Login PI. This blog post is all about providing you the required steps for setting up IGEL OS as a Login PI launcher to (in this scenario) VMware Horizon.
The steps described in this blog post are based on the (privately) received documentation and custom partition from Login VSI. If you want to setup and/or test in your environment, please contact Login VSI for receiving the custom partition. In a later version of IGEL OS, Login PI may be introduced as part of the base OS and therefore a part of the described steps may be not applicable anymore.
Basic IGEL and Login PI architecture
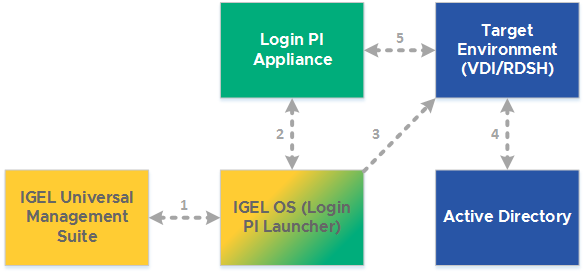
The steps provided in this blog post will result in the following basic IGEL and Login PI architecture.
To give you a better understanding I will describe how the different components interact.
(1) IGEL Universal Management Suite (UMS) manages the configuration for IGEL OS (Login PI Launcher) and is used as the host from which IGEL OS downloads the Login PI Custom Partition. IGEL OS (Login PI Launcher) also gets its configuration profile from UMS.
(2) Login PI Launcher talks with, and get’s its configuration from the Login PI Appliance. For instance, which environment to connect to, the command line used for connecting to VDI/RDSH, the account(s) used, etc.
(3)Login PI Launcher connects to the VDI/RDSH environment using the configuration from step 2.
(4) Active Directory is used for authentication and authorization in the VDI/RDSH session.
(5) Login PI launches after after logon within the VDI/RDSH session and connects to the Login PI Appliance, receives the configuration of which applications to run, runs those applications and reports back the collected data to the Login PI Appliance for you to view.
Assumptions
For the purpose of this blog post I assume you have already setup the following:
- VMware Horizon (either VDI or RDSH)
- IGEL Universal Management Suite
Setting up the Login PI appliance
You can download the latest version of Login PI here. Import the OVA or VHDX onto the hypervisor of your choice and proceed with the following steps.
Power on the virtual appliance.
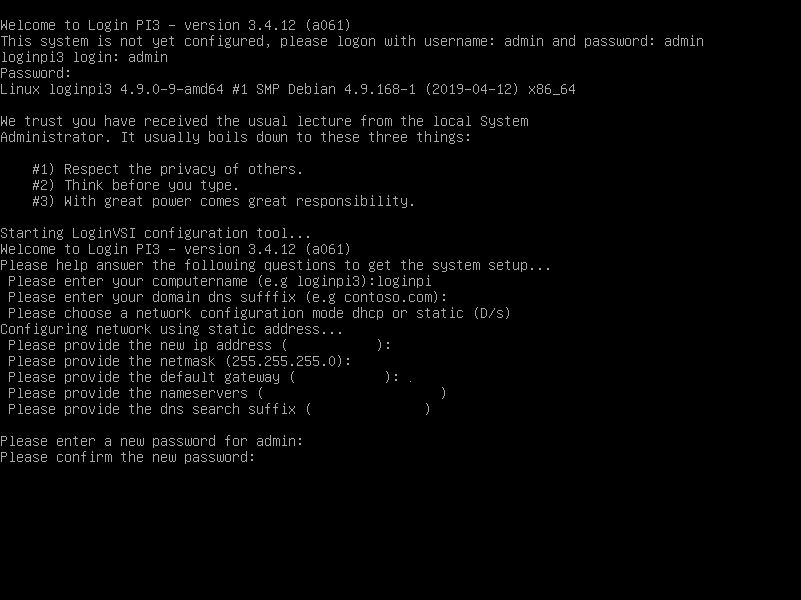
Enter the default username / password: admin / admin
Once the LoginVSI configuration tool is started, it will ask for computername, network configuration related items and a new admin password. Make sure your Login PI appliance is resolvable using DNS. This is really important. So be sure to have (at least) that A-record in DNS.
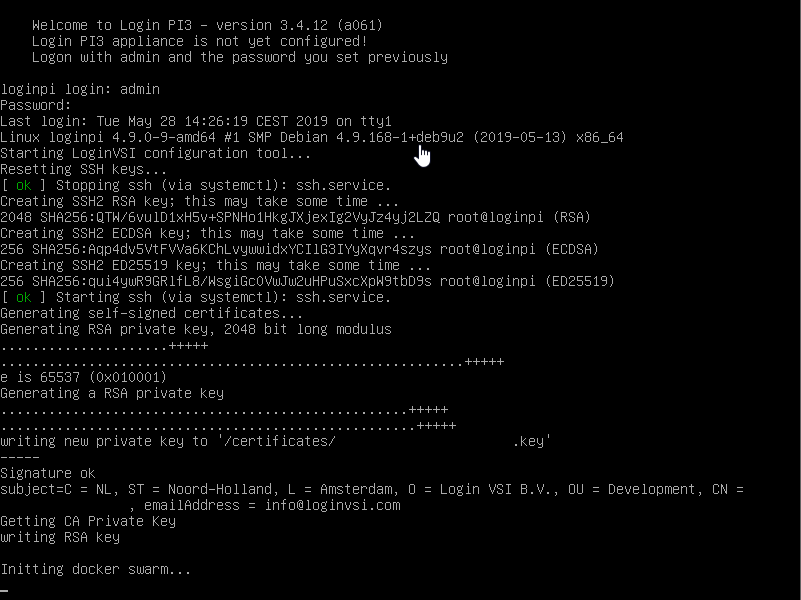
Login using admin and <yourpassword>. Login PI system setup will now be configured. After this the virtual appliance does a reboot.
After the reboot the deamon is started. This can take a little while. So please be patient 😉
The basic system configuration of the appliance is now ready. If you want to replace the self-signed certificate you can follow the steps from the Login PI documentation.
Now we will switch over to the Login PI web interface for further configuration.
Configuring Login PI
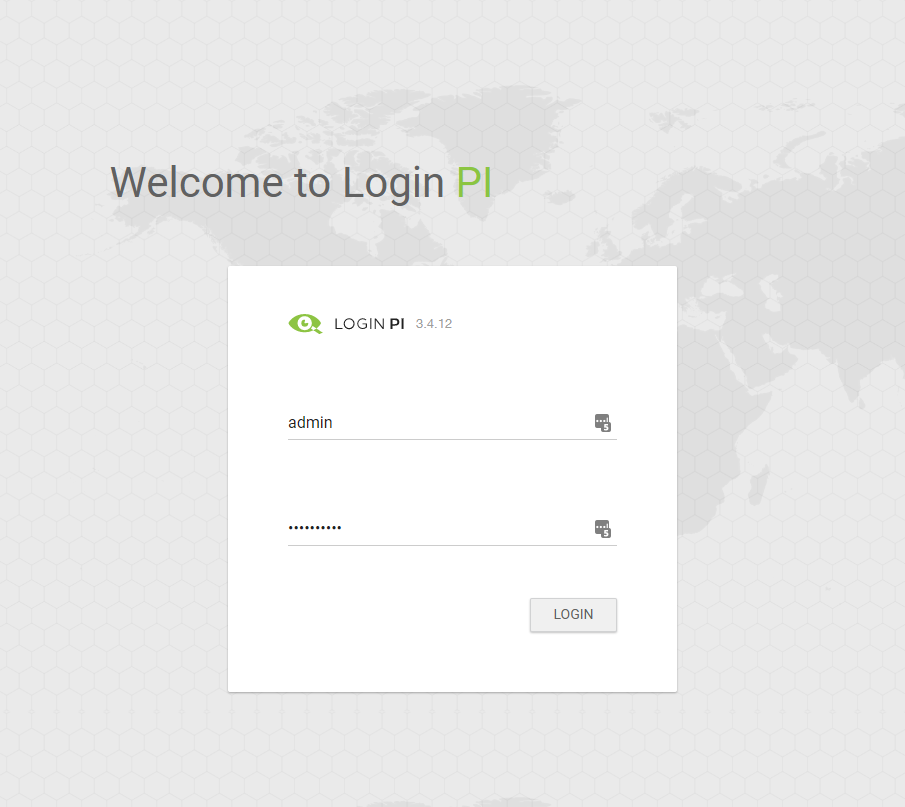
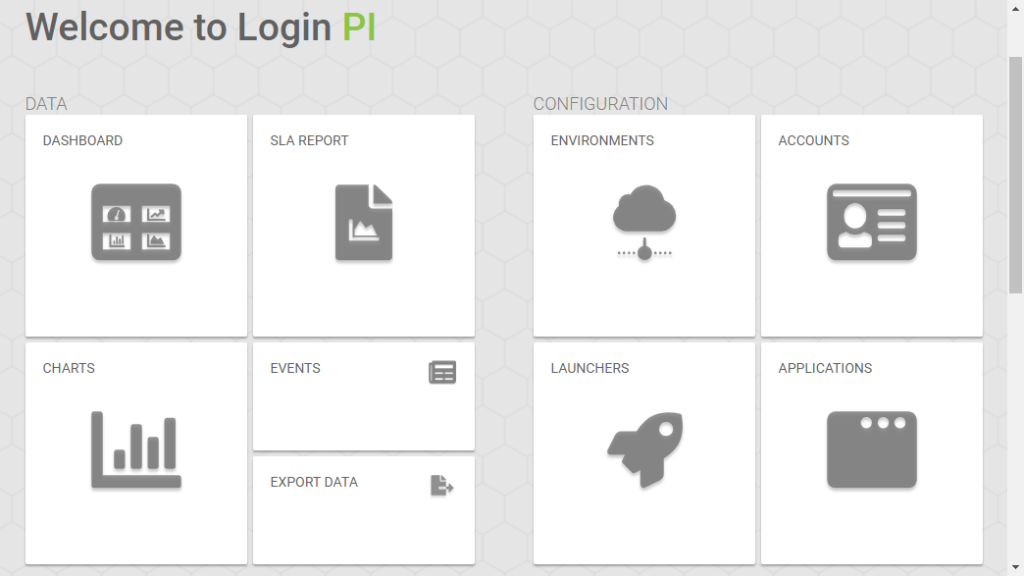
Open up your preferred browser, enter the URL for your Login PI appliance and login using your username and password.
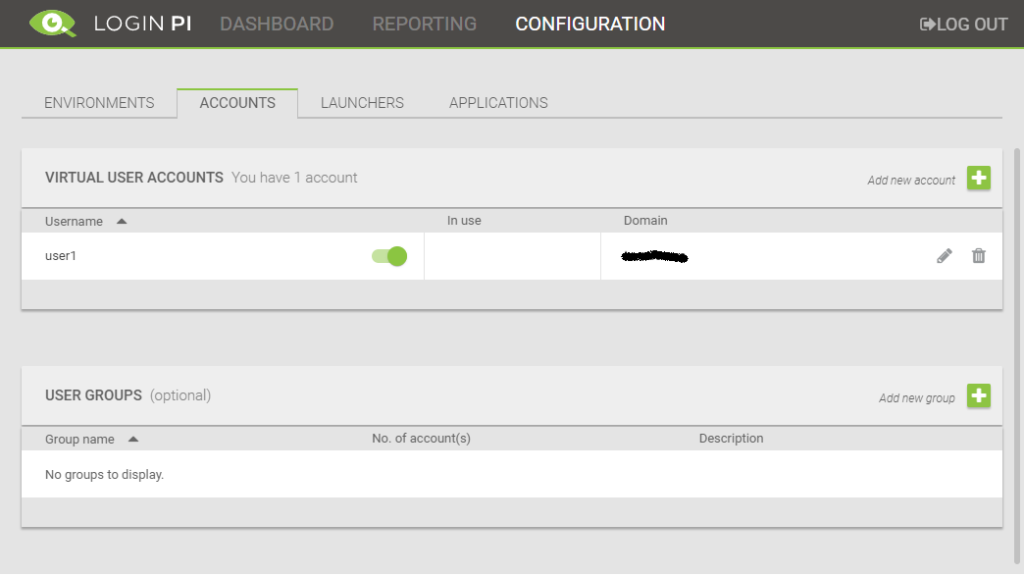
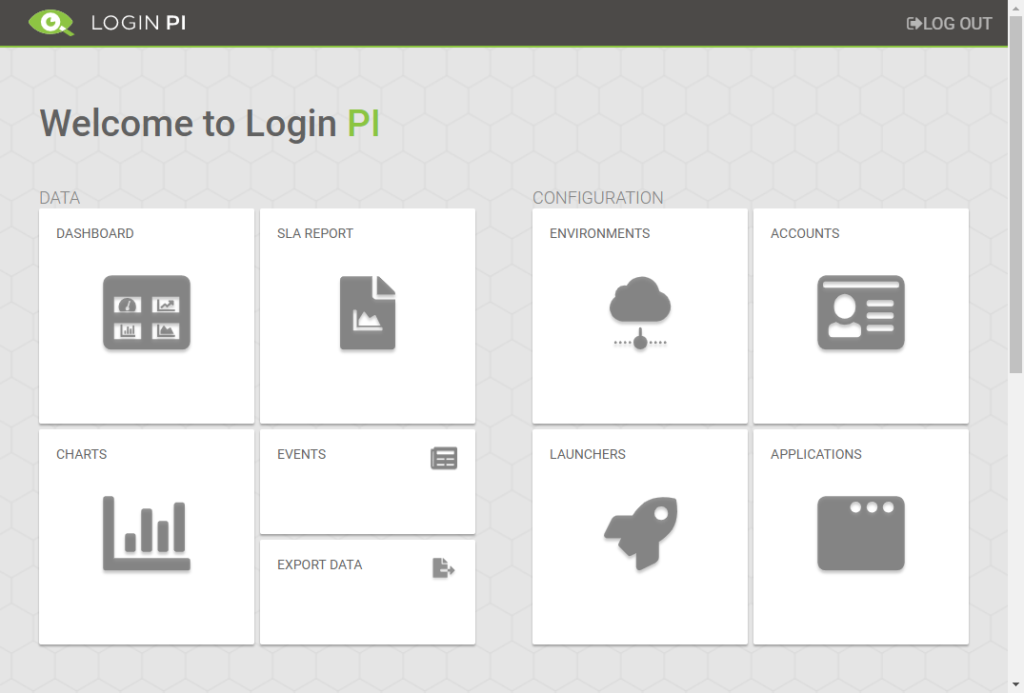
Click Accounts.
Add your virtual user accounts here by clicking the Add new account [+] button. These users are used for connecting to the environment (VDI/RDSH), which we will configure next. Click the Environments tab.
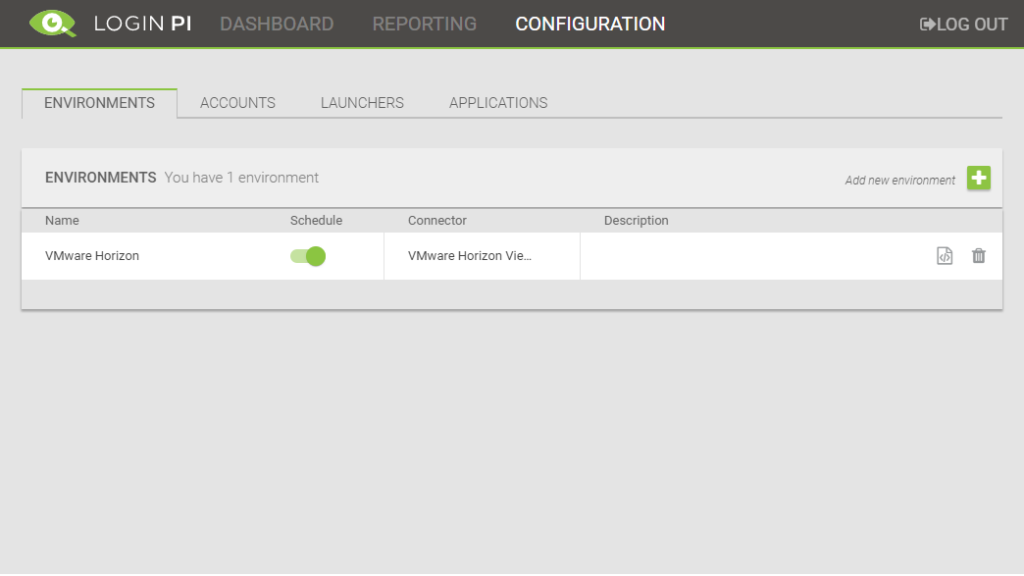
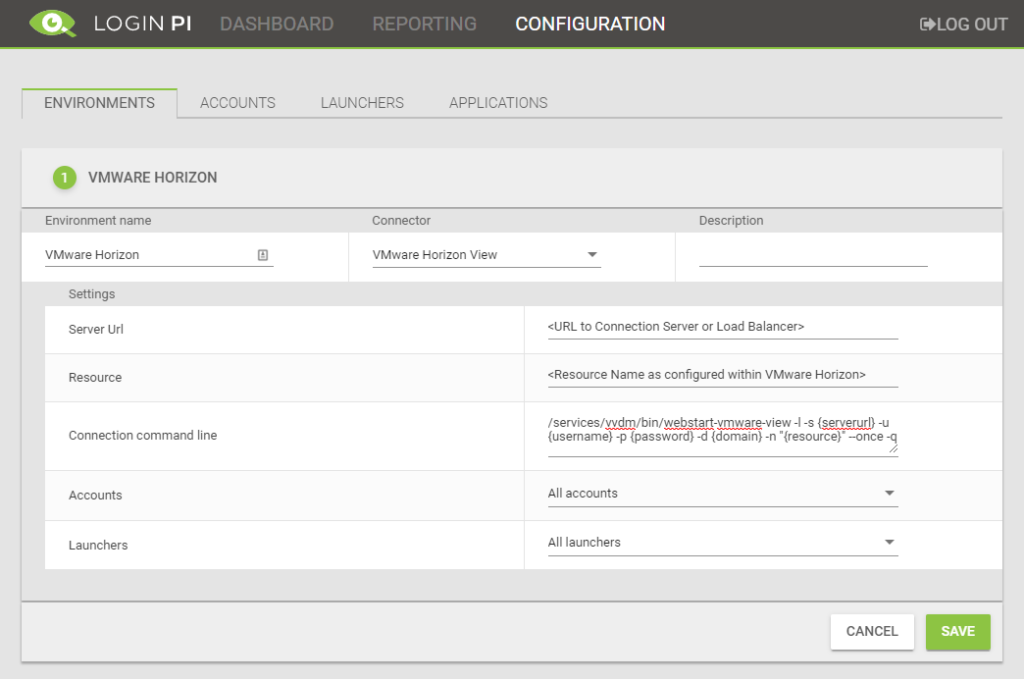
To add an environment click the Add new environment [+] button. In this case we will configure a VMware Horizon environment.
Enter all the required details for the environment. It is important to mention that the Connection command line is very important. This is the command line that is executed on the IGEL OS Login PI Launcher.
/services/vvdm/bin/webstart-vmware-view -l -s {serverurl} -u {username} -p {password} -d {domain} -n "{resource}" --once -q
In this example we use All accounts and All launchers.
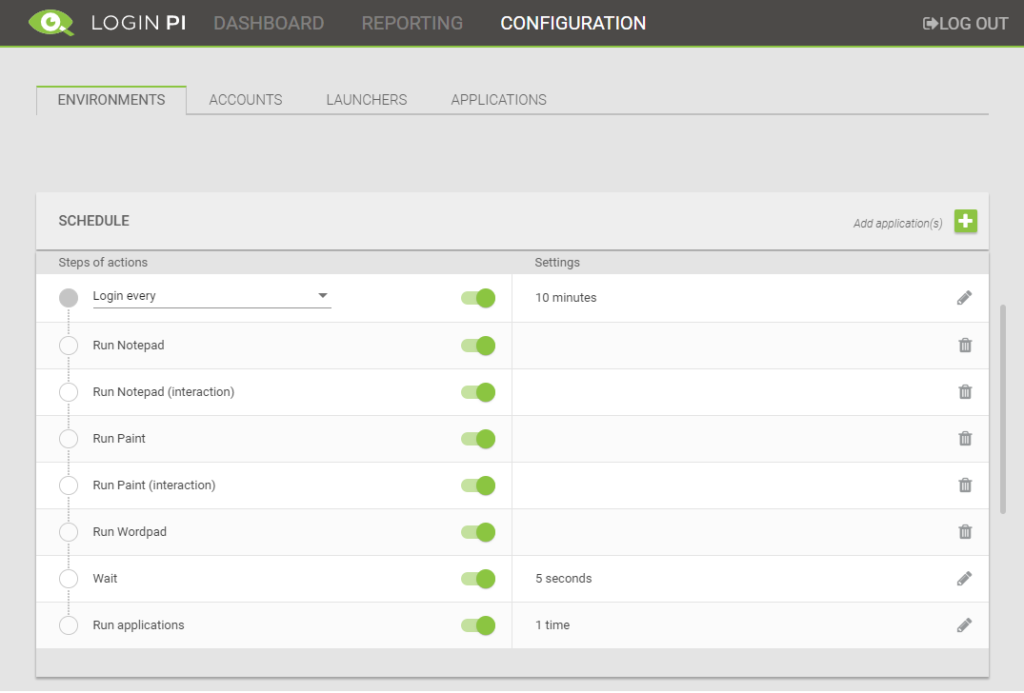
Scroll down to Schedule and select the applications you want to use in the environment. I chose some applications that were available by default.
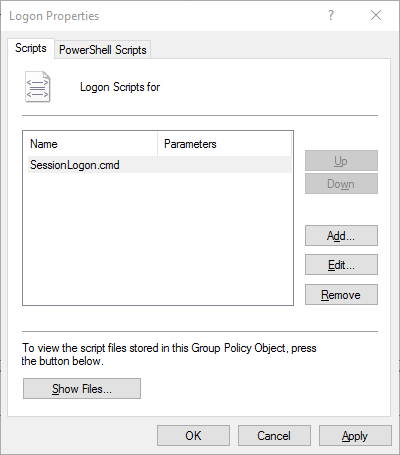
Next to the environment, click the Download logon script button. This downloads the script for that environment that needs to run within the VDI/RDSH session. Make sure you have this script launched after VDI/RDSH login by using either a GPO, Startup folder (Start Menu) or otherwise.
Up next, setting up IGEL OS.
Setting up IGEL OS
The Login PI custom partition consists of two important files, LoginPI.Launcher.Console.inf and LoginPI.Launcher.Console.tar.bz2. These files need to be placed on the IGEL Universal Management Suite server.
Create a folder with the name LoginVSI in C:\Program Files\IGEL\RemoteManager\rmguiserver\webapps\ums_filetransfer. Copy both files to C:\Program Files\IGEL\RemoteManager\rmguiserver\webapps\ums_filetransfer\LoginVSI . Change the paths to match your situation.
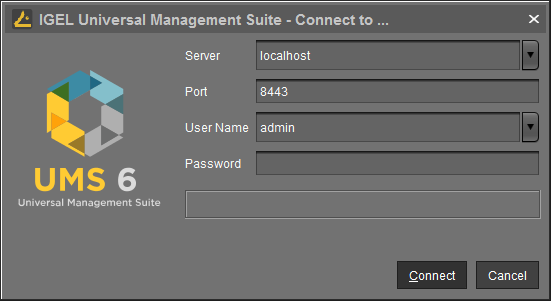
Start IGEL Universal Management Suite and login with your credentials.
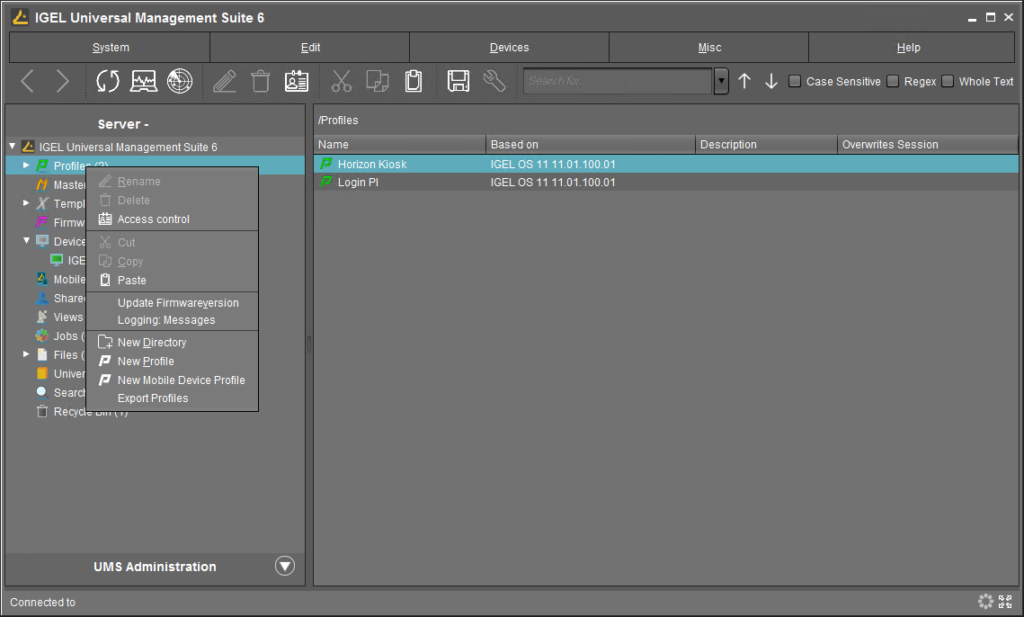
Go to Profiles and create a new profile.
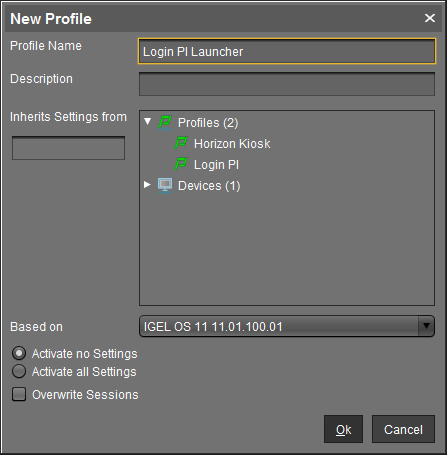
Give a name to your profile and click Ok to save the new profile.
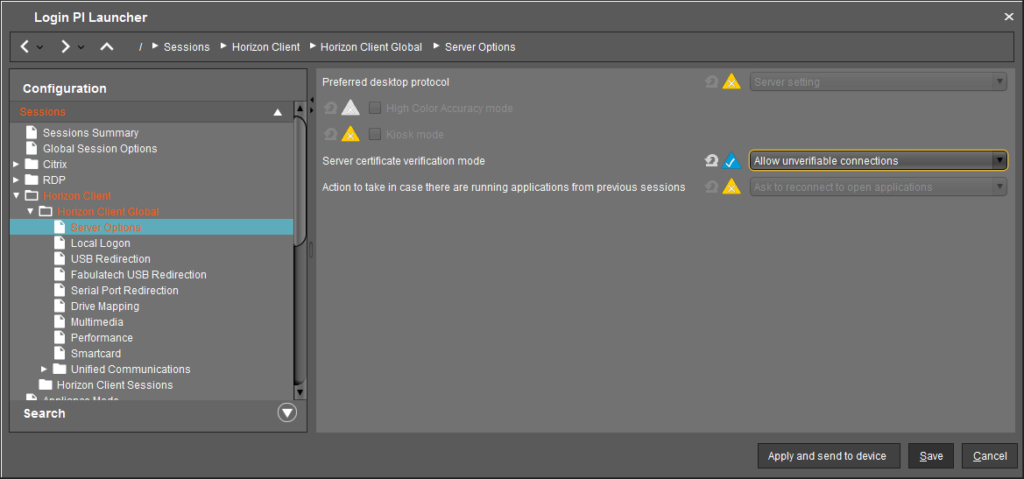
Depending on your configuration you may need to allow unverifiable connections to Horizon. For instance when your Horizon Connection server certificate is not trusted by the Login PI Launcher. Not required, but just that you are aware 😉 .
Go to Sessions –> Horizon Client –> Horizon Client Global –> Server Options and click the yellow triangle to enable the option Server certificate verification mode and select Allow unverifiable connections.
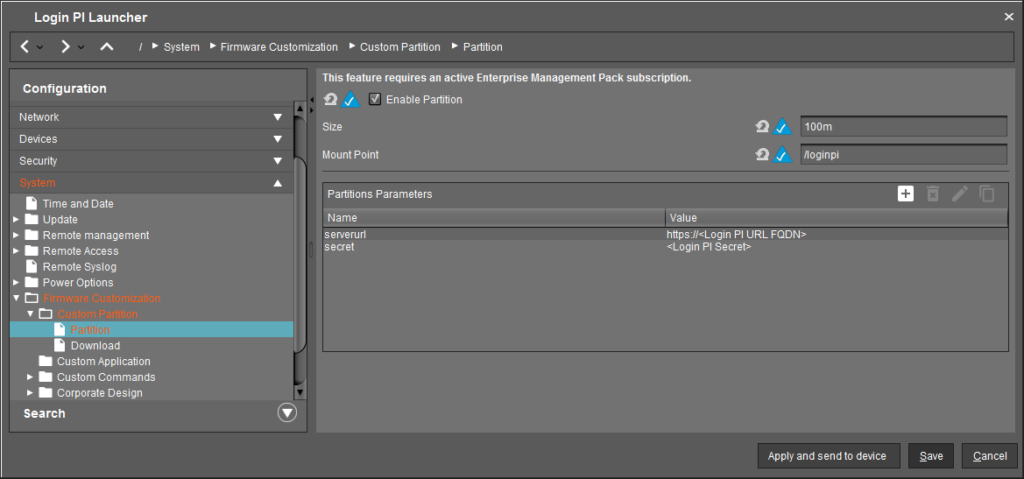
Go to System –> Firmware Customization –> Custom Partition –> Partition and click the yellow triangles for Enable Partition, Size and Mount Point. Select Enable Partition, give Size a value of 100m and Mount Point the value /loginpi .
Click the [+] button next to Partitions Parameters and create two names and their corresponding values. The first one is serverurl that needs to have a value that points to your Login PI appliance URL (FQDN). The second one is secret that needs to have a value that represents the Login PI server secret.
Now, the easiest way to find out what your Login PI PI server secret is, is by opening up a browser, enter the Login PI appliance URL and login using your credentials.
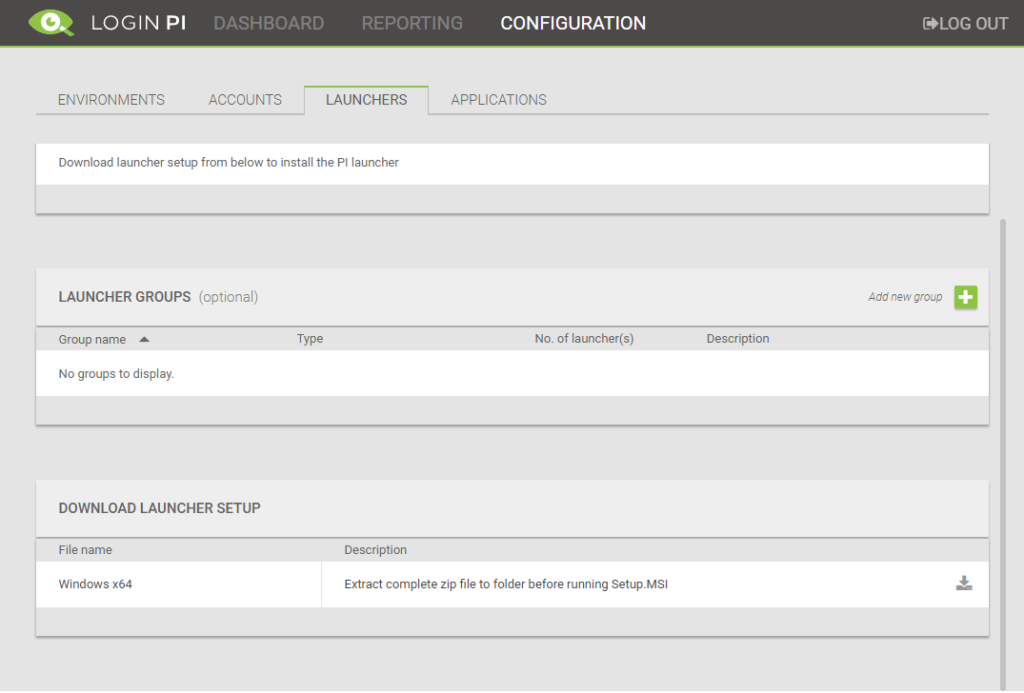
Click Launchers.
Click the download button in the Download Launcher Setup section.
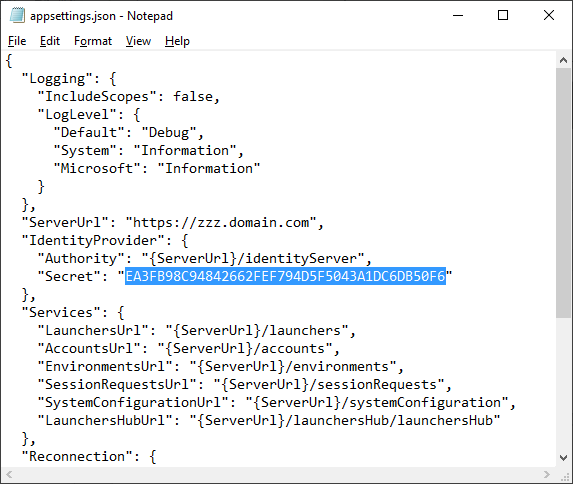
Download and extract the ZIP file and open the appsettings.json file with Notepad.
Copy the secret to the clipboard and paste or type this value for secret in the Profile in UMS.
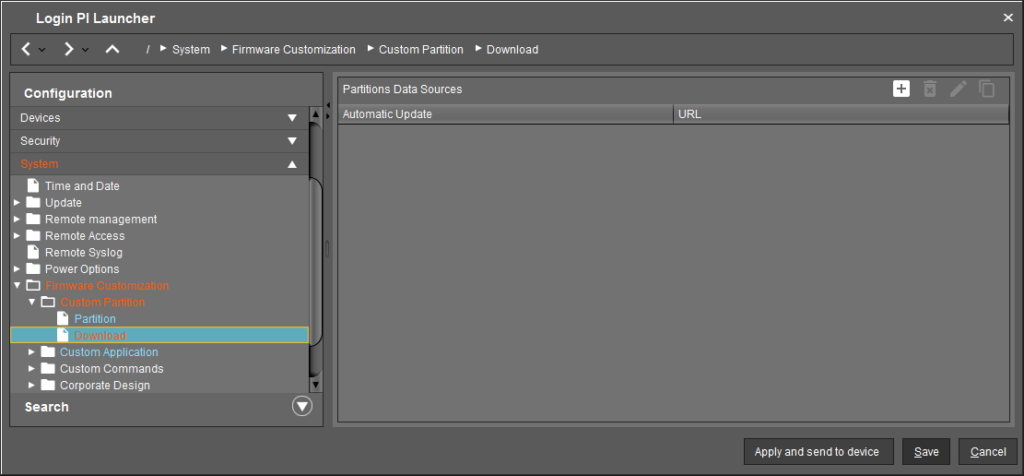
Go to System –> Firmware Customization –> Custom Partition –> Download and click the [+] button to add a Partitions Data Source.
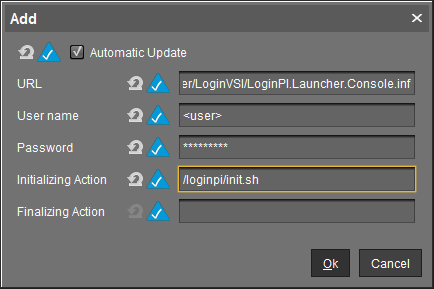
Select Automatic Update. For URL provide the value http://:9080/ums_filetransfer/LoginVSI/LoginPI.Launcher.Console.inf and provide the values for User name and Password. For Initializing Action provide the value /loginpi/init.sh .
I am using HTTP in this example, but you can also use HTTPS, as long as you change to the correct port accordingly.
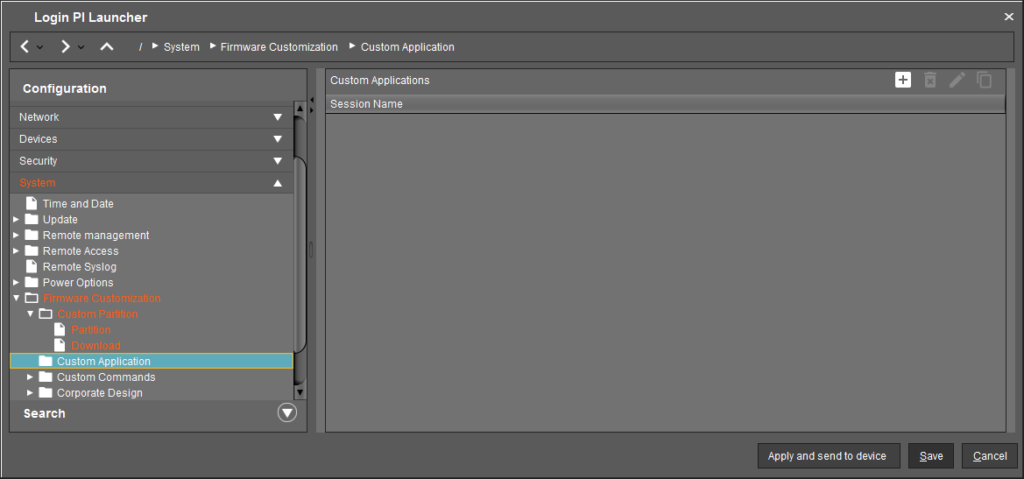
Go to System –> Firmware Customization –> Custom Application and click the [+] button to add a Custom Application.
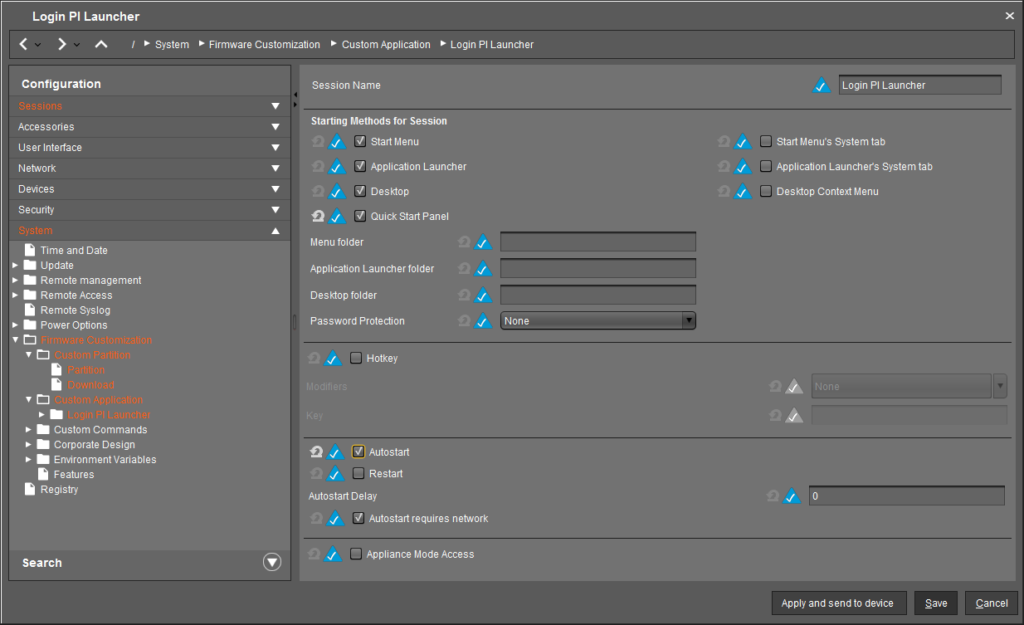
For Session Name provide the value Login PI Launcher. You can choose to select Autostart if you want Login PI Launcher to automatically start after booting up.
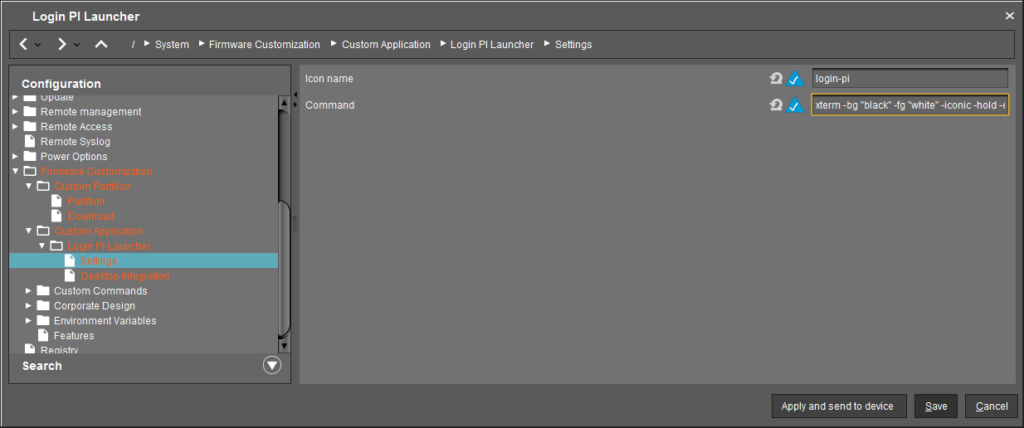
Go to System –> Firmware Customization –> Custom Application –> Login PI Launcher –> Settings.
For Icon name provide the value login-pi and for Command provide the following value
xterm -bg "black" -fg "white" -iconic -hold -e /loginpi/start.sh
OPTIONAL: If you need to deploy root certificates to IGEL OS, you can follow the IGEL documentation.
That’s basically it. You can now apply this profile to your IGEL OS device and it will then become a Login PI Launcher.
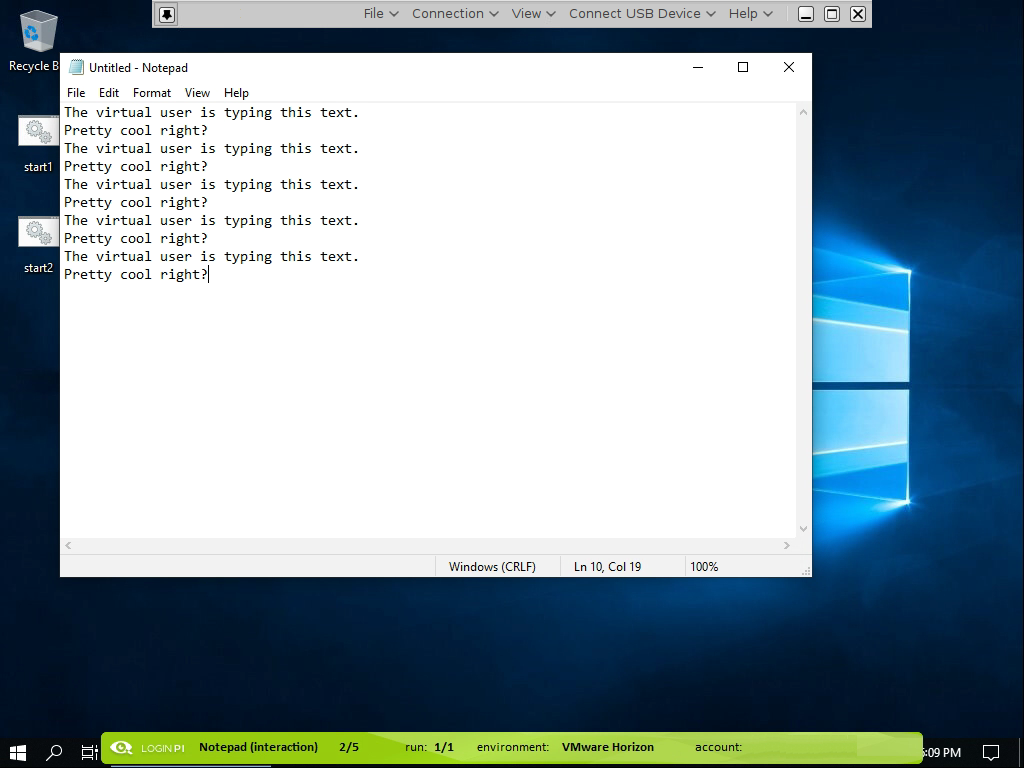
Once booted Login PI Launcher automatically creates sessions to the environment that you configured within Login PI.

