Let’s JMP – Part 5: User Environment Manager (UEM)
In this part of “Let’s JMP” I will guide you through the steps for installing and configuring a basic User Environment Manager (UEM) environment.
Overview
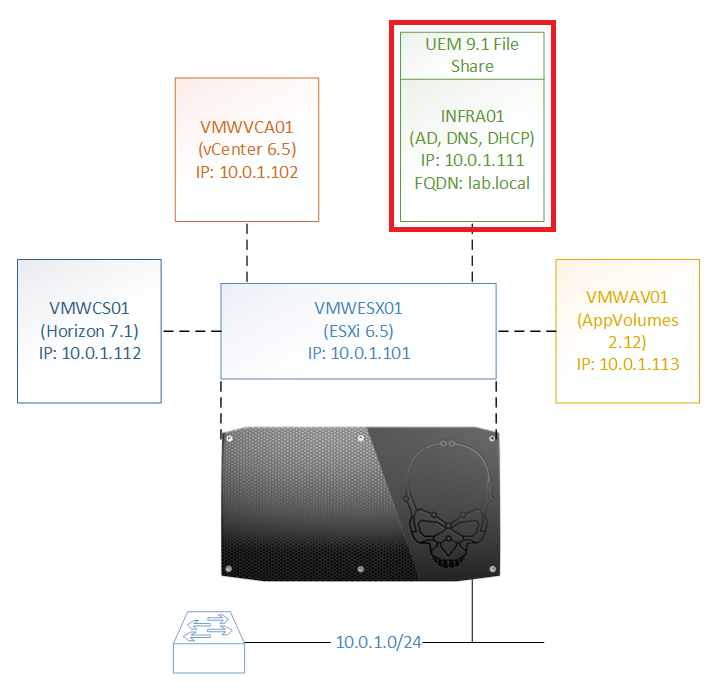
The component with a red square is installed and configured in this part. As you can see, I will be installing the UEM Management Console and the configuration and profile archives share on INFRA01, which is my domain controller.
Configuring the UEM Configuration & Profile Archives Share
| Go to any folder where you want to create the UEM Configuration and Profile Archives share
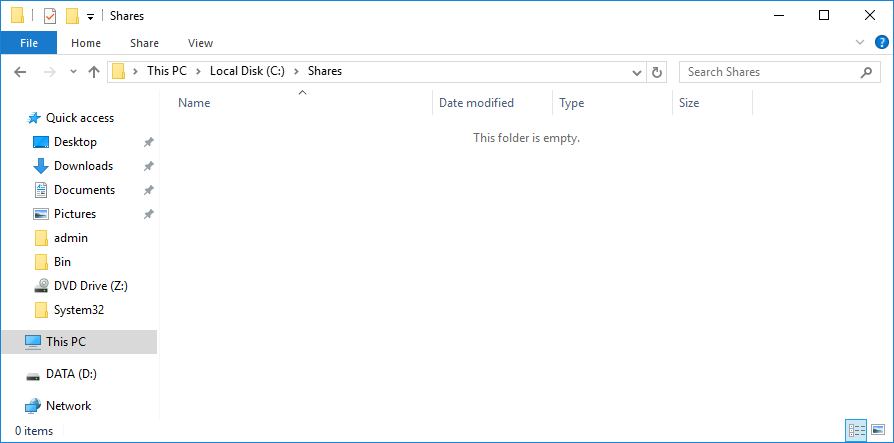
I have created a folder called C:\Shares in which I will create the folders for both shares I will name the folders UEM_Config and UEM_ProfileArchives |
 |
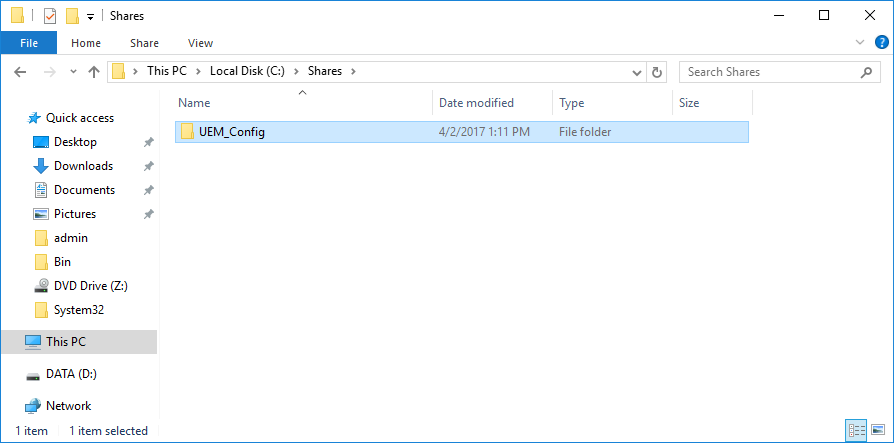
| Create a folder with the name UEM_Config
Right click the folder and click Properties |
 |
| Click on the tab Sharing | 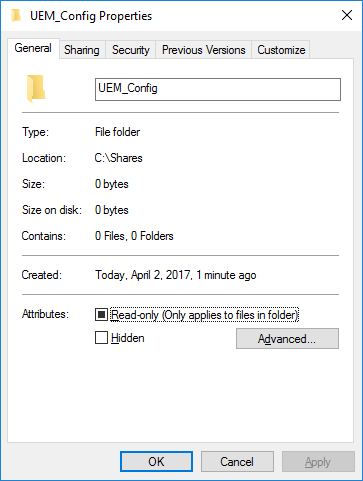 |
| Click Advanced Sharing | 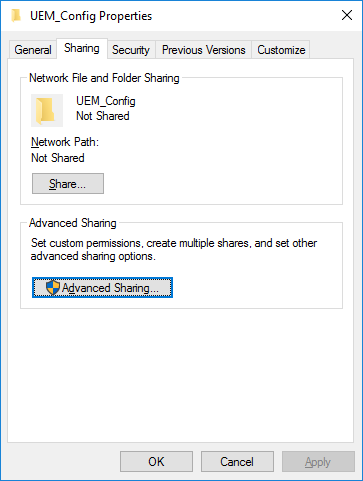 |
| Enable Share this folder and click Permissions
For a full overview of the recommended share and NTFS permissions see [this document](http://pubs.vmware.com/uem-91/topic/com.vmware.ICbase/PDF/user-environment-manager91-install-config.pdf) |
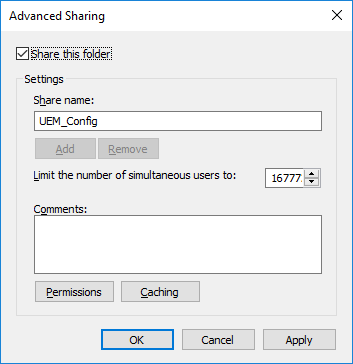 |
| Select Everyone and select Change and click OK | 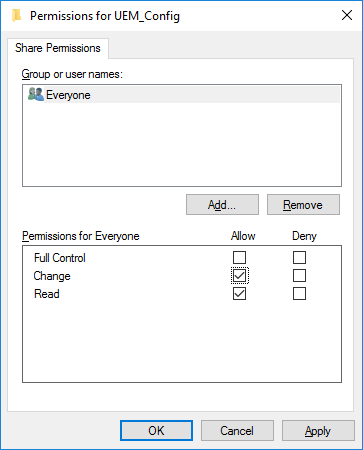 |
| Click OK | 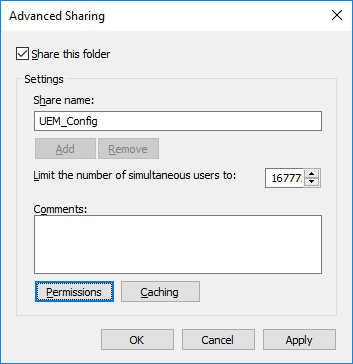 |
| Click Close | 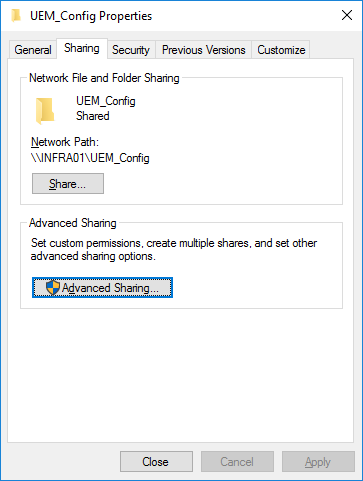 |
| Create a folder with the name UEM_ProfileArchives
Right click the folder and click Properties |
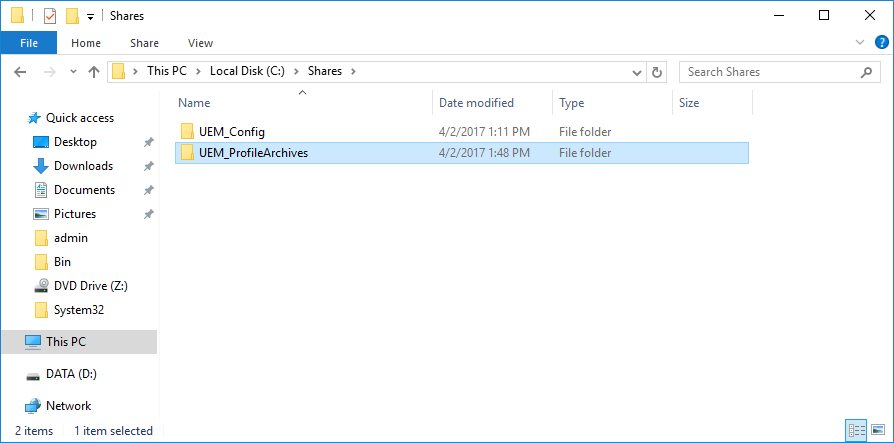 |
| Click the tab Sharing | 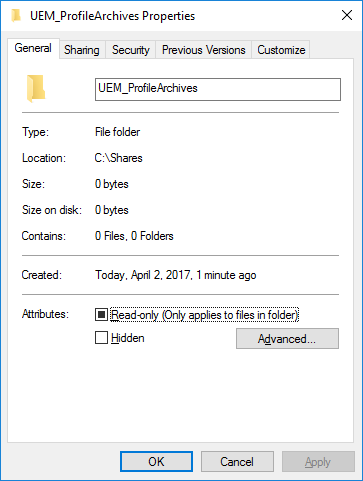 |
| Click Advanced Sharing | 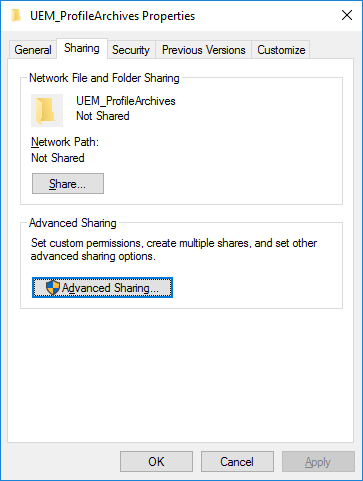 |
| Select Share this folder and click Permissions
For a full overview of the recommended share and NTFS permissions see this document. |
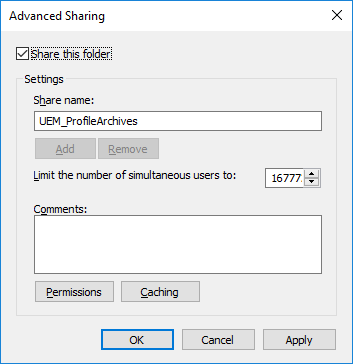 |
| Select Everyone and select Change and click OK | 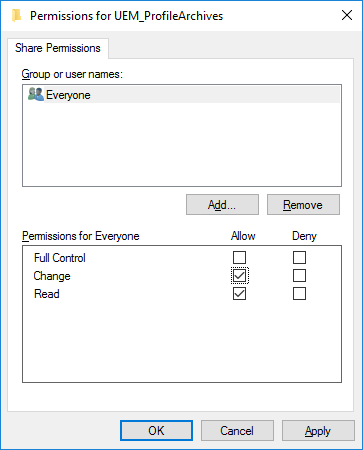 |
| Click OK | 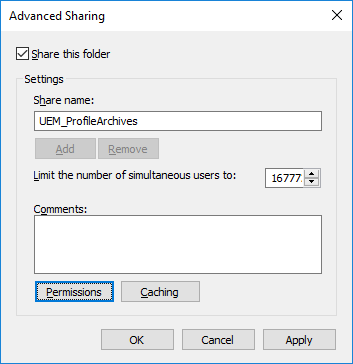 |
| Click the tab Security | 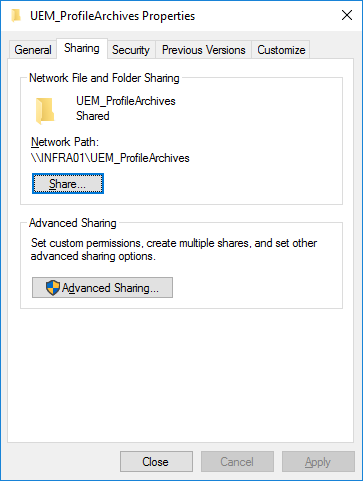 |
| Select Users (LABUsers) and click Advanced | 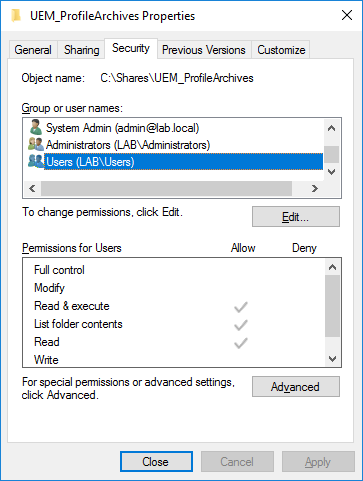 |
| Click Disable inheritance | 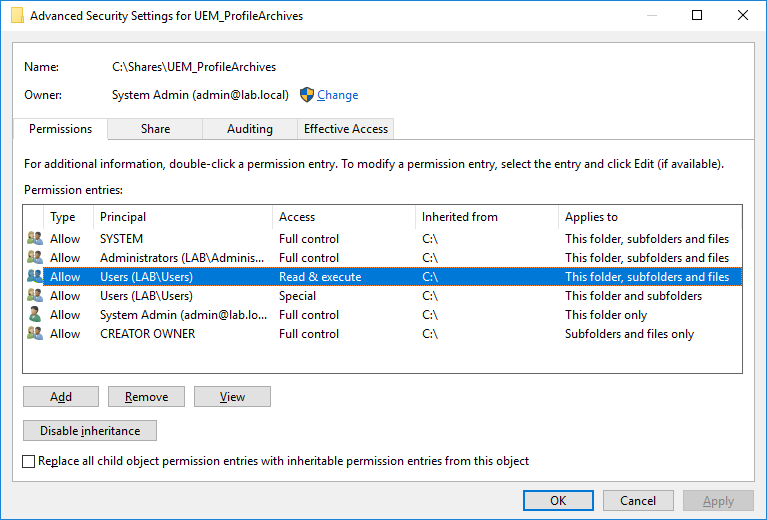 |
| Click Convert inherited permissions into explicit permissions on this object | 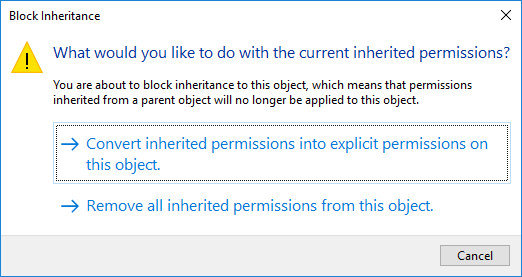 |
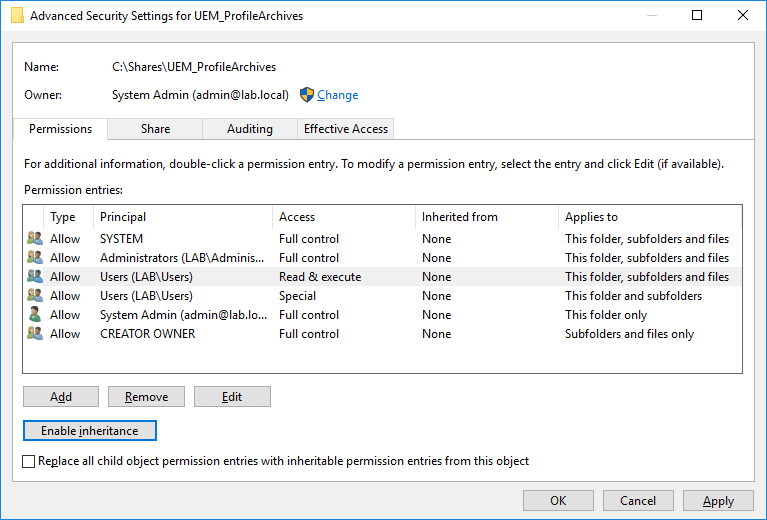
| Select Users (Read & Execute) and click Remove
Select Users (Special) and click Remove
Click Add |
 |
| Click Select a principal | 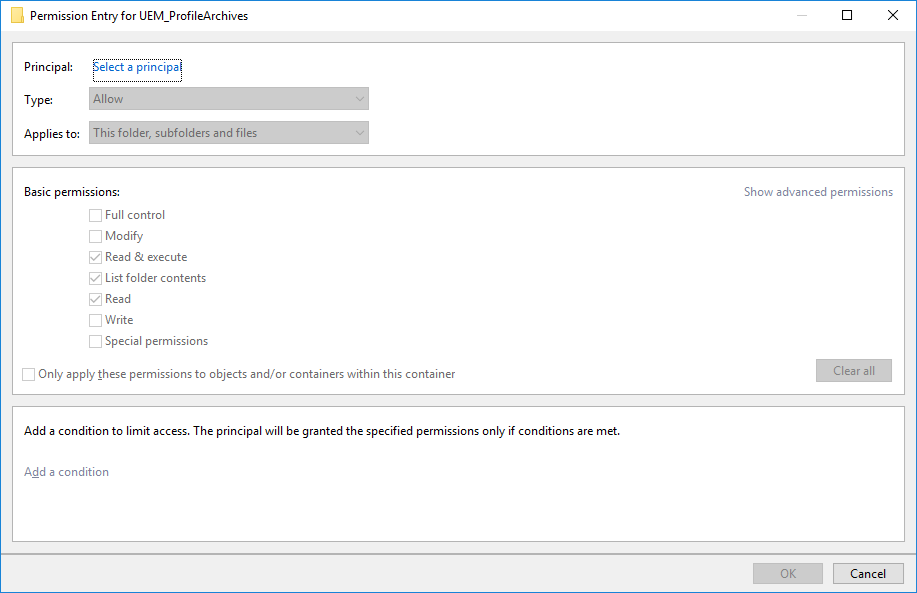 |
| Type Users and click OK | 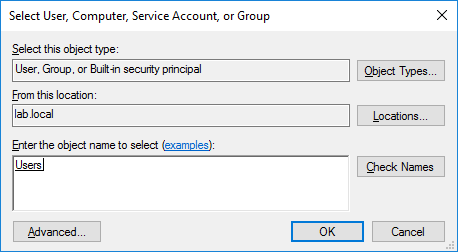 |
| Click Show advanced permissions | 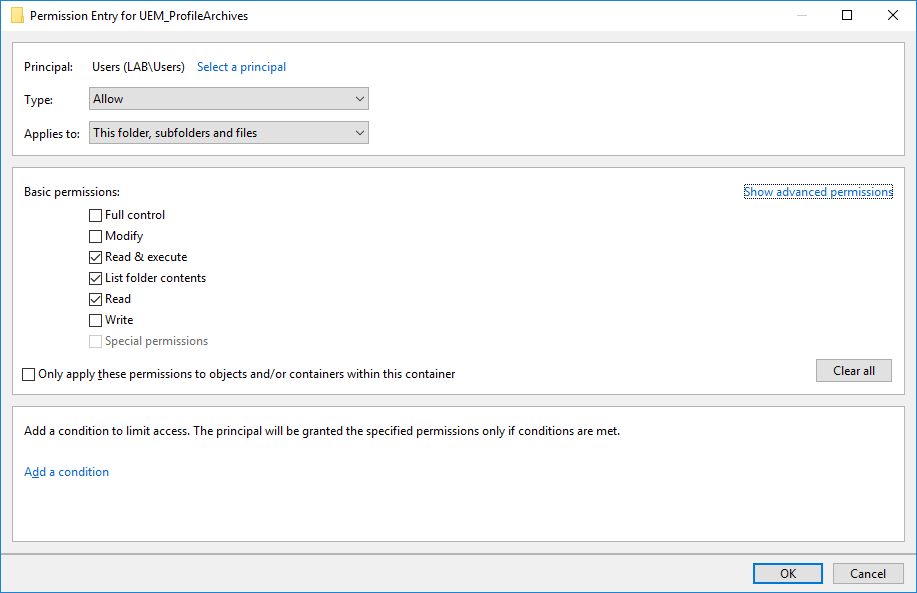 |
| Select This folder only for Applies to: | 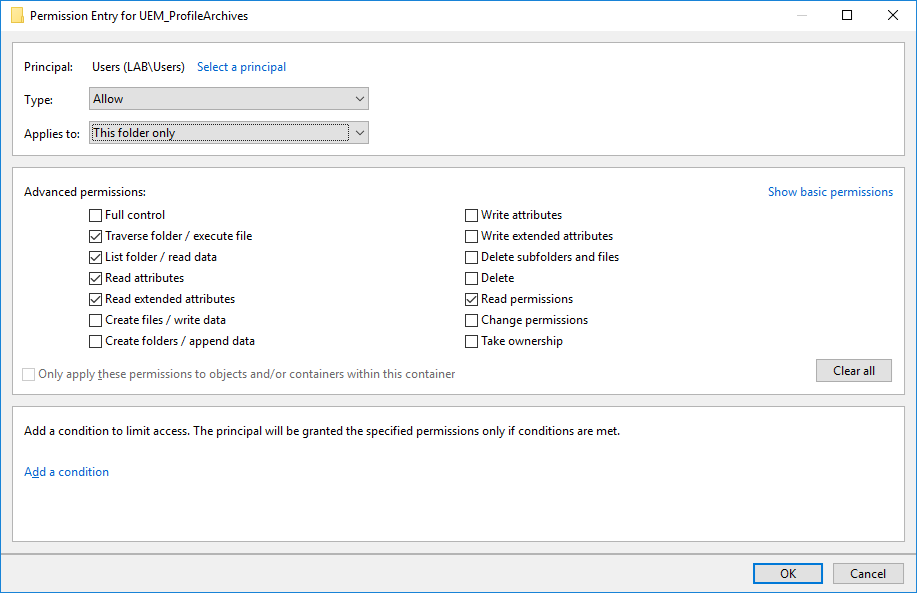 |
| Remove all Advanced permissions except Create folders / append data and click OK | 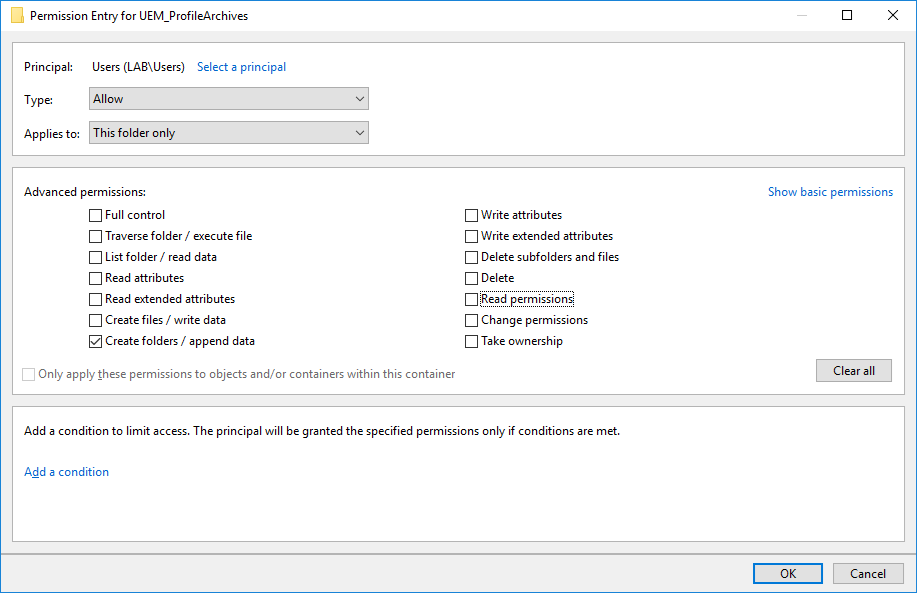 |
| Click OK | 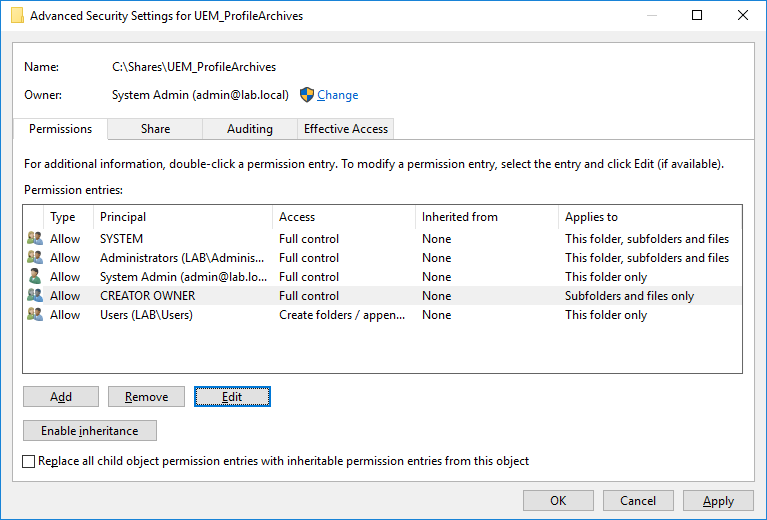 |
| Click Close | 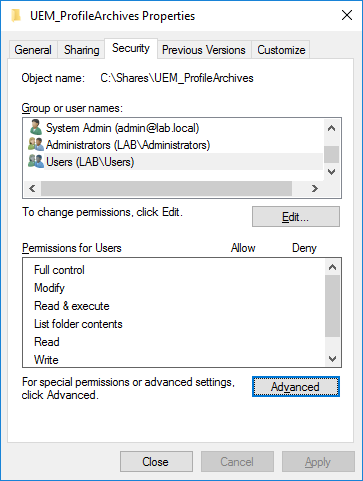 |
Installing the UEM Management Console
| Double click VMware User Environment Manager 9.1 x64.msi (or the x86 version if you are on that architecture) |  |
| Click Run if you receive an Open File – Security Warning screen | 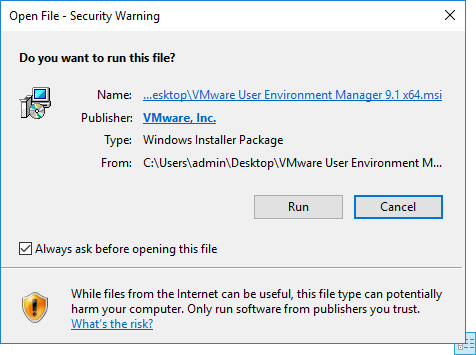 |
| Click Next | 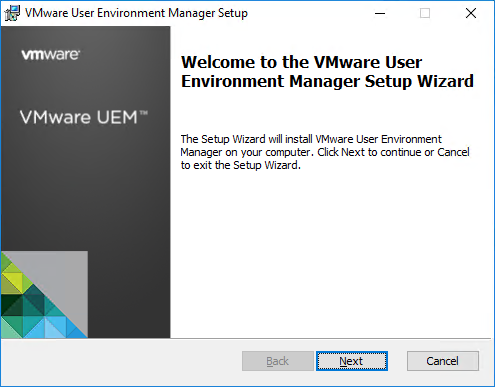 |
| Select I accept the terms in the License Agreement and click Next | 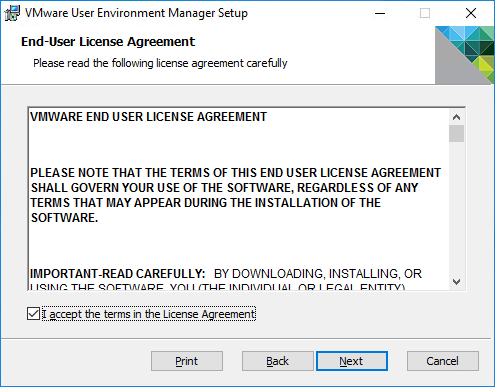 |
| Click Next | 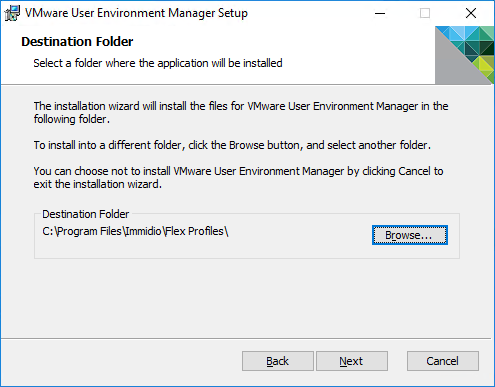 |
| Click Custom | 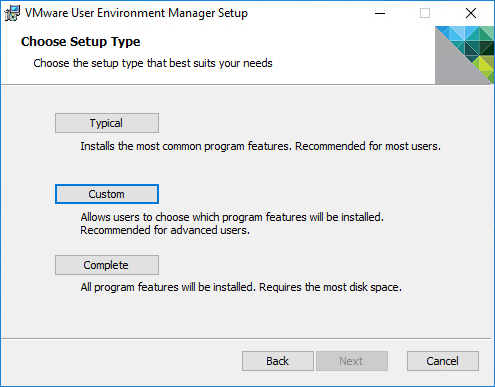 |
| Disable VMware UEM FlexEngine and all sub components (this is installed in the Windows 10 image later on) and enable VMware UEM Management Console and click Next | 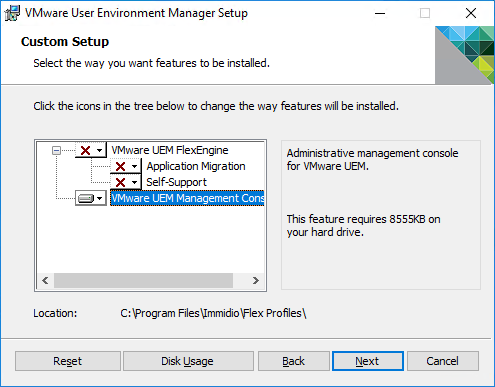 |
| Click Install | 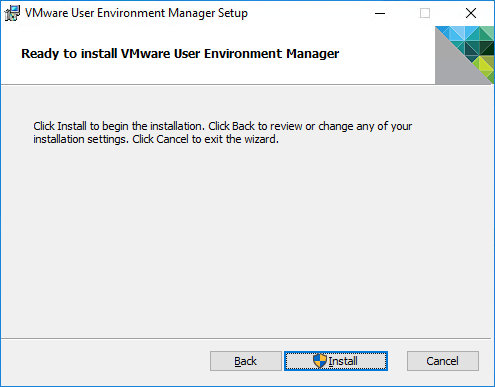 |
| If you receive the User Account Control windows, click Yes | 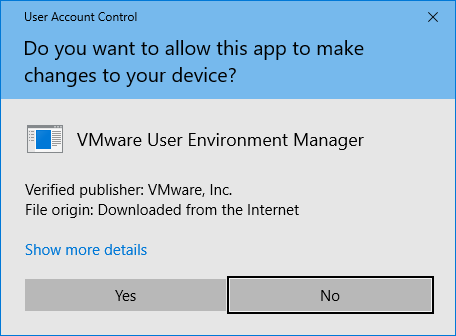 |
| Click Finish |  |
Configuring UEM
| Double click Management Console |  |
| Type \INFRA01.lab.local\UEM_Config and click OK | 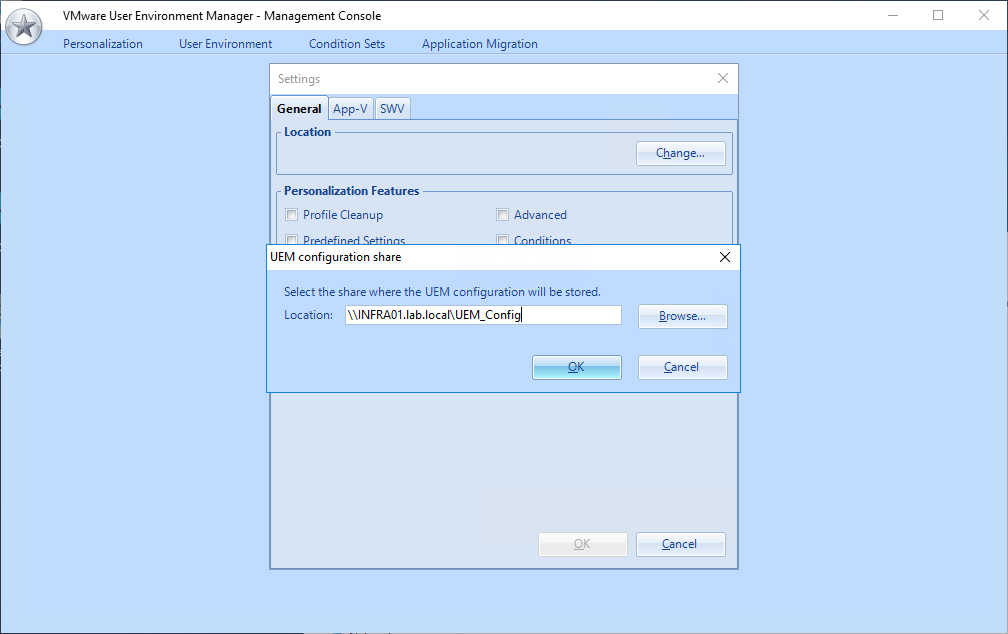 |
| For the purpose of this blog post, we are going to use Easy Start, which creates a sample configuration in UEM
Click Easy Start |
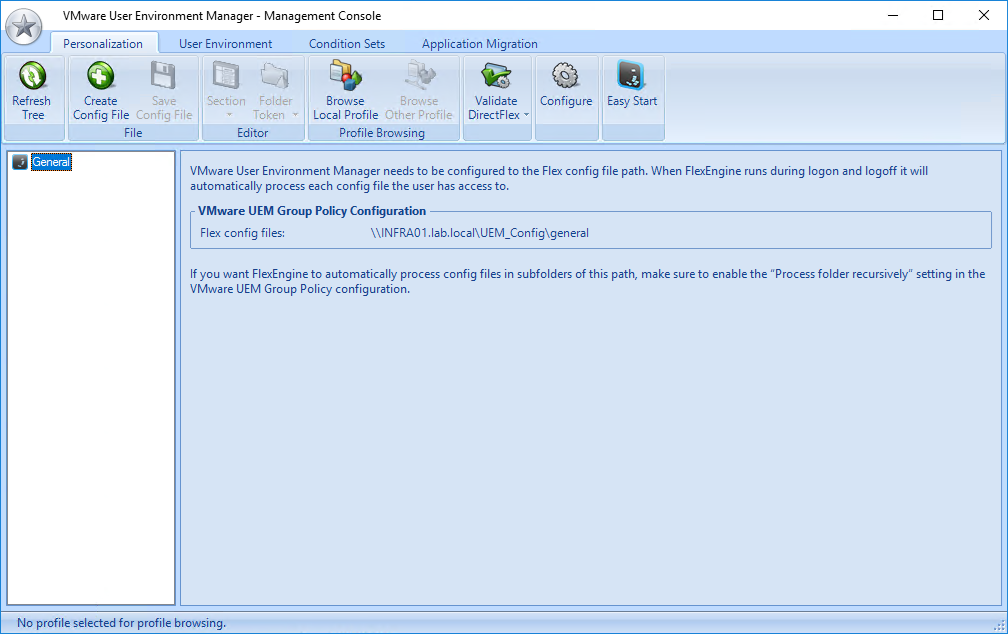 |
| I am not going to use Office in this blog post, so I don’t select an Office version and just click OK | 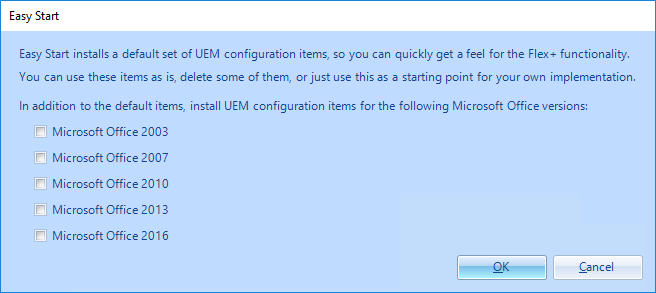 |
| Click OK |  |
| As you can see, Easy Start has created an example configuration for Personalization, User Environment and Condition Sets | 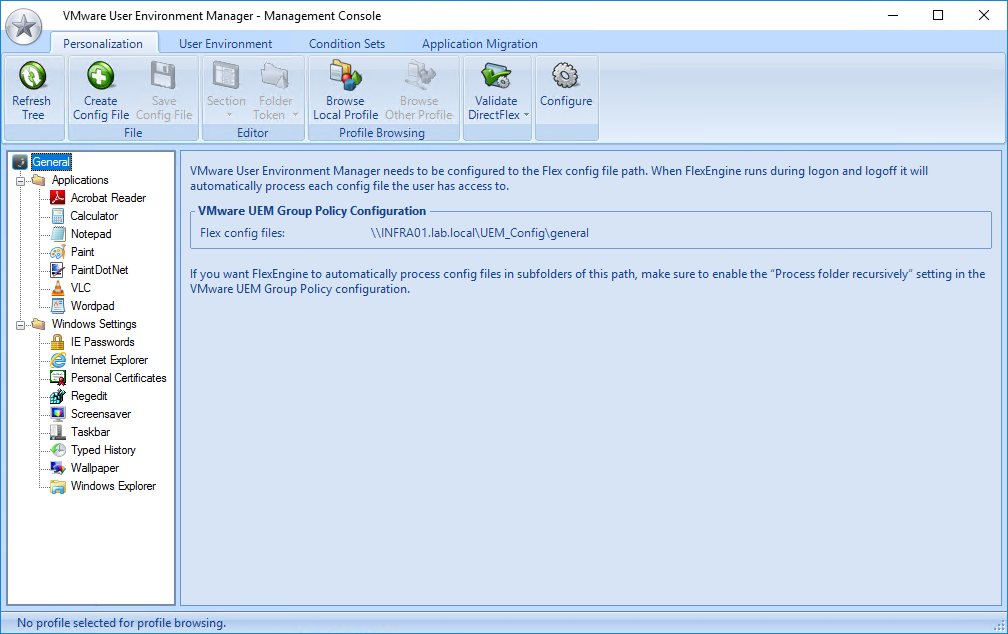 |
Copying ADMX & Configuring GPO
| Copy the files displayed to C:\Windows\PolicyDefinitions | 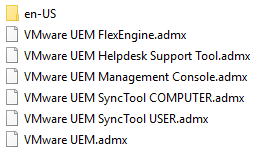 |
| Open Group Policy Management |  |
| In my environment I already created an OU called VDI, under LAB
Right click LAB and click Create a GPO in this domain, and Link it here |
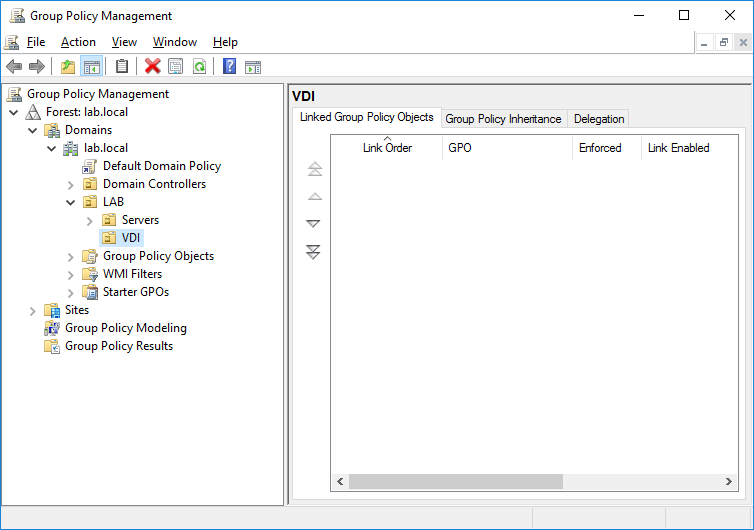 |
| Create a GPO called C_LAB_VDI, which will be a GPO with computer settings only
Click OK |
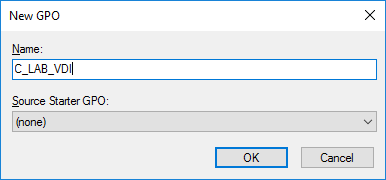 |
| Select the GPO C_LAB_VDI and click the tab Details and select User configuration settings disabled | 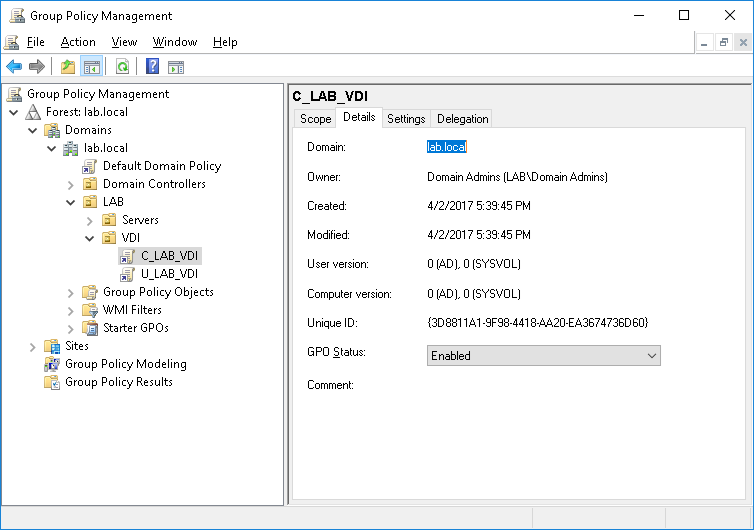 |
| Click OK | 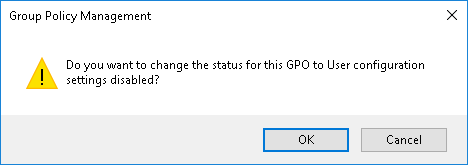 |
| Right click LAB and click Create a GPO in this domain, and Link it here | 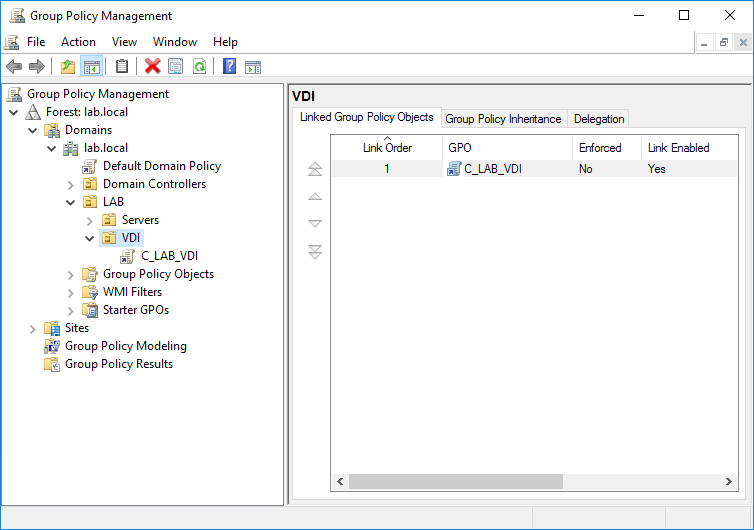 |
| Create a GPO called U_LAB_VDI, which will be a GPO with user settings only
Click OK |
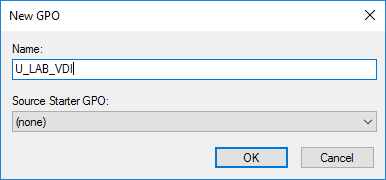 |
| Select the GPO U_LAB_VDI and click the tab Details and select Computer configuration settings disabled | 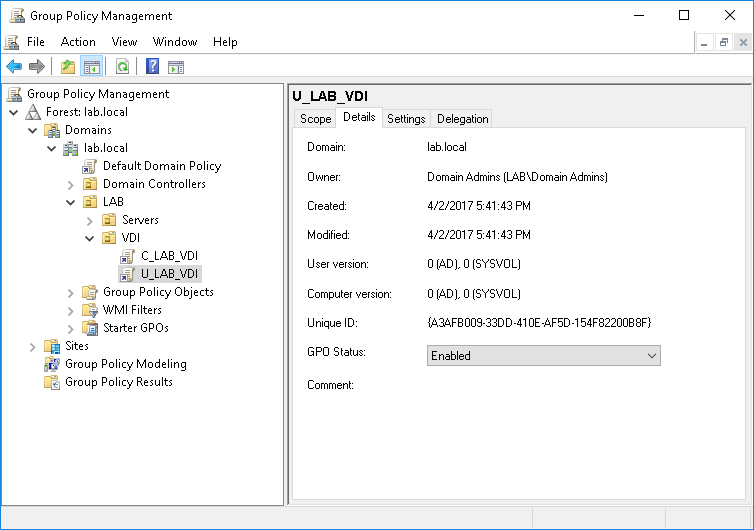 |
| Click OK | 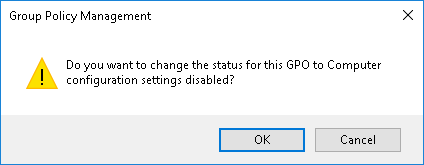 |
| Right click C_LAB_VDI and click Edit | 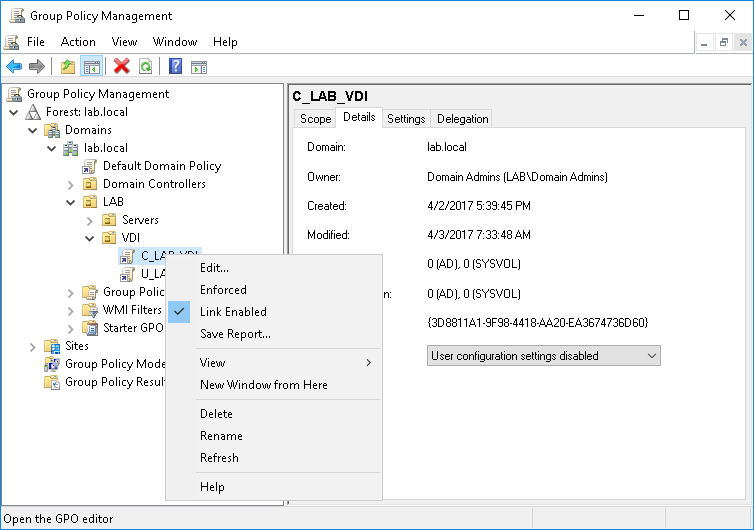 |
| Open Computer Configuration –> Policies –> Administrative Templates –> System –> Group Policy and double click Configure user Group Policy loopback processing mode | 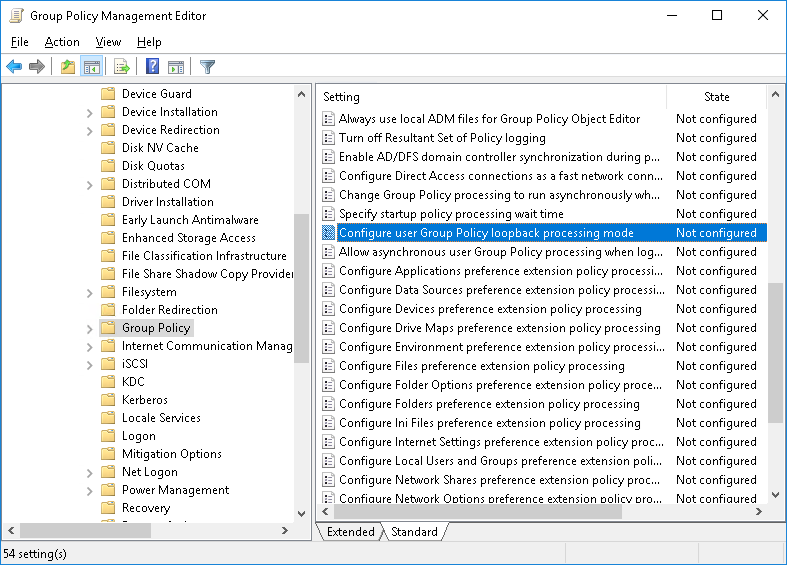 |
| Select Enabled and select Replace for Mode: and click OK | 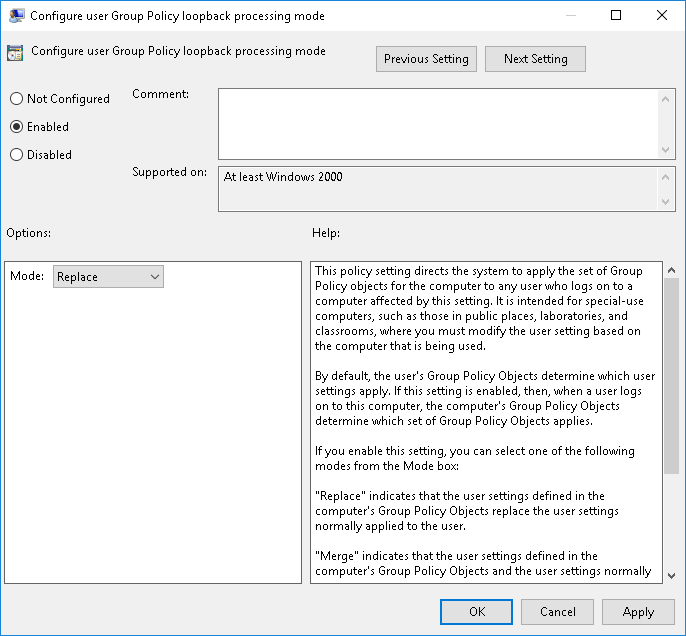 |
| Open Computer Configuration –> Policies –> Administrative Templates –> System –> Logon and double click Show first sign-in animation | 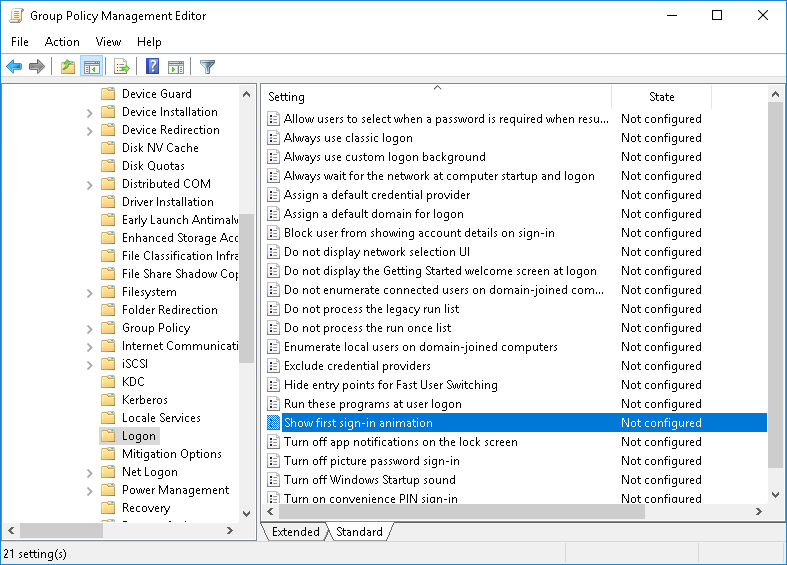 |
| Select Enabled and click OK | 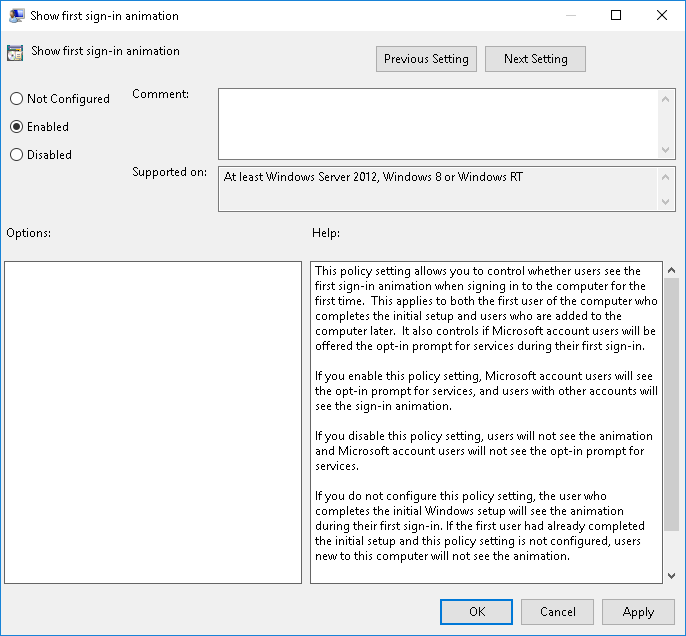 |
| Open Computer Configuration –> Policies –> Administrative Templates –> Windows Components –> Search and double click Allow Cortana | 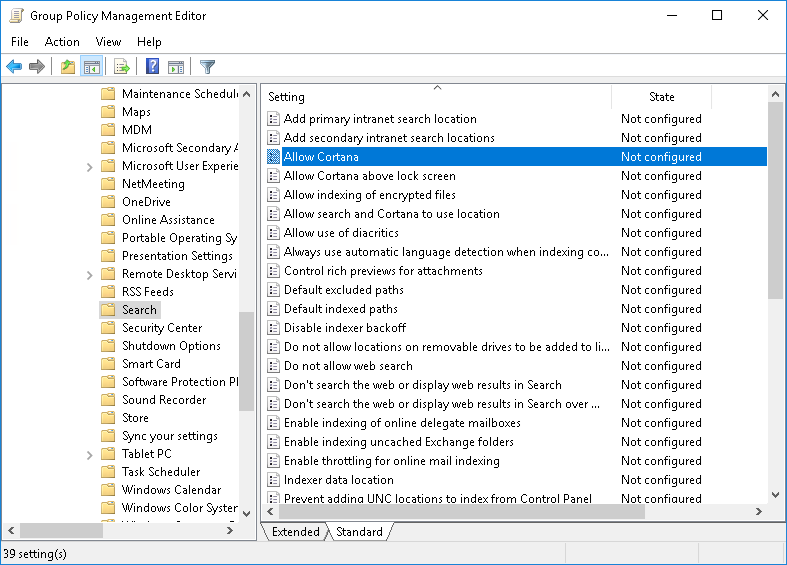 |
| Select Disabled and click OK | 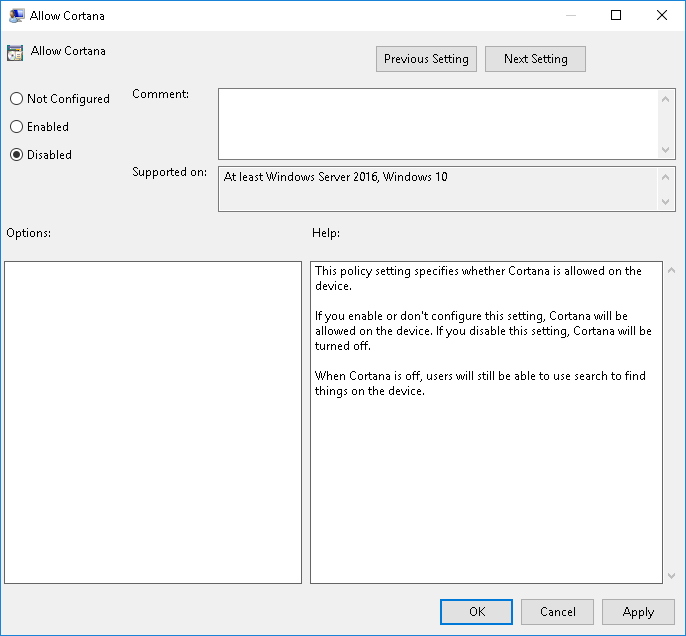 |
| Open Computer Configuration –> Policies –> Administrative Templates –> Windows Components –> Cloud Content and double click Turn off Microsoft consumer experiences | 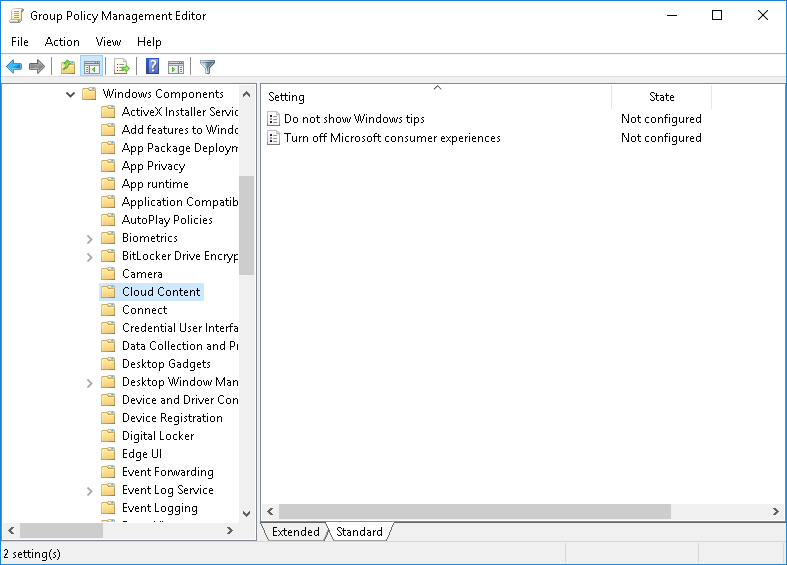 |
| Select Enabled and click OK | 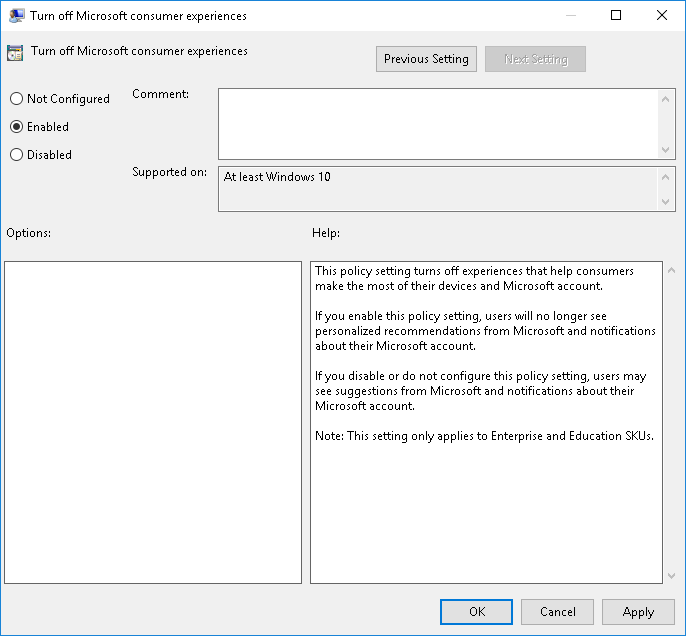 |
| Right click U_LAB_VDI and click Edit | 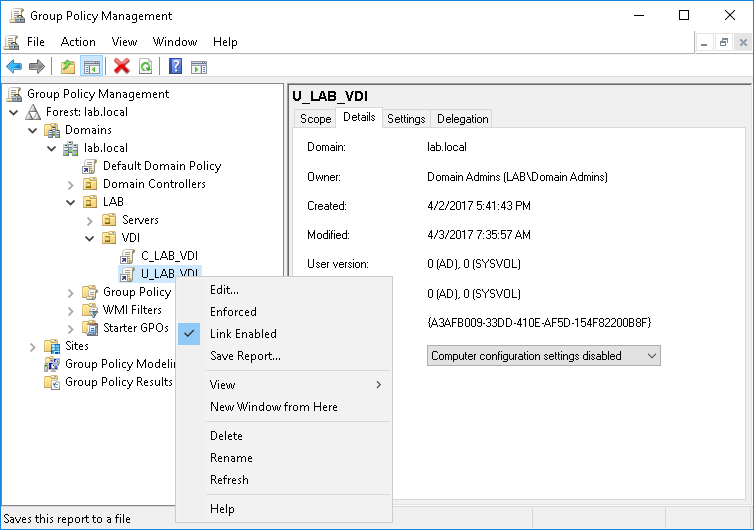 |
| Open User Configuration –> Policies –> Administrative Templates –> VMware UEM –> FlexEngine and double click Flex config files | 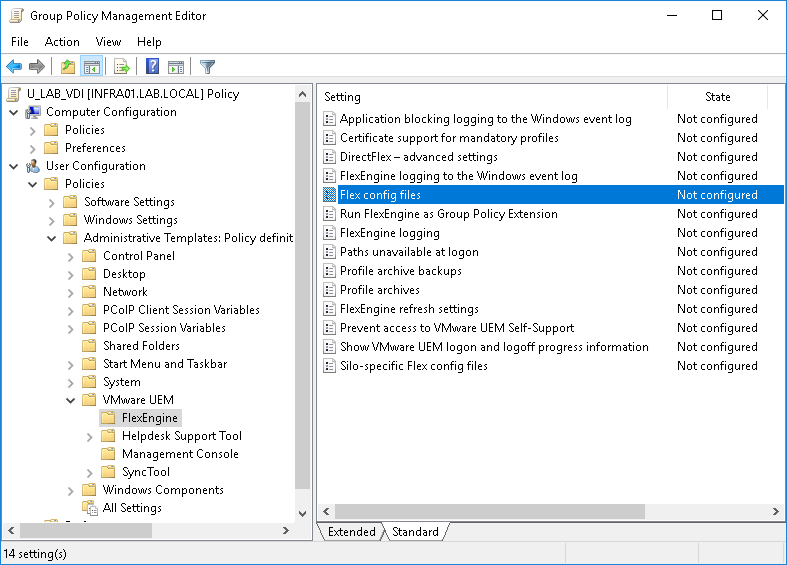 |
| Select Enabled and type \\INFRA01.lab.local\UEM_Config\General for Central location of Flex config files and click OK | 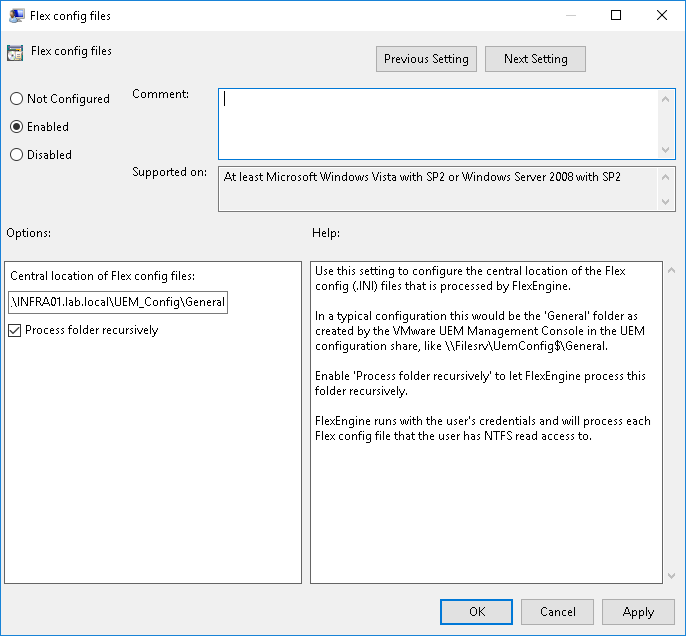 |
| Double click Run FlexEngine as Group Policy Extension | 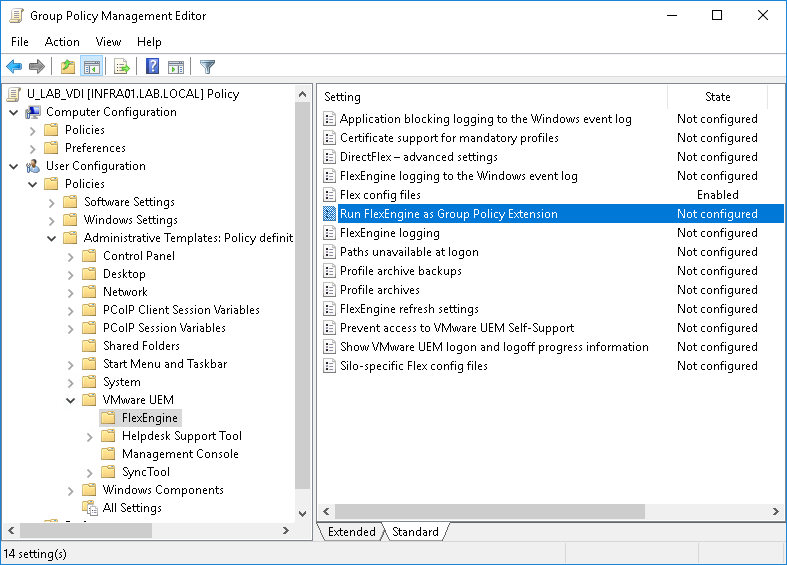 |
| Select Enabled and click OK | 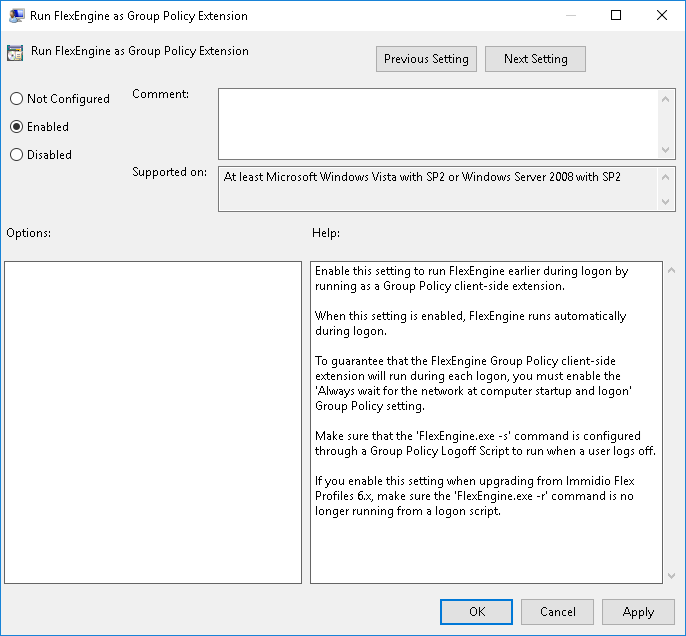 |
| Double click Profile archives | 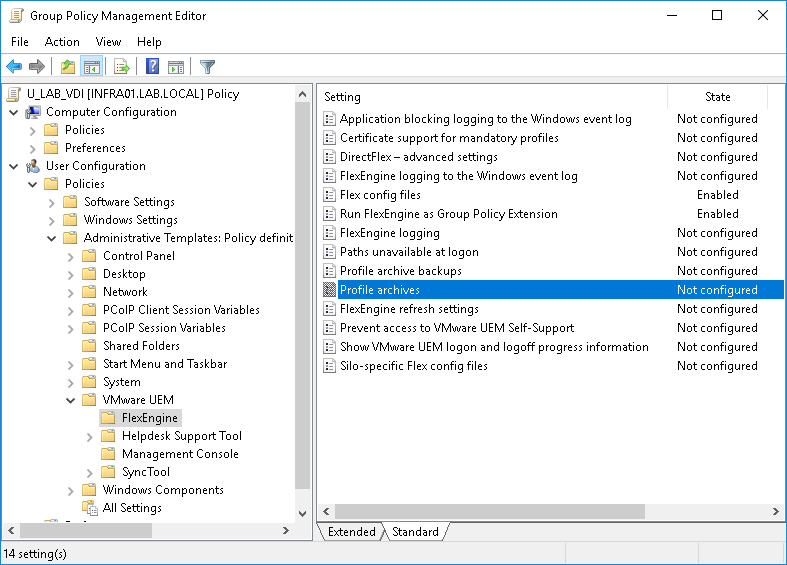 |
| Select Enabled and type \\INFRA01.lab.local\UEM_ProfileArchives\%username% for Location for storing user profile archives: and click OK | 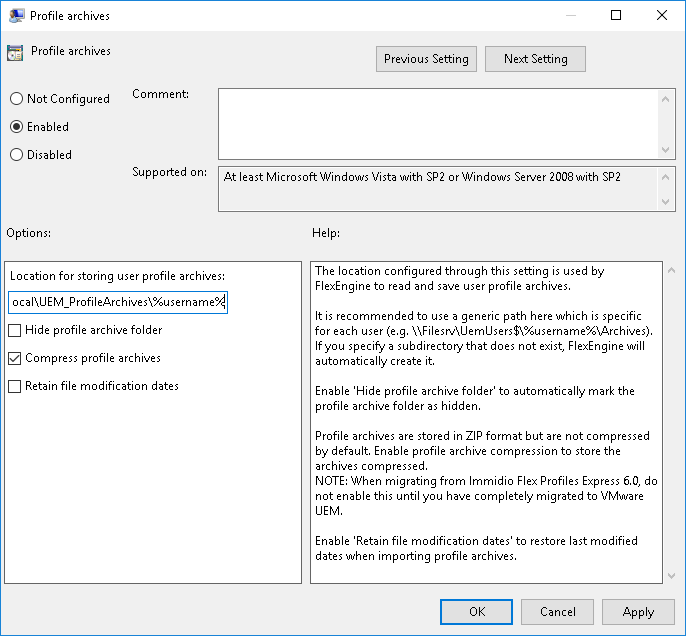 |
| Open User Configuration –> Policies –> Windows Settings –> Scripts (Logon/Logoff) and double click Logoff | 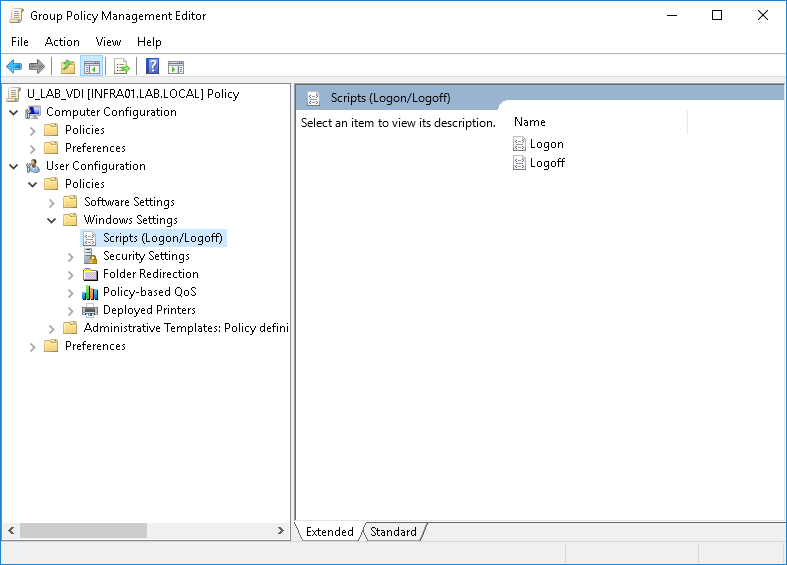 |
| Click Add | 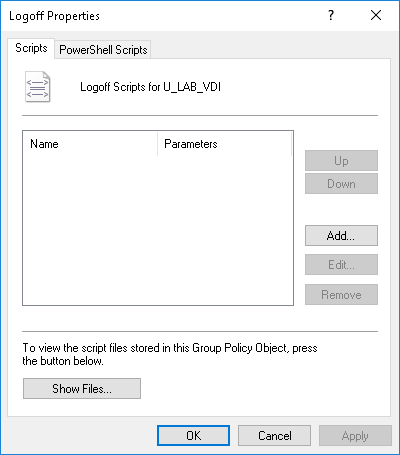 |
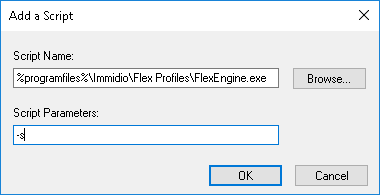
| Type %programfiles%\Immidio\Flex Profiles\FlexEngine.exe for Script Name
Type -s for Script Parameters and click OK |
 |
| Click OK | 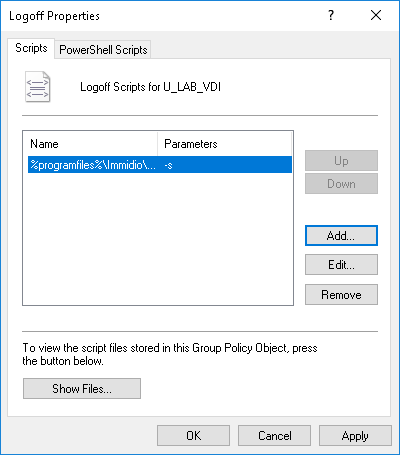 |
NextUp >> Let’s JMP – Part 6: Windows 10 Image


