Let’s JMP – Part 3: Horizon
In this part I will guide you through the steps for installing and configuring a basic Horizon environment.
Overview
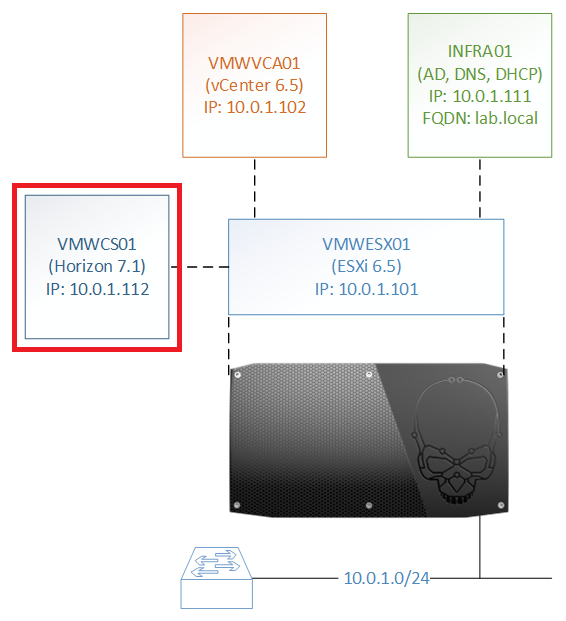
The component with a red square is installed and configured in this part.
Prerequisites & Assumptions
Before installing Horizon, I assume you already have your virtual machine up and running with the correct hardware requirements for Horizon Connection Server and the Windows Server OS deployed, configured and domain joined. Just make sure you use a supported Windows Server OS for the installation of Horizon Connection Server.
Installing Horizon
| Double click VMware-viewconnectionserver-x86_64-7.1.0-5170113.exe |  |
| If you receive a User Account Control message, click Yes | 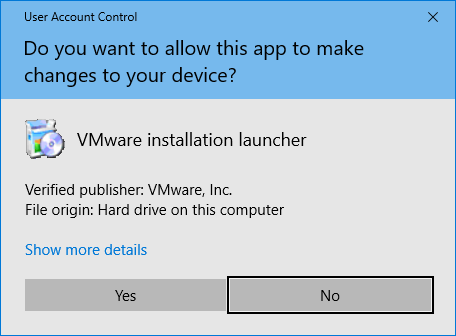 |
| Click Next | 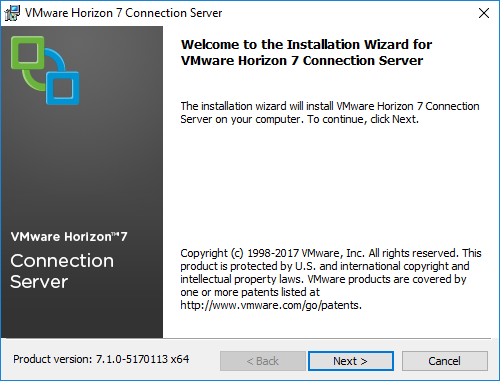 |
| Select I accept the terms in the license agreement and click Next | 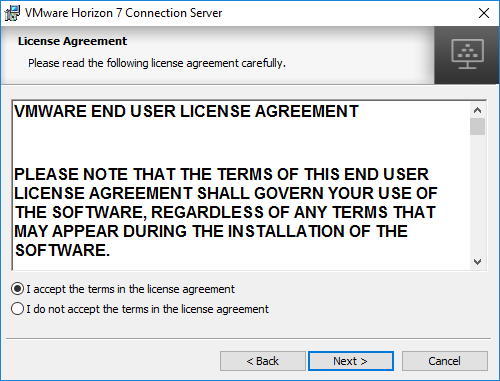 |
| Click Next | 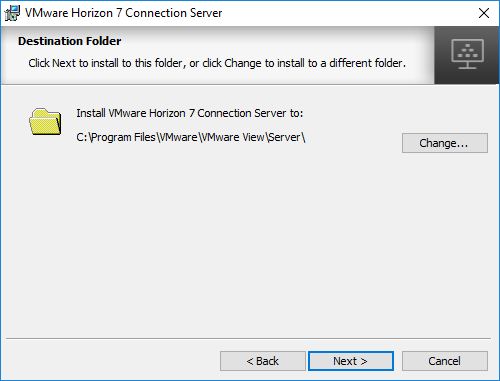 |
| Leave the defaults and click Next | 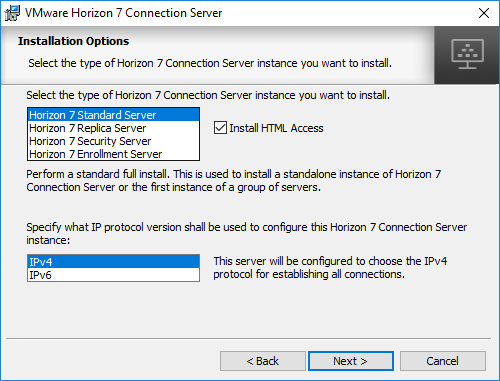 |
| Type a password for Enter data recovery password and Re-enter password and Enter password reminder (optional) if you want that and click Next | 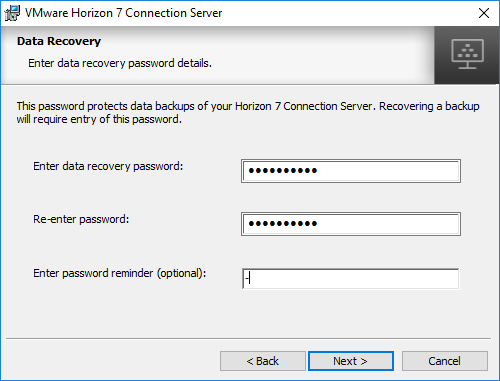 |
| Select Configure Windows Firewall automatically and click Next | 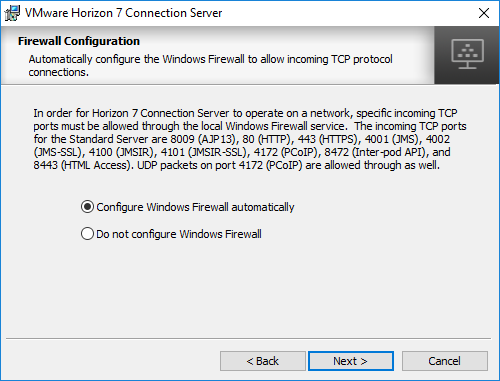 |
| Select Authorize a specific domain user or domain group and type an existing domain user name or domain group name and click Next | 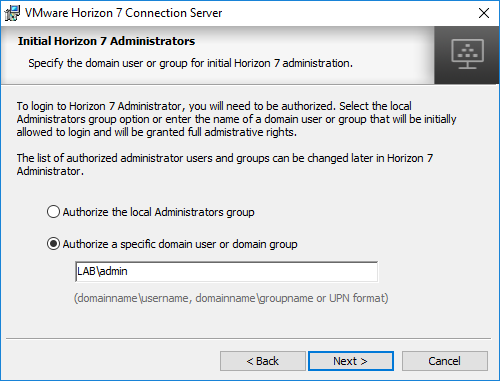 |
| Select Participate anonymously in the user experience improvement program if you want that and click Next | 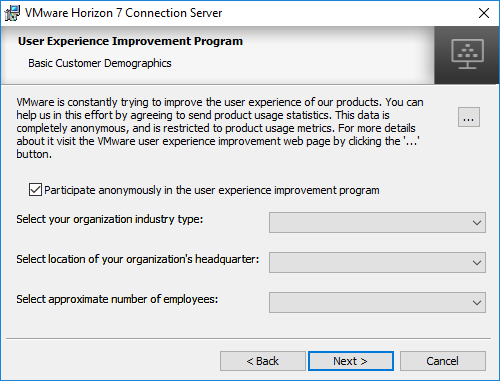 |
| Click Install | 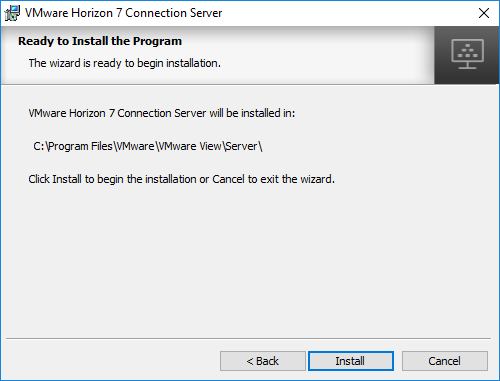 |
| Horizon Connection Server is being installed | 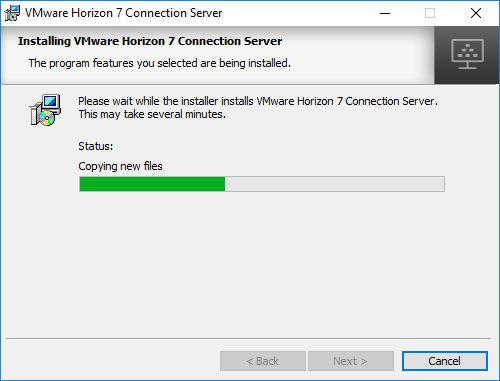 |
| Select Show the readme file if you want that and click Finish | 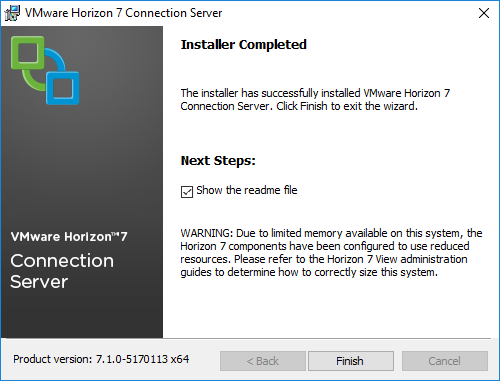 |
Configuring Horizon
| Open your favorite web browser with Flash enabled and go to [https://vmwcs01.lab.local/admin](https://vmwcs01.lab.local/admin)
Click ADVANCED and click Proceed to vmwcs01.lab.local (unsafe) |
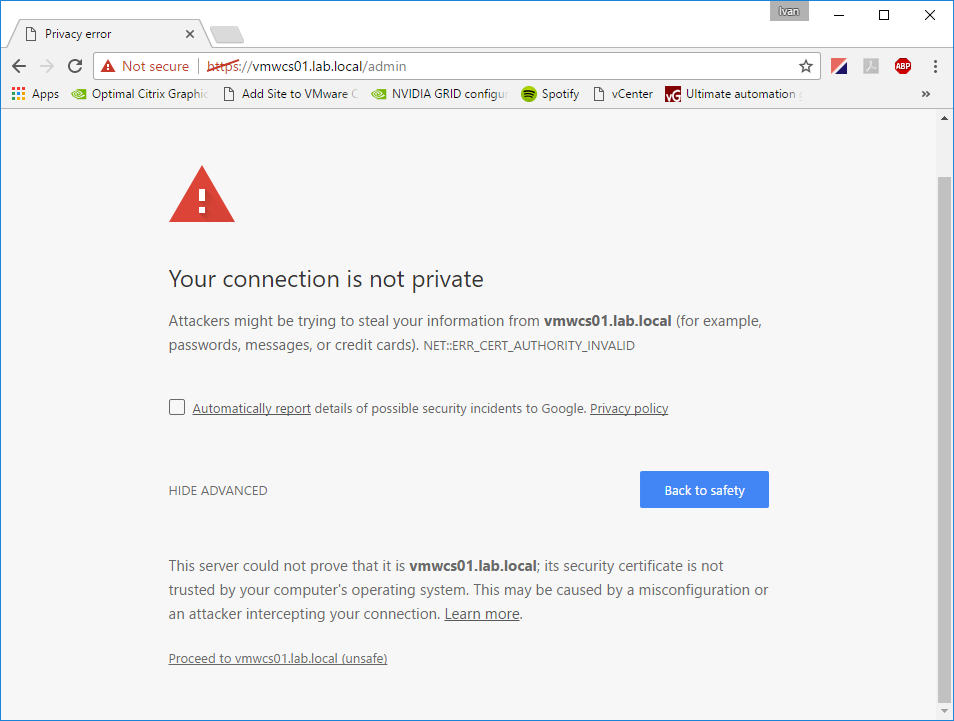 |
| Enter User name and Password and click Log In | 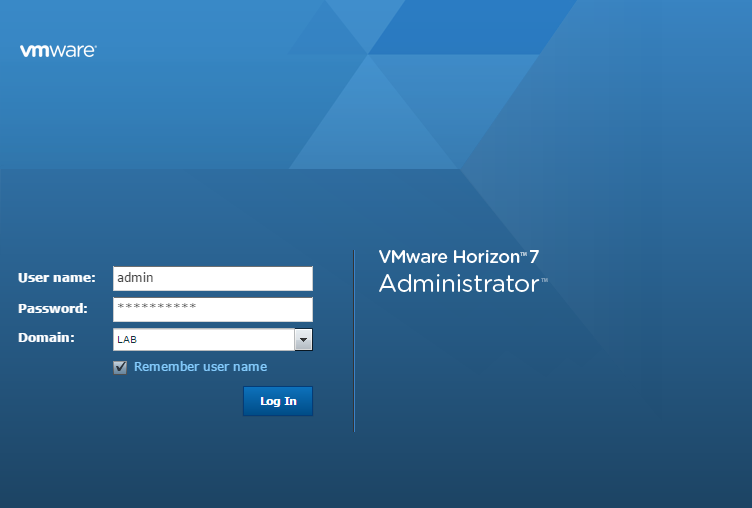 |
| Click Edit License | 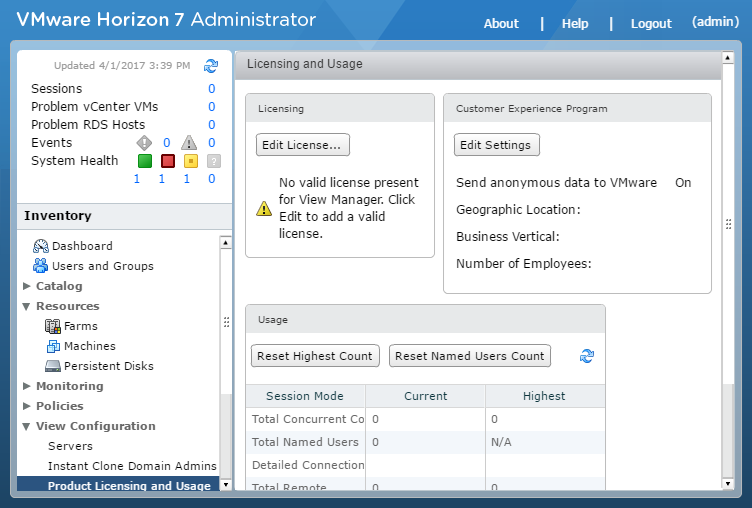 |
| Enter a valid (trial) License serial number and click OK | 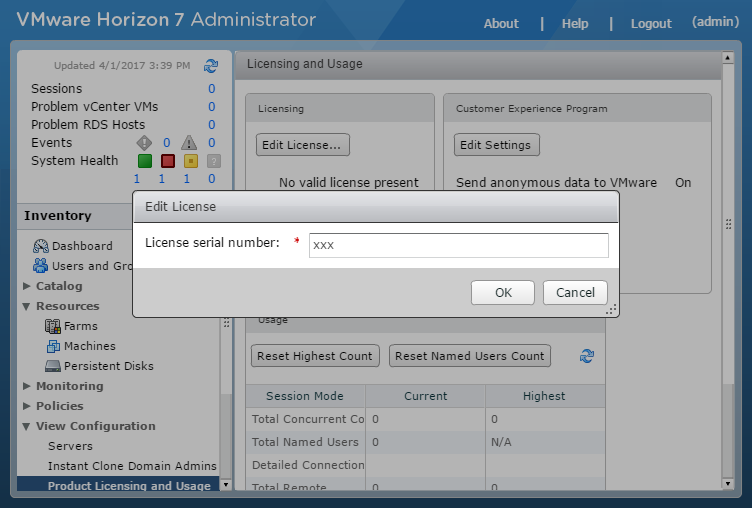 |
| Open View Configuration and click Servers
Under the vCenter Servers tab, click Add |
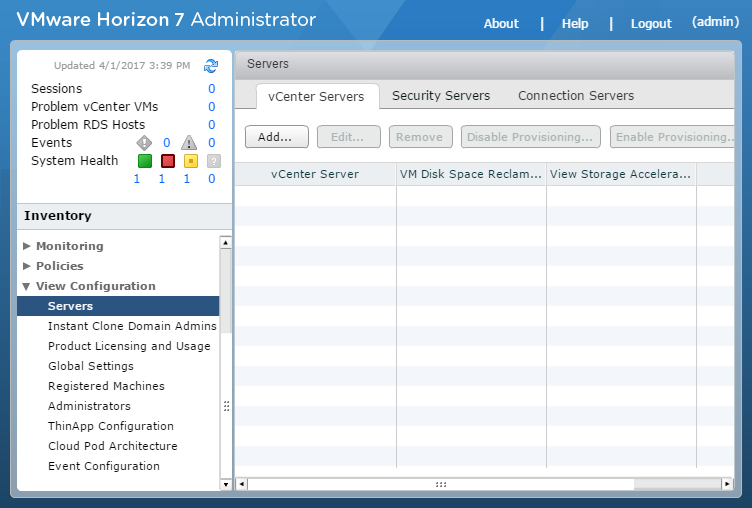 |
| Enter 10.0.1.102 for Server address
Enter administrator@vsphere.local for User name Enter Password and click Next |
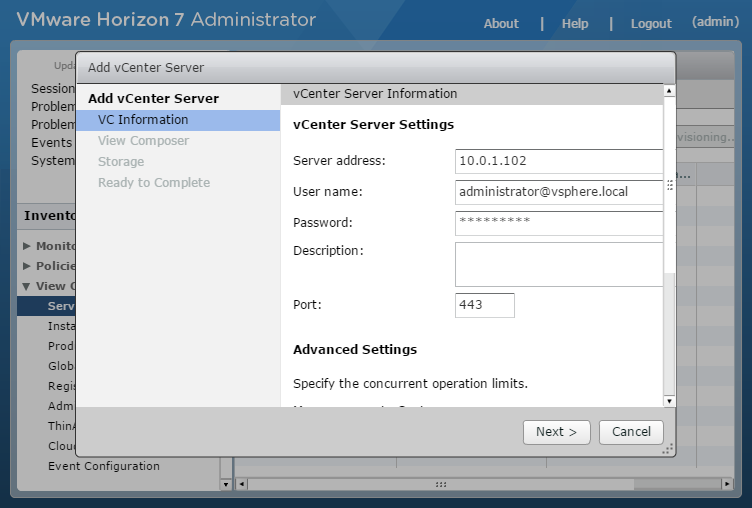 |
| Click View Certificate | 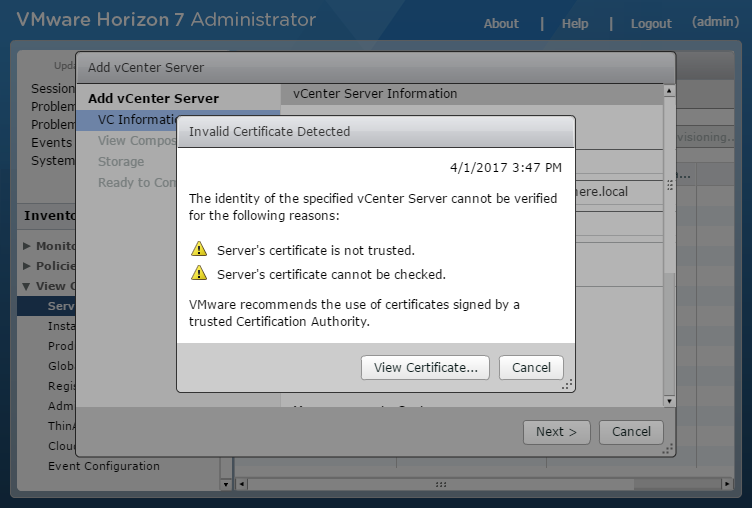 |
| Click Accept | 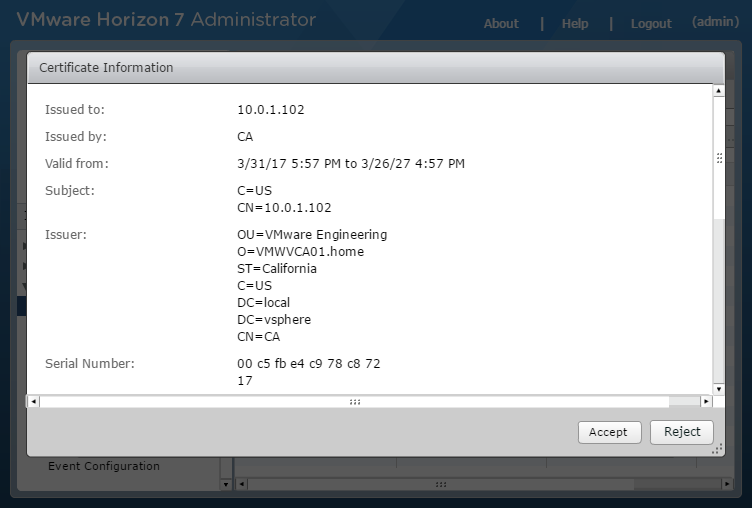 |
| We want to use instant clones later on, so select Do not use View Composer and click Next | 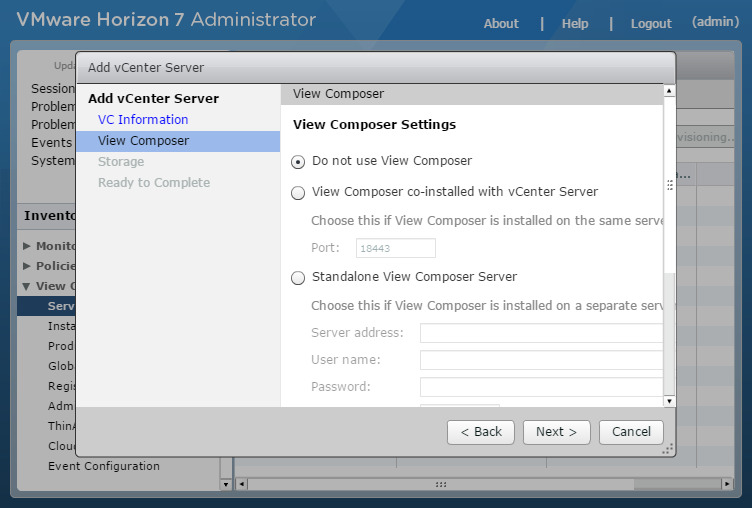 |
| Leave the defaults and click Next | 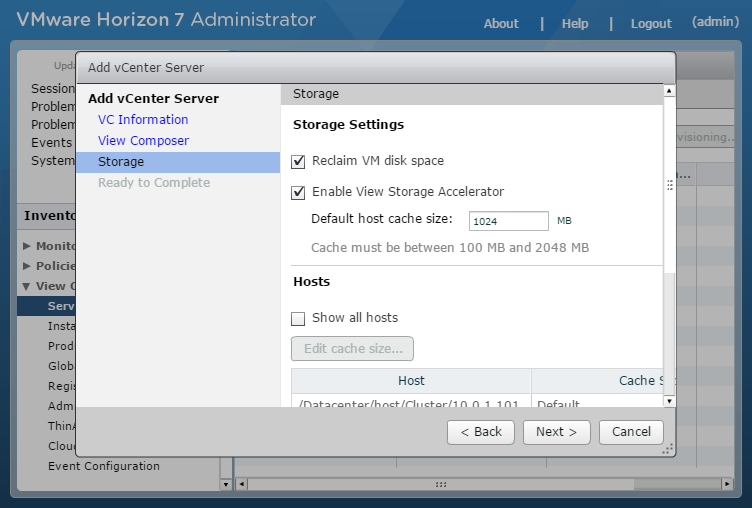 |
| Click Finish | 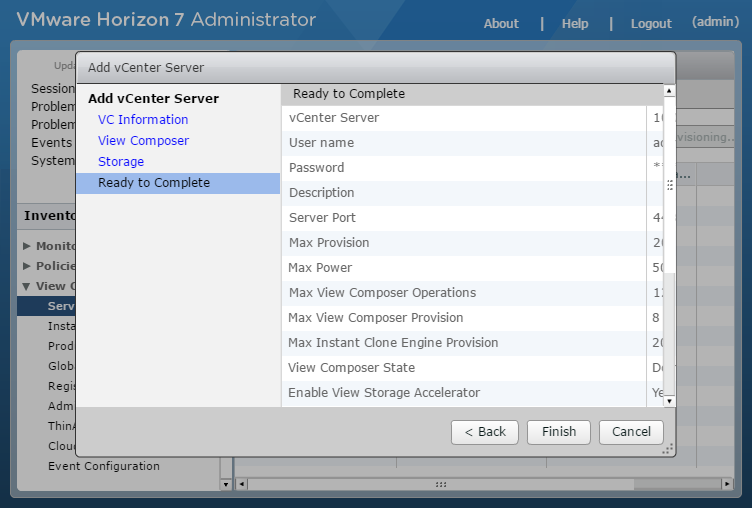 |
| The vCenter Server has been added to the Horizon configuration
Click Instant Clone Domain Admins |
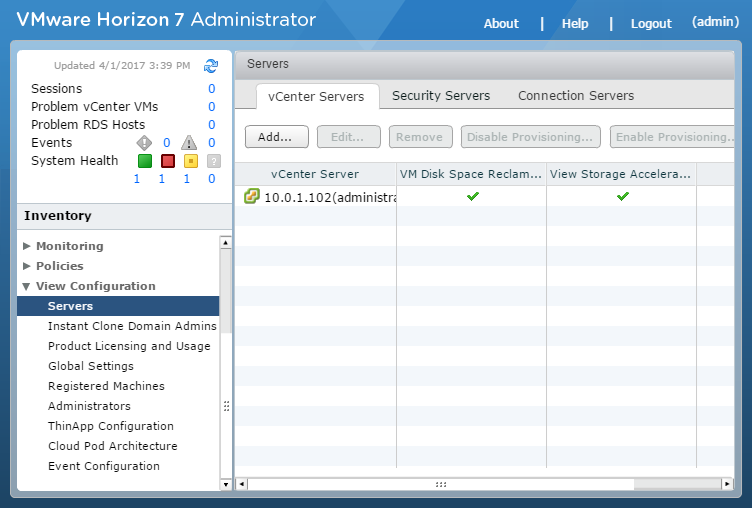 |
| Click Add | 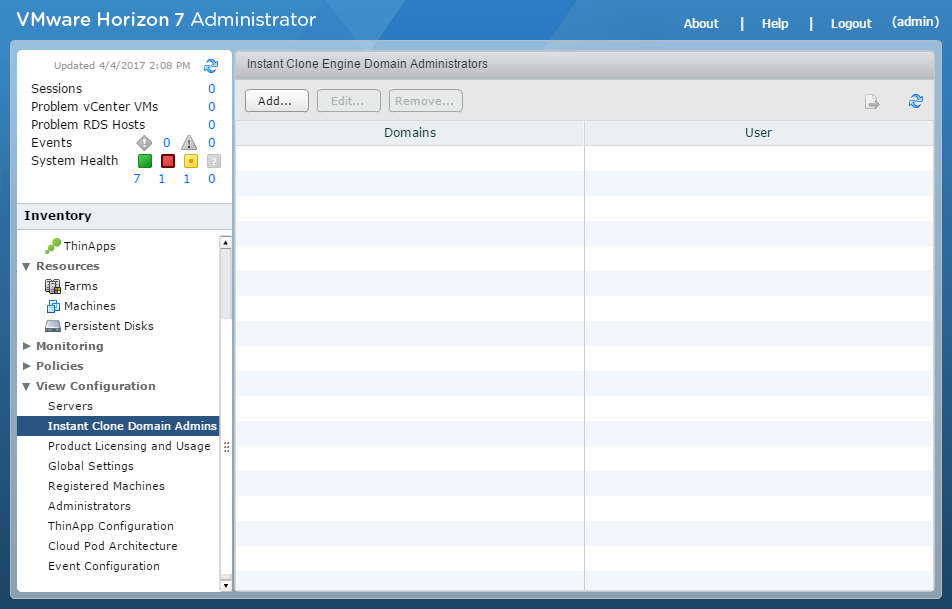 |
| Type Admin for User name
Type Password and click OK |
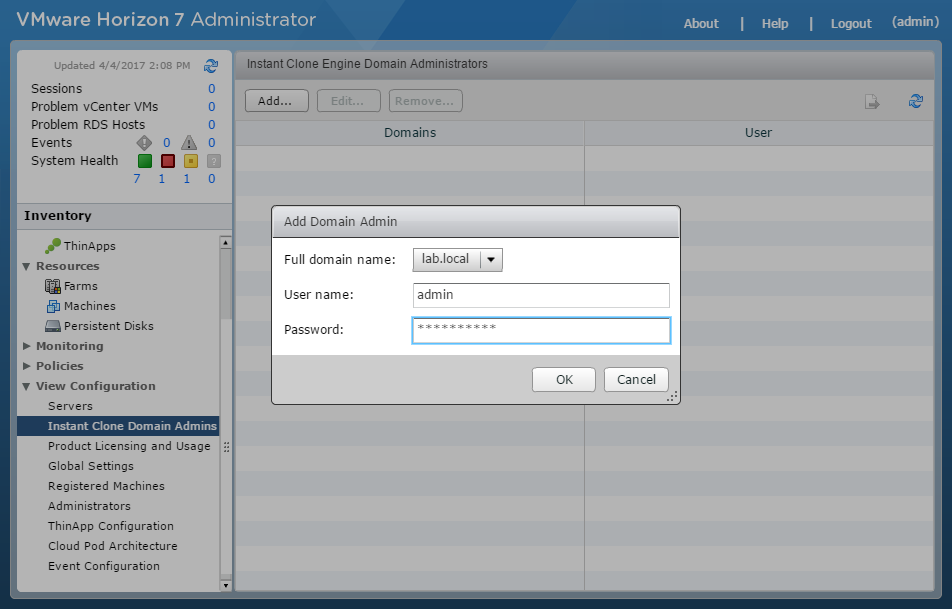 |
| The Instant Clone Domain Admin has been added | 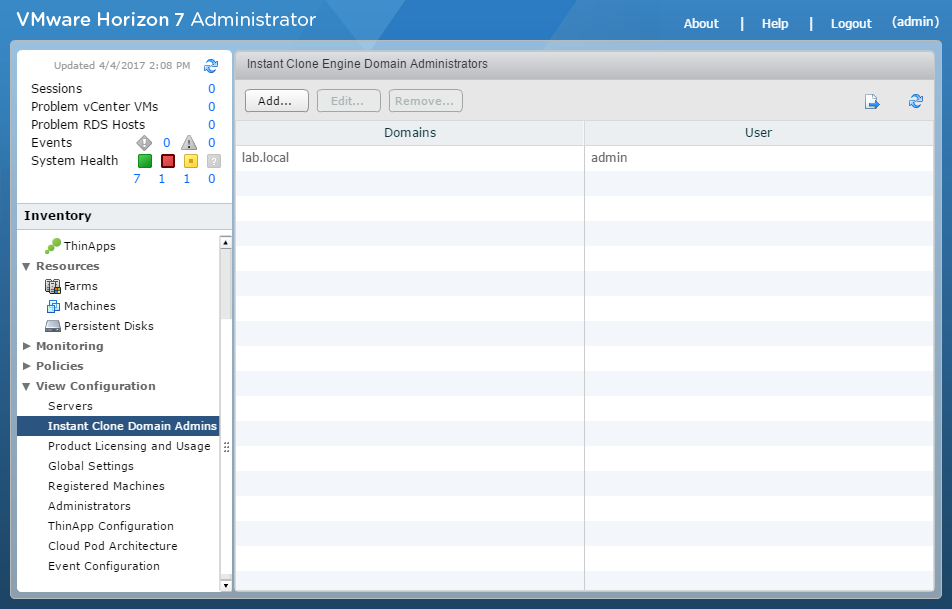 |
NextUp >> Let’s JMP – Part 4: AppVolumes


